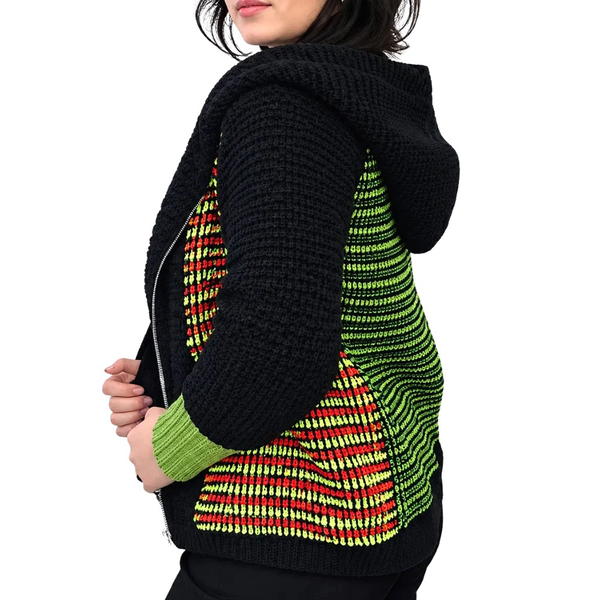
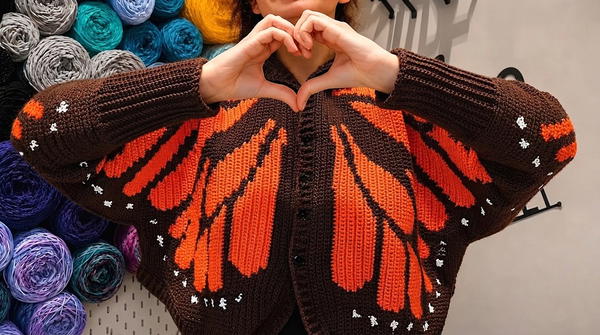
Wear a crochet Butterfly Cardigan over a simple dress or plain top and show off the wing details and warm colors that give this layer its playful look.
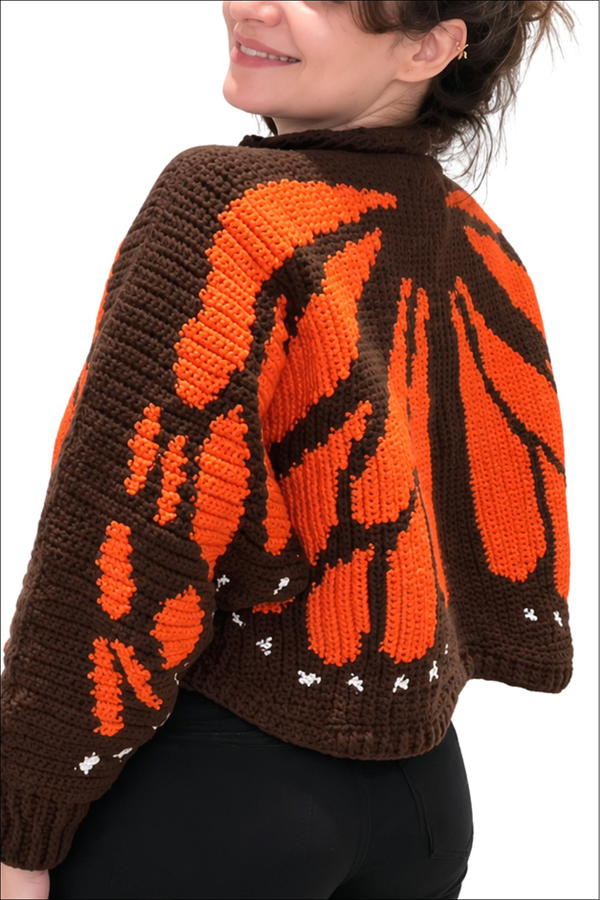
When your favorite dress feels a little plain, one piece with a bold design can change the whole outfit. This crochet Butterfly Cardigan puts the wing details right into the fabric, where warm brown and orange sit beside touches of white. The light areas help show the shape of the wings. From across the room, you see the larger design first. Up close, individual stitches show how the colors come together. It’s the sort of layer you could wear to lunch with friends or on a family visit.
Crochet Butterfly Cardigan With Crochet Wing Details
Behind the design
Here, color placement gets as much attention as the shape of the garment. The butterfly project includes separate charts for the front and back, with notes on yarn ends and sizing. There is a closer look at blocking and neckline shaping in a companion video from the channel rasha Crochets.
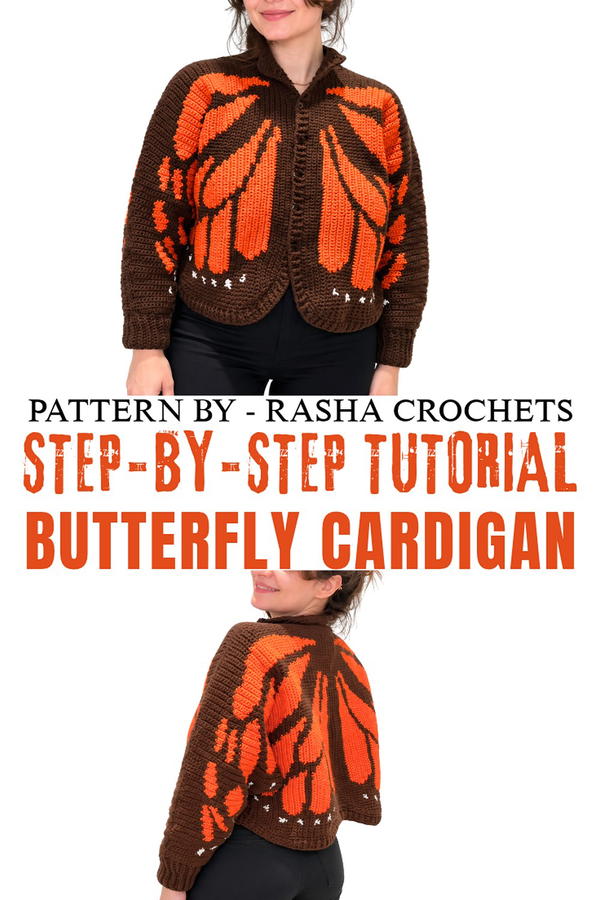
Much of the work happens as the colors change across the front and back pieces. Each section has its own part of the design, so it helps to pause and check how the shapes will line up before joining the pieces. Keeping the yarn ends on the inside gives the outside a tidy finish. That bit of care matters most around the white details, where a stray dark strand would be easy to see.
For a soft, simple look, pair the cardigan with a plain midi dress and shoes you could wear all afternoon. You could also tuck a fitted top into dark trousers and leave the cardigan open so the wings stay in view. As a handmade gift, it suits someone who likes simple outfits with one playful detail.
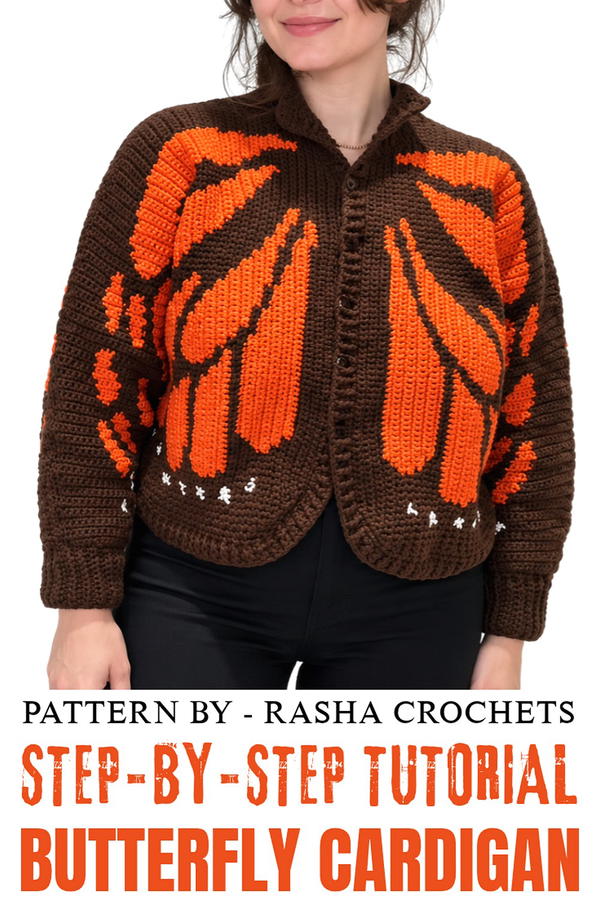
Butterfly Jacket Crochet Pattern
Create your gorgeous Butterfly Jacket, designed with customized edges, ribbed sleeves, and button closures. This pattern guides you through crafting all components—back panel, front panels, sleeves, necklines, and edges—with clarity. Easy-to-follow instructions ensure a smooth crochet experience and professional-quality results for your project.
Skill Level
Intermediate – This pattern involves elements such as color-changing methods, increases and decreases, joining pieces, sewing, and button attachment. Having some prior crochet experience is recommended.
Materials
- Yarn:
- Medium weight (#4) yarn, soft.
- Amount required: Approximately 800 grams.
- Yarn measurements: 100 grams per skein (~250 meters or 273 yards).
Suggested Colors:
- One dark color, one light color, and white (optional).
- Crochet Hook:
- Small size jacket: 3.5 mm – 4 mm.
- Medium size jacket: 4 mm – 4.5 mm.
- Large or extra-large jacket: 5 mm – 5.5 mm.
- Accessories:
- Stitch markers.
- Sewing Needle.
- Buttons, as per design preference.
- Measuring tape.
Stitch Abbreviations
- Ch: Chain stitch.
- SC: Single crochet stitch.
- Sl St: Slip stitch.
- HDC: Half double crochet stitch.
Useful Tips
- Pattern Direction: It is essential to determine the orientation of the pattern before starting. Choose whether to begin from the right panel or the left panel for consistency.
- Color Management: For professional-looking results, manage your yarn effectively. Do not pull colors across long distances, as this can leave threads on the back of the work visible. Instead, add a new strand when necessary and clean excess threads later.
- Markers: Use markers to identify edges, increases, decreases, and sections to ensure clean stitching and easy alignment of pieces during assembly.
- Fitting: Measure regularly during stitching to ensure that the size fits correctly. Adjust the number of rows and chains to customize the fit.
Pattern Instructions
1. Back and Front Panels
Foundation Row:
- Ch 25 (or as per measurements). Ensure the chains measure 13 cm wide for a small size (adjust accordingly).
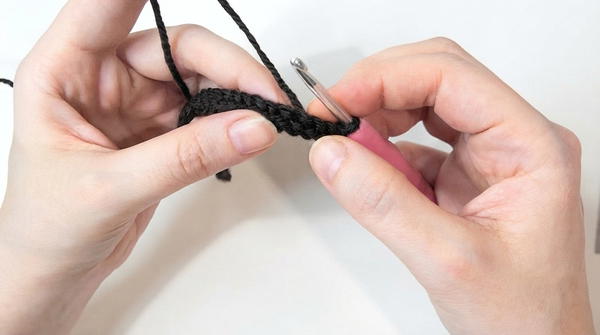
- Row 1: Start SC from the second Ch from the hook. Work SC in each chain across the row. Ch 1, turn.
- Rows 2–4: Continue working SC stitches evenly across the row, ensuring the stitch count remains consistent. Ch 1 after each row, turn.
2. Increasing Rows on Panels
Start incorporating increases when indicated by green squares on the pattern grid.
- Round 5: Make an increase at the beginning and end of the row:
- Beginning of the row: Work 2 SC in the first stitch.
- SC across the row.
- End of the row: Work 2 SC in the last stitch to create an increase. Ch 1, turn.
- Rounds 6–8: Work evenly, maintaining the increased stitch count. Mark colored sections (e.g., white or orange) carefully. Use markers to highlight stitches that must change from the base color.
3. Adding Color Changes
- Add new yarn for colored sections according to the pattern grid.
- Place markers at beginning and end of colored sections to ensure proper placement.
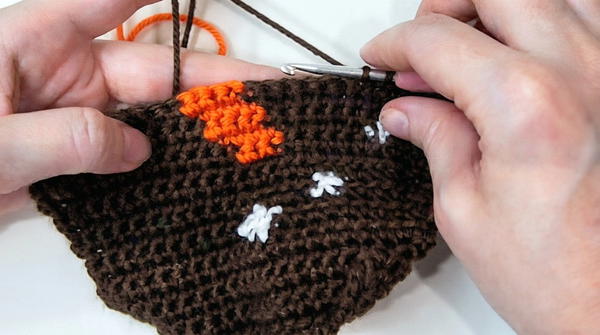
When transitioning between colors:
- Do not cut yarn unnecessarily. When a new color begins, carry the inactive color behind stitches if distances are short.
- If distances are too long for carrying yarn without it showing, cut the yarn and add a new strand once needed.
4. Creating Sleeves with Ribbed Edging
Foundation Sleeve Row:
- Measure your arm circumference and desired sleeve length. Begin with the appropriate number of chains (e.g., Ch 25 for 13 cm width).
- Row 1: Start SC in the second Ch from the hook. Work SC evenly across all chains. Ch 1, turn.
Sleeve Rows:
- Repeat Rows 2–25: Work SC in back loops only across all rows to create a ribbed texture.
- Slip Stitches: At the end of each row, work Sl St in the first two stitches for fastening and turning.

5. Assembly and Sewing
Sewing the Panels:
- Lay the back panel flat with the wrong side facing down. Place front panels on top, lining up edges accurately.
- Add markers to sections to ensure proper edges align, especially at the shoulder seams.
- Use a needle and thread matching the edge color to invisibly stitch pieces together. Sew all edges except the bottom hem to keep the back section open as required by the design.

Sewing the Sleeves:
- Fold the sleeve panels horizontally, aligning the edges. Sew along the sides to close the sleeves.
- Attach sleeves to the jacket body evenly, aligning all edges. Use markers to ensure accurate placement.
6. Neckline and Edge Finishing
Finish the neckline and edges using HDC and ribbed stitches.
Edge Rows:
- Round 1: Start making HDC directly on cleaned jacket edges, working evenly. Ch 2, turn.
- Round 2: Work alternating Front Post HDC (FPHDC) and Back Post HDC (BPHDC) stitches for a neat ribbed texture. Ch 2, turn. Repeat this step until desired number of rows (e.g., 3 rows).

Optionally, work Sl St along all completed edges for a polished appearance.
7. Adding Buttons
- Button Placement: Mark button locations using stitch markers aligned to the ribbed edge stitches. Space buttons evenly.
- Sewing Buttons: Sew the buttons using invisible stitching techniques. Thread your sewing needle and attach buttons securely by sewing through the buttonholes and stitches without showing the thread on the surface.
Conclusion
The Butterfly Jacket combines texture, form, and precision to create a garment that matches your unique style. The pattern includes modular sections for customization, ensuring precise results tailored to your needs. The professional finishing techniques provide clean edges and invisible seams, while the button-and-loop closure adds a touch of elegance to the final product.