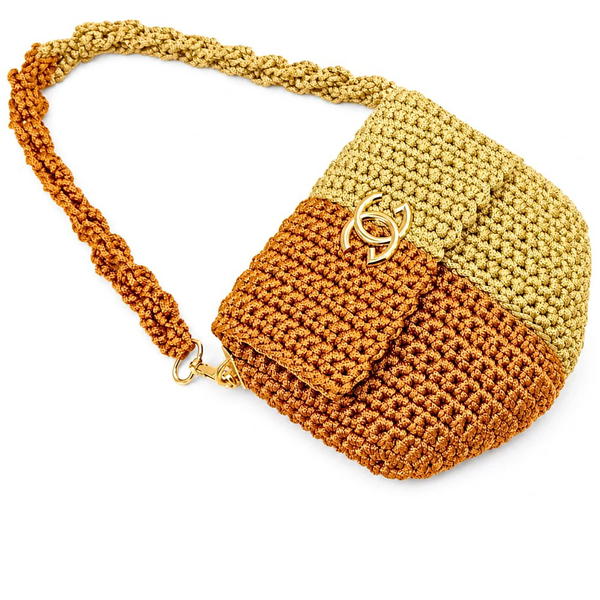
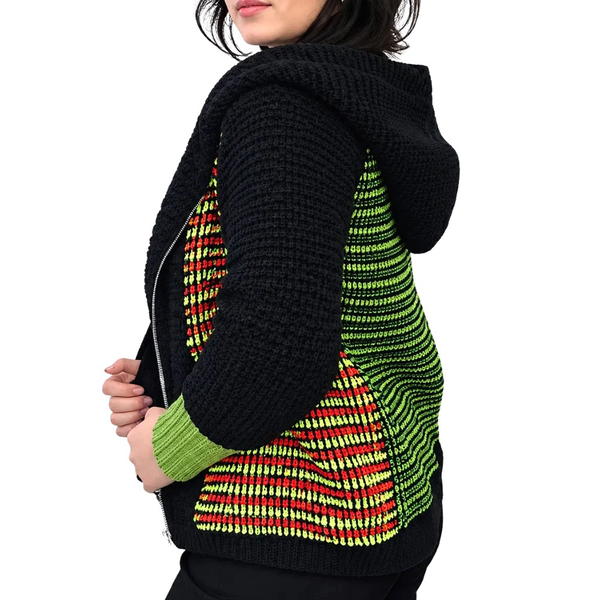
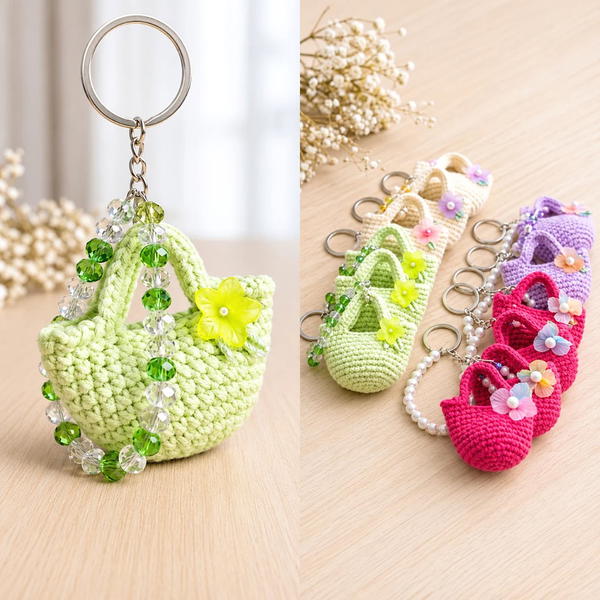
Keep little essentials organized through a crochet bag pattern that offers three handy pockets and a fresh handmade look for your busy daily plans.
Searching through one crowded compartment can turn a quick errand into a frustrating little task. The 3-Pocket Bag Free Crochet Pattern takes a different approach by giving small belongings their own places. Three pockets are the headline feature. Instead of dropping everything together, you can separate items you reach for often from those you only need now and then.
Free Crochet 3-Pocket Bag Pattern With Easy Tutorial
One section might hold a phone, another could store cards or a compact wallet, and a third can keep little extras together. The actual pocket sizes and layout will depend on the finished design, so it helps to compare them with the things you normally carry.
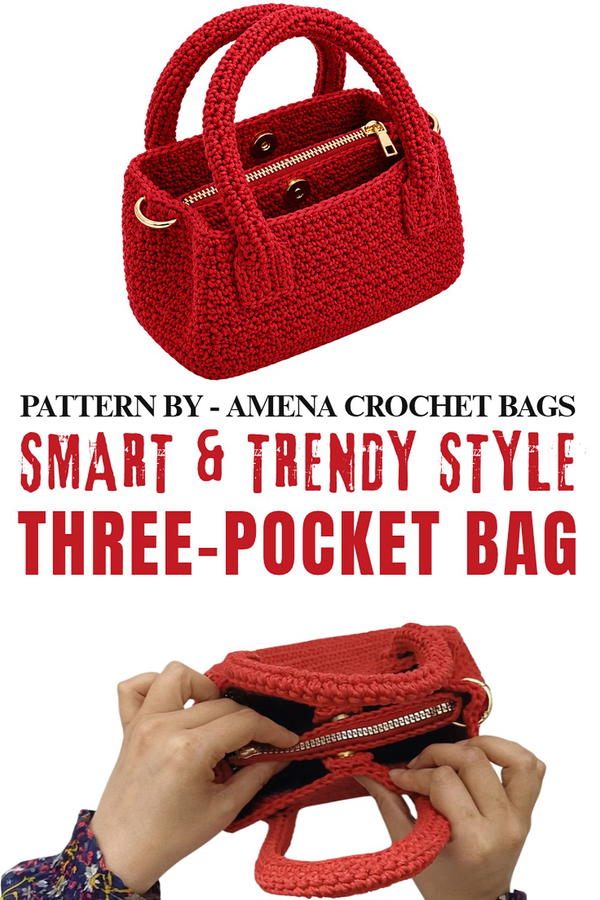
There is also a visual benefit to having sections. Pocket outlines can give a bag a more structured appearance, while the crochet surface keeps it from feeling too formal. A simple color choice allows the shape to stand out, especially when the edges are worked neatly.
Channel Focus
Practicality has a place in the projects presented by magic knots. Alongside clothing ideas, the channel includes bags with different purposes and looks. Viewers interested in organizing daily belongings may really appreciate this range, especially when comparing how separate compartments, handles, and overall sizes change the usefulness of an accessory.
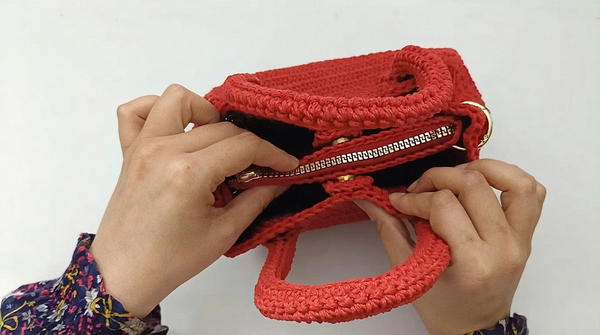
For daily use, consider how easily each pocket can be reached. Openings should be comfortable to access, and secure seams matter when small objects are stored inside. It is worth paying extra attention to where pockets join the main body because those areas receive regular handling. 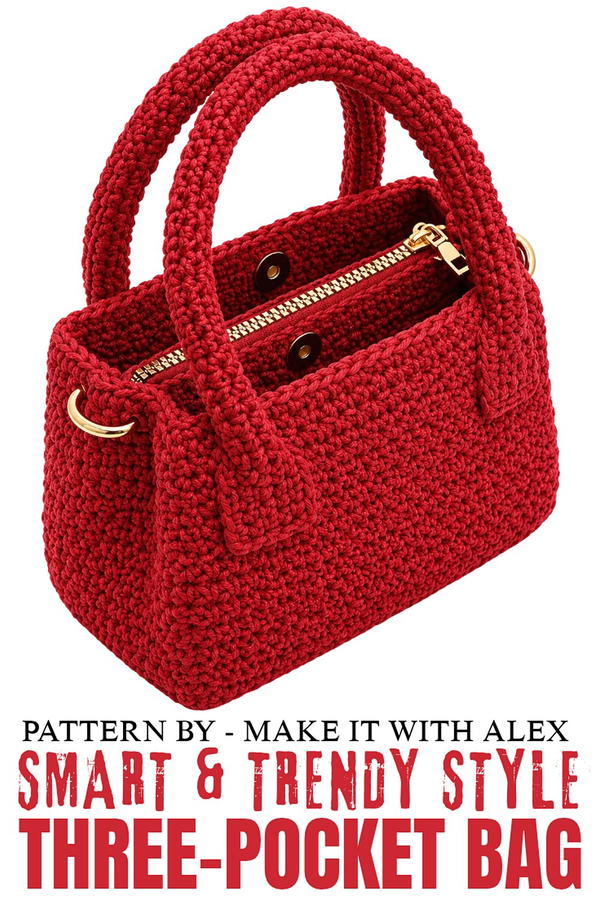
Small Three-Compartment Crochet Bag Pattern
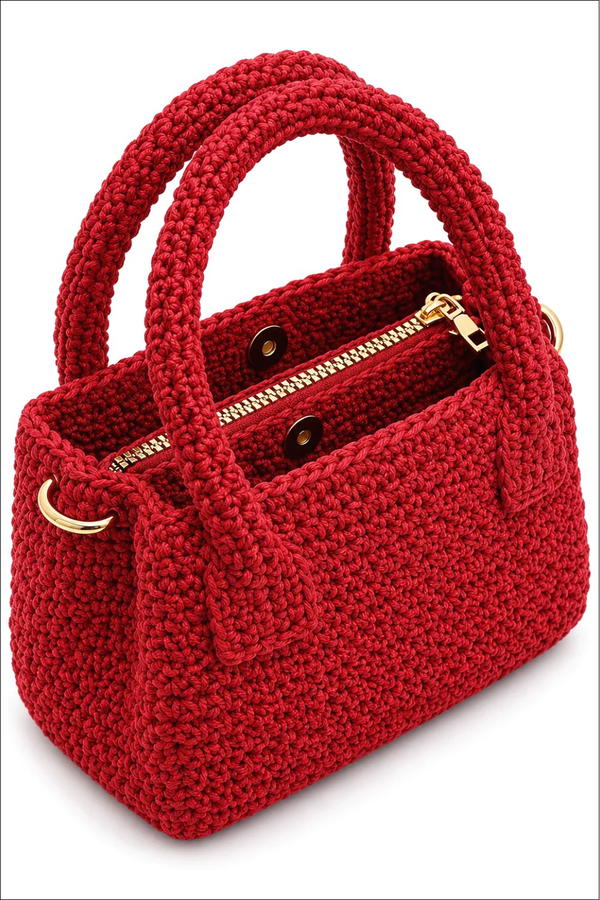
This small, lightweight bag offers ample storage thanks to its three-compartment design. Its practical structure makes it ideal for everyday use, combining functionality with a sleek look. The cotton macramé yarn gives the bag durability while maintaining an elegant texture. Follow this step-by-step guide to create a bag that is both stylish and functional.
Skill Level
Intermediate – This pattern combines basic single crochet (sc) and some straightforward sewing for zippers and sides. It’s designed to be accessible to crocheters with a basic understanding of shaping and assembly techniques.
Materials Needed
- Yarn: Cotton macramé yarn, 3 mm thickness, approximately 350 grams.
- Hook: 5 mm crochet hook.
- Zipper: Slightly longer than the pocket width.
- Magnetic Clasps: Two pieces.
- Sewing Needle & Thread: For sewing zippers and assembling sides.
- Scissors: For trimming yarn.
- Stitch Markers: Optional, to mark rows and guide placement.
Stitch Abbreviations
- ch = chain
- sc = single crochet
Useful Tips
- Straight Seams: Use stitch markers to ensure that panels align evenly when sewing the bag sides.
- Zipper Placement: Keep stitching straight and evenly spaced for a professional finish when attaching the zippers.
- Adjustable Size: You can modify the size of the bag by increasing or decreasing the foundation chain or rows.
- Consistency: Maintain consistent tension throughout to ensure smooth edges and a clean finish.
- Handle Strength: Reinforce the handle by carefully folding and sewing as outlined in the pattern to ensure durability.
Step-by-Step Pattern Instructions
1. Base and Body Structure
The combination of base, front, and back panels creates the main structure of the bag.
Foundation Chain:
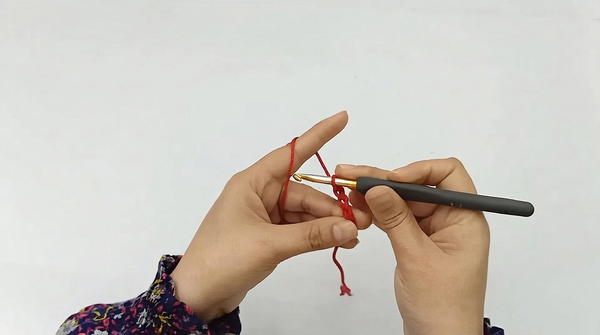
- Step 1: Make a slip knot and chain 26 ch.
Rows 1–60:
- Row 1: Starting from the second chain from the hook, work 25 sc.
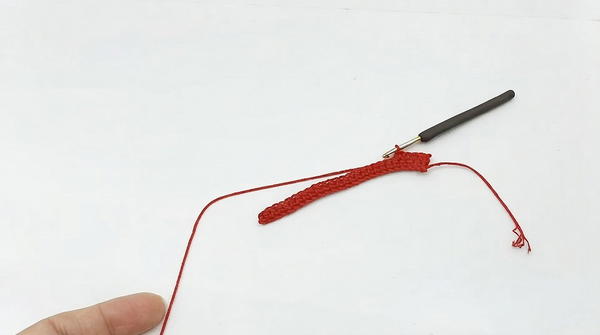
- Row 2: Chain 1, turn, and work 25 sc in both loops.
- Step 2: Repeat Row 2 until you have completed 60 rows in total.
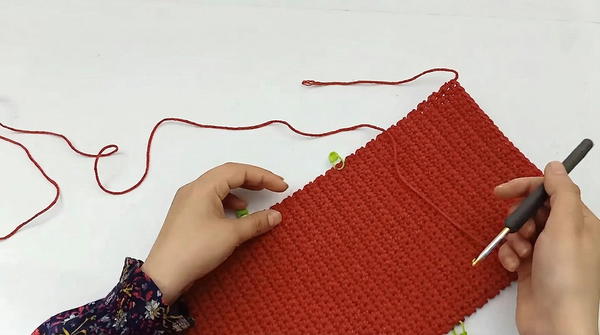
Measurements for Reference: The panel can be adjusted, but it is divided into the following sections:
- Base: 16 rows.
- Front and Back Panels: 22 rows each.
- Step 3: Place markers at Row 23 and Row 38 on both sides to demarcate these sections.
2. Side Panels
The side panels connect the front and back panels, giving the bag its depth.
First Side Panel:
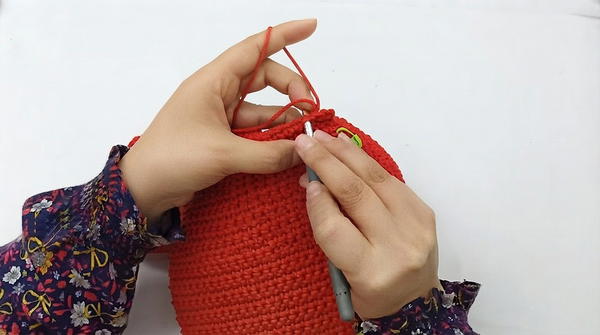
- Step 1: Attach the yarn at the Row 23 marker.
- Step 2: Work 1 sc in each row, for a total of 16 sc (one stitch per base row).
- Rows 2–22: Work 16 sc in both loops for each row.
- Step 3: End with 22 total rows, matching the height of the front and back panels.
Second Side Panel:
- Repeat the above steps for the opposite side of the base.
3. Pocket Addition
The pocket adds utility to the bag and features a zipper for closure.
Marking for Pockets:
- Place markers to identify four middle rows of the base where pockets are to be attached. Mark the inner loops of the stitches for clarity.
Pocket Rows:
- Step 1: Attach the yarn at the first marked loop. Work 24 sc instead of 25.
- Step 2: Build up 20 rows of sc in both loops.
Second Pocket:
- Leave a gap of 2 rows between pockets. Repeat the same steps as the first pocket for the second one.
Attaching the Zipper:
- Cut the zipper slightly longer than the pocket width.
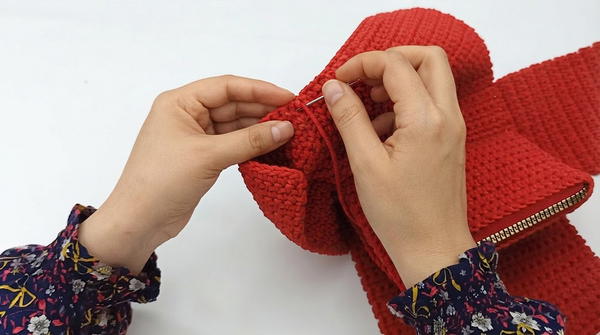
- Sew the zipper along the top edge of the pocket, keeping the stitching straight and evenly spaced.
- Close the zipper before sewing the sides of the pocket for easier alignment.
- Sew each side of the pocket row by row, ensuring the zipper is securely attached at the ends.
4. Sewing the Bag Sides
After completing the panels and pockets, it’s time to assemble the bag.
Assembly:
- Step 1: Start from the first row of the side panel and sew it to the first row of the front panel.
- Step 2: Use a sewing needle and thread to join them row by row in one direction on the outer side.
- Step 3: Make a finishing knot and hide the yarn tail securely.
- Step 4: Repeat for the remaining three corners (sides and back panel).
5. Handle Design
The handle is durable and functional, designed to fold neatly for additional reinforcement.
Foundation Chain:
- Step 1: Leave a small yarn tail and chain 56 ch.
Rows 1–5:
- Row 1: Starting from the second chain from the hook, work 55 sc in both loops.
- Repeat this for 5 total rows.
Shaping the Handle:
- Step 1: Before cutting the yarn, leave a long yarn tail and thread it into a needle.
- Step 2: Fold the handle and, starting at the sixth stitch, sew together one edge of the handle to the other stitch by stitch, leaving the last 5 stitches unsewn for flexibility.
6. Magnetic Clasps and Final Touches
Magnetic Clasps:
- Attach two magnetic clasps to secure the bag.
- Place each clasp on a small rectangular patch that is 4 stitches wide and 4 rows high. Position the clasps evenly inside the bag for proper alignment.
Finishing: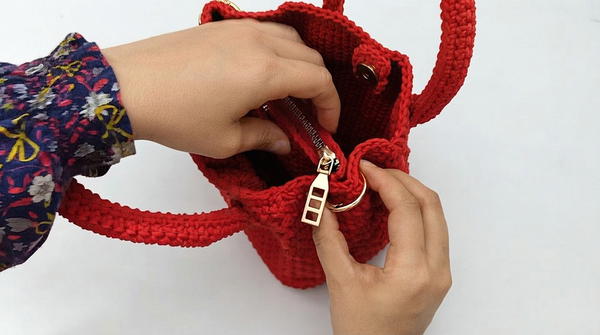
- Add easy-open rings to the sides of the bag if desired for extra versatility.
Conclusion
This small yet capacious bag combines aesthetics and utility in an elegant way, perfect for carrying your essentials while staying organized. Featuring three compartments and secure zippers, it's lightweight and practical for daily use. With simple stitches and easy assembly, this design is an excellent project for intermediate crocheters looking to create something both functional and stylish. Experiment with yarn colors or closures to make it uniquely yours.