 Mint Design Blog



Zip up a crochet Hoodie Jacket on breezy walks and pair its textured Tunisian stitches and striped panels with plain joggers and your favorite sneakers.
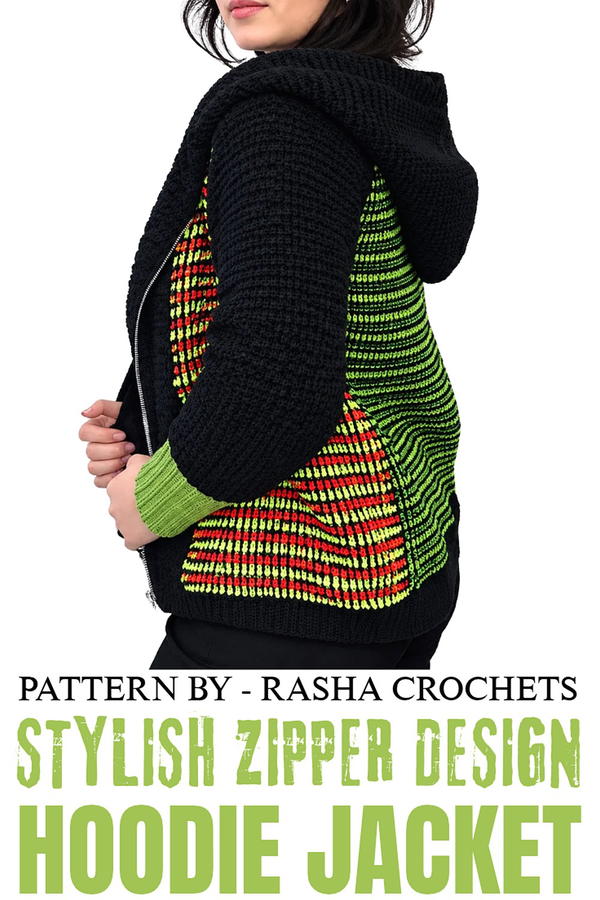
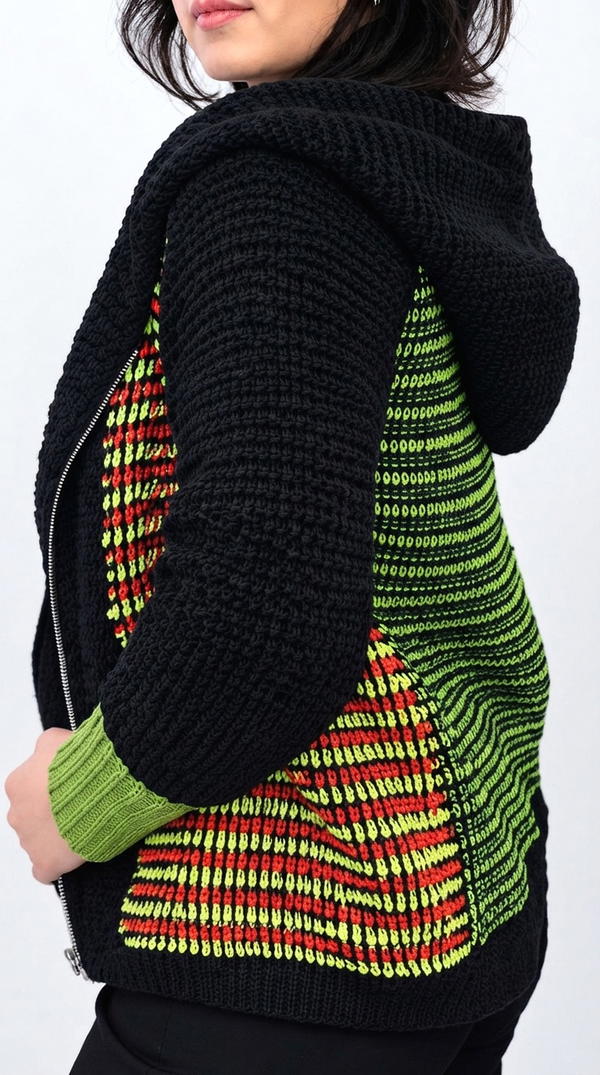
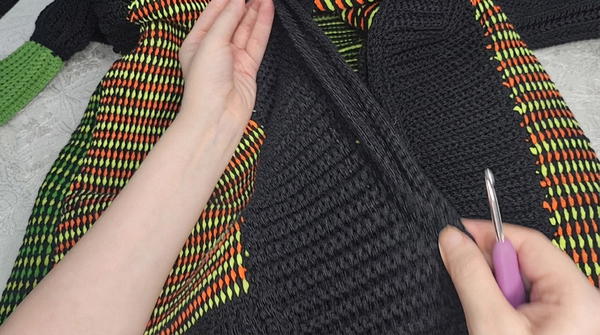
Some days you need a layer that closes quickly when you step outside. A crochet hoodie jacket with a front zipper fits that kind of routine. The hood rests at the back when you have it down, while the cuffs sit close to your wrists. The sample has dark sleeves and narrow bands of color across the body, with green cuffs that pick up one of the colors in the stripes.
Sporty Hoodie Jacket for Everyday Layering
About the channel
Fans of textured clothes will find several jacket styles here, from waffle stitches to raised flowers and Tunisian crochet. The hooded design also shows how a zipper can work as part of a handmade garment. Those projects are part of a collection of wearable ideas on the channel rasha Crochets.
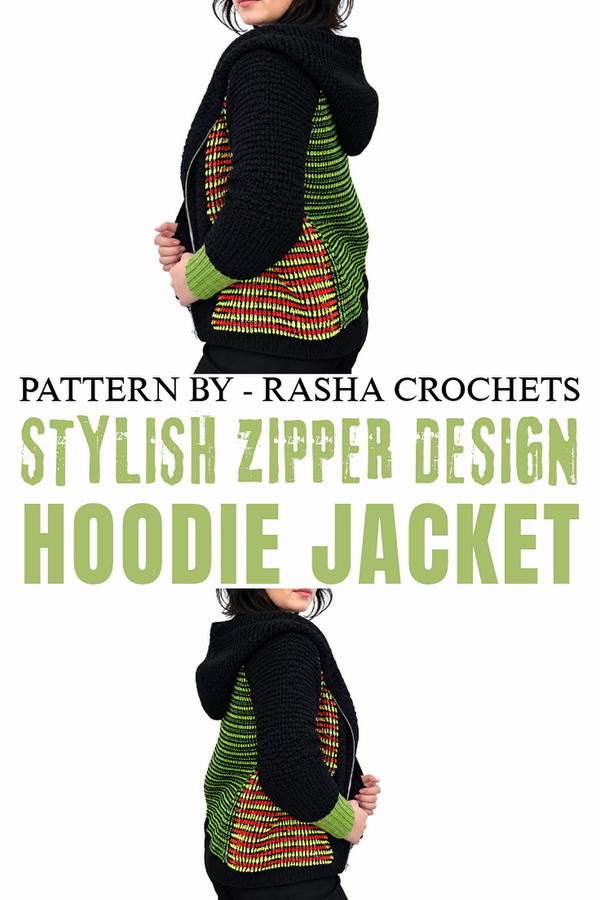
Tunisian crochet gives the fabric its own look. You collect loops on the hook during one pass and work them off on the next. The rows have a steady rhythm, and the finished stitches sit close together. On the jacket, that texture is especially easy to see in the bands of color. Once the zipper is in place, you can wear the front open indoors and close it before you go out again.
Style it the way you would your favorite zip hoodie. Pull it on over a cotton tee for a trip to the shops, or wear it with joggers and sneakers on a morning walk. Because the body already has plenty of color, solid bottoms are easy to pair with it. With a denim midi skirt and flats, the same jacket feels a little less sporty while still giving you a hood to pull up when the wind picks up.
Crochet Pattern: Sleeve and Pocket Design
This pattern provides a step-by-step approach to creating a structured sleeve and a functional pocket using basic crochet techniques. The design includes classic stitches, decreases, and increases while offering flexibility for adjustment. The pattern is suitable for items such as sweaters, cardigans, or jackets.
Skill Level
Intermediate – Requires understanding of basic crochet stitches (chains, single crochet, slip stitches) and techniques for decreases, increases, and shaping.
Materials
Required Supplies:
- Yarn: Medium-weight yarn suitable for your project.
- Hook Size: Recommended crochet hook size is 2.0 mm.
- Markers: For positioning and symmetry alignment.
- Accessories:
- Measuring tape for precise dimensions.
- Yarn needle for sewing and weaving ends.
Stitch Abbreviations
- Ch: Chain.
- SC: Single crochet.
- Sl St: Slip stitch.
- HDC: Half double crochet.
Useful Tips
- Row Counting: Use stitch markers or verbal counting to track rows with decreases or increases and avoid errors in shaping.
- Symmetry Awareness: For projects involving sides (such as sleeves and armholes), know whether you are working on the left or right side. Shaping differs based on orientation.
- Consistency in Loops: Maintain proportional tension, especially when working with back loops and slip stitches to achieve a neat look.
- Plan Stitch Increases: For expansion areas such as pockets, ensure uniform increases by rounding off the stitch count evenly.
Pattern Instructions
Sleeve Construction
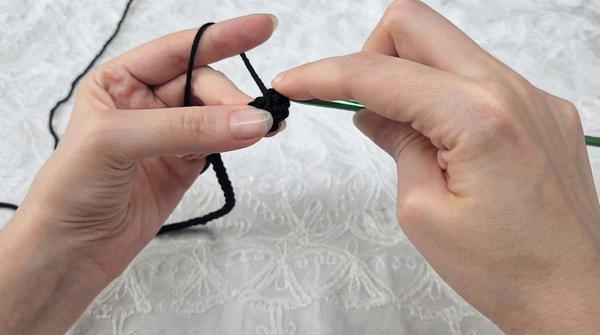
Foundation Row:
- Ch 41: (Adjust this number based on desired sleeve width). Add 1 Ch to represent the turning stitch.
Round 1:
- SC into the second chain from the hook.
- Work SC evenly across all chains (40 SC total). Ch 1, turn.
Initial Rows
Round 2:
- SC into each stitch across. No increases or decreases. Ch 1, turn your work.
Round 3 & Beyond:
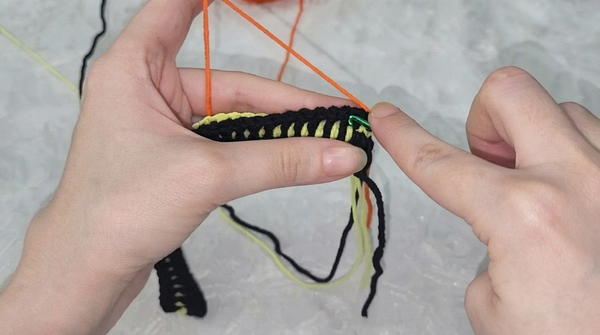
- Start working stitches into the back loop for a ribbed texture.
- Back Loop SC: Follow this pattern for all subsequent rows unless you are decreasing or positioning markers.
Decreasing Rows:
Round with Decrease:
- After completing initial rounds:
- Leave the first stitch untouched at the beginning of the row to decrease 1 SC.
- Work SC into the remaining stitches across.
Alternating Rows:
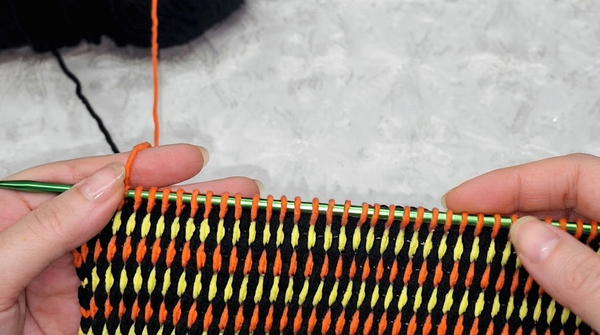
- Alternate decreasing rows with non-decreasing rows to maintain structure. For example:
- Odd-numbered rows: Perform decreases at the beginning or end.
- Even-numbered rows: Work evenly (no decrease).
Symmetry Management:
- Left Side: Decreasing begins from the start of the row (work from left to right).
- Right Side: Decreasing begins from the end of the row (work from right to left).
Creating the Final Sleeve Shape
Last Decreasing Rows:
- Decrease stitch count to 30 SC or as required to taper the sleeve.
- For the last few rows:
- Decrease consistently, skipping 1 or 2 stitches at regular intervals.
- End with a straight row of SC for a clean edge.
Edge Finishing:
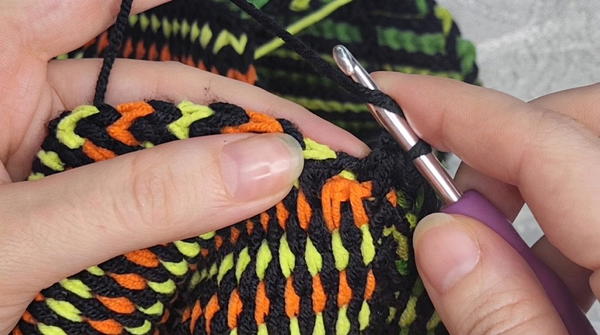
- Use Sl St on the edges to ensure neatness and alignment.
Pocket Construction
Foundation Chains:
- Ch 15–20: Add as many chains as needed based on the width of the pocket.
Round 1:
- SC into the second chain from the hook.
- Work SC in all stitches across. Ch 1, turn your work.
Pocket Expansion with HDC:
- Begin Expansion:
- After the initial SC rows, alternate SC rows with HDC for added thickness.
- Work HDC into the back loops for texture.
- Final Edge Work:
- For the last rows, finish with Sl St along the edges for structure.
Joining Pieces
Sewing and Measuring for Symmetry:
- Align the sleeve with markers to ensure proper placement before sewing.
- Stitch the sleeve edges together using a needle and yarn, ensuring tight and invisible seams.
Pocket Placement:
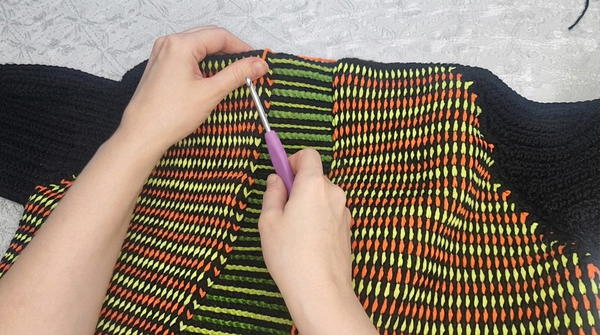
- Place markers at the desired pocket positions along the item (e.g., sweater front).
- Attach pockets evenly using Sl St or sewing techniques along the edges.
Optional Features
Adding Chains for Length:
- After completing the sleeve, you can add additional chains at the base for extending length.
- Use SC or HDC to create these rows, depending on the overall aesthetic.
Symmetrical Loops:
- Always divide stitch counts at the midpoint (using markers) for centering.
Conclusion
This pattern provides detailed instructions for crafting sleeves and pockets that offer a polished, professional finish. Through care in decreases, symmetry alignment, and tailored expansions, you can achieve results perfect for jackets, sweaters, and other wardrobe items. Adjustments and optional features allow for customization according to your design needs.