Besides being a fun project, this little cup is great as a decoration or a thoughtful gift for friends who love coffee, cocoa, or cute handmade items. It can brighten up any space and brings a little warmth to your day without needing a real drink nearby.
If you like simple, joyful projects that add a cozy touch to your home, the free crochet Cocoa Cup Pattern is a perfect choice. Try it out—you’ll enjoy making something that always brings a bit of comfort along with it!
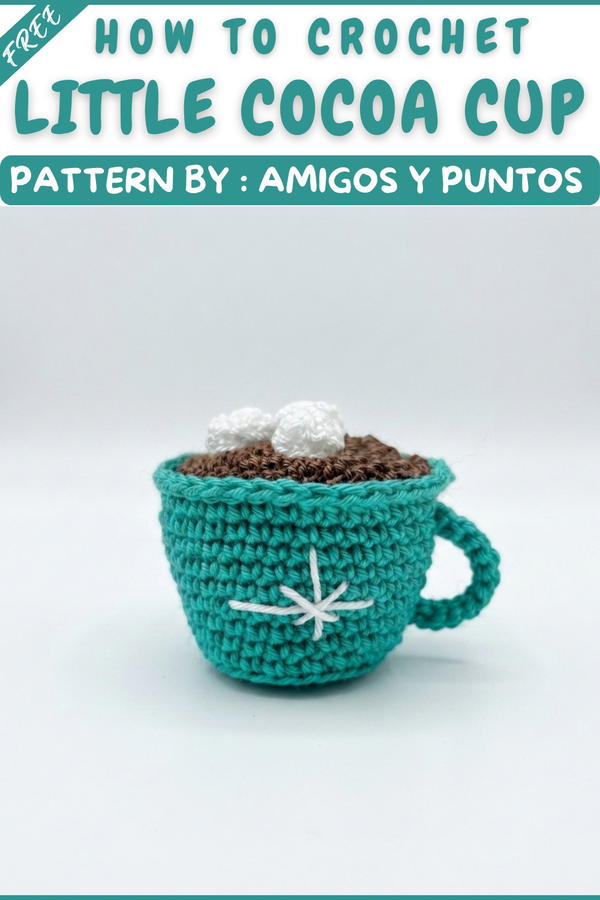
Crochet Amigurumi Cocoa Cup with Marshmallows Pattern
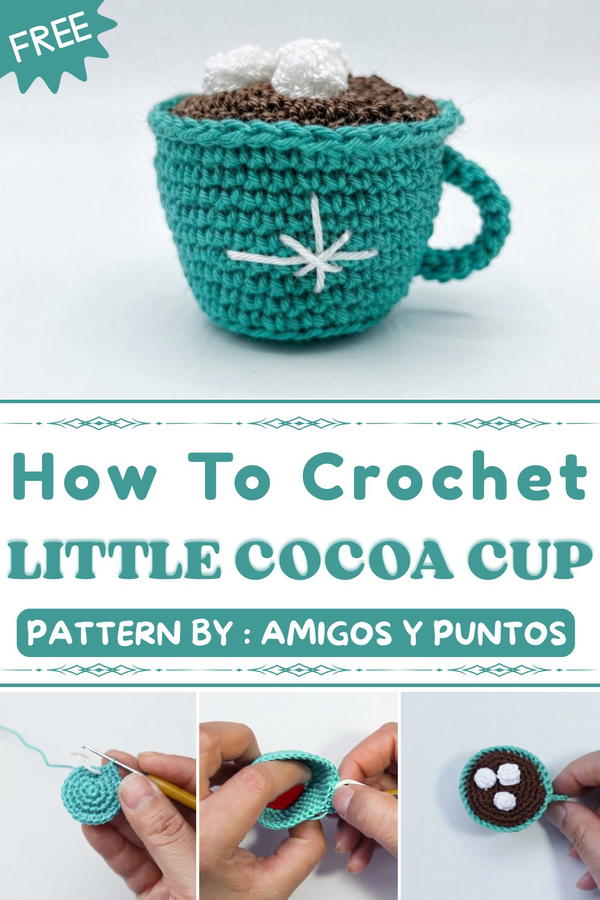
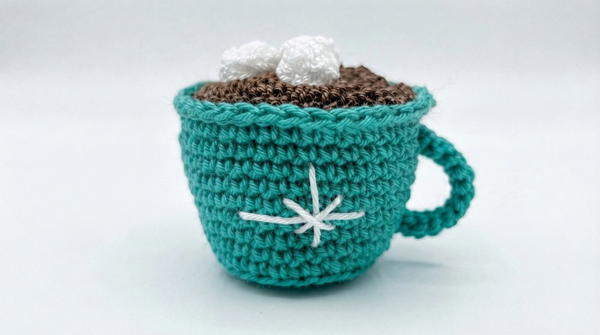
This detailed crochet pattern will guide you step-by-step in creating a charming cocoa cup with marshmallows amigurumi. Using green, brown, and white yarn, you will shape the cup, handle, cocoa topping, and marshmallows, combining them to form a cozy winter-inspired decoration. Made with a 1.5mm crochet hook, this project includes neat finishing touches such as adding stuffing, a cardboard base for stability, and a delicate embroidered snowflake.
Pattern Highlights
- Cup Base: Worked in rounds with single crochet stitches and increases, incorporating back loop and front loop stitches to shape the cup.
- Cup Handle: Simple crocheted chain reinforced with slip stitches.
- Cocoa Topping: Made separately and attached to the cup's top.
- Marshmallows: Three small white crochet spheres contribute to the realistic look.
- Decorative Embroidery: A snowflake pattern embroidered on the cup enhances the cozy theme.
- Stability: A circular piece of cardboard added inside the cup base for firmness.
Notes
- This pattern requires careful attention to stitch placement, specifically using back loops and front loops to create cup texture and shape.
- Stuff the cup before closing to give it fullness, but avoid over-stuffing to maintain its form.
- Use stitch markers if needed to keep track of round beginnings.
- The cardboard base ensures your amigurumi sits upright.
- The snowflake embroidery is optional but adds a beautiful finishing detail.
- Maintain consistent tension for uniform stitches and neat appearance.
- Fasten off leaving long tails when instructed to make assembly easier.
Skill Level
Intermediate
- Comfortable with magic ring, single crochet (sc), slip stitch (sl st), and increases.
- Familiar with working in rounds, back loop and front loop crochet.
- Experience with basic hand embroidery stitches appreciated.
- Ability to sew small parts together securely.
Materials
- Green yarn (for cup base and handle)
- Brown (chocolate) yarn (for cocoa topping)
- White yarn (for marshmallows and embroidery)
- Crochet hook size 1.5mm
- Scissors
- Stitch markers
- Sewing needle suitable for yarn
- Fiberfill stuffing
- Small circular piece of cardboard (~3-4 cm diameter)
Measurements / Sizing
- Finished cup: Approximately 6 cm tall and 6 cm diameter.
- Handle: Fits proportionally on the side, about 3-4 cm long.
- Cocoa topping: Fits snugly atop the cup, approx. 4-5 cm wide.
- Marshmallows: Small spheres about 1.5 cm diameter each.
Gauge and Stitch Pattern
- Gauge is flexible but using a small 1.5mm hook with No. 6 yarn creates firm, dense stitches suitable for amigurumi.
- Stitch patterns include working in rounds with:
- Single crochet (sc)
- Slip stitches (sl st) for handle reinforcement
- Back loop only (BLO) sc in round 6 of the cup base to create a subtle ridge
- Front loop only (FLO) sc in round 15 of the cup base for shaping.
Stitch Abbreviations
| Abbreviation | Meaning |
|---|---|
| ch | Chain |
| sc | Single Crochet |
| sl st | Slip Stitch |
| blo | Back Loop Only (of stitch) |
| flo | Front Loop Only (of stitch) |
| inc | Increase (2 sc in one stitch) |
| st | Stitch |
Special Stitches
- Magic Ring: Circular loop to start rounds, allowing tight closure.
- Increase (inc): Working 2 single crochets into one stitch increases stitch count.
- Back Loop Only (BLO): Insert hook only into the back loop of the stitch.
- Front Loop Only (FLO): Insert hook only into the front loop of the stitch.
The Crochet Pattern
Part 1: Cup Base (Green Yarn)
Use green yarn and a 1.5 mm crochet hook.
- Round 1:
- Make a magic ring.
- Work 6 single crochets (sc) into the ring. (6 sts)
- Round 2:
- Work 2 sc (inc) in each stitch. (12 sts)
- Round 3:
- Repeat (1 sc, 1 inc) 6 times. (18 sts)
- Round 4:
- Repeat (2 sc, 1 inc) 6 times. (24 sts)
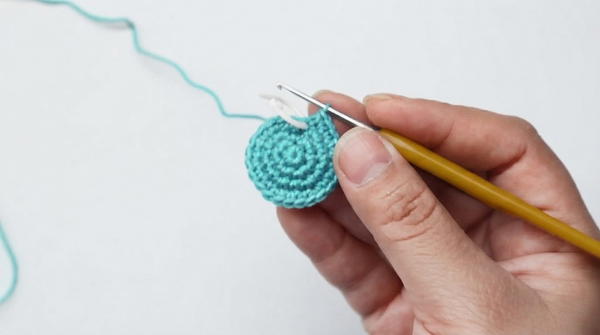
- Repeat (2 sc, 1 inc) 6 times. (24 sts)
- Round 5:
- Repeat (3 sc, 1 inc) 6 times. (30 sts)
- Round 6:
- Work 1 sc in ONLY the back loop (blo) of each stitch around. (30 sts)
This creates a subtle ridge for texture.
- Work 1 sc in ONLY the back loop (blo) of each stitch around. (30 sts)
- Rounds 7 & 8:
- Work 1 sc in each stitch around. (30 sts per round)
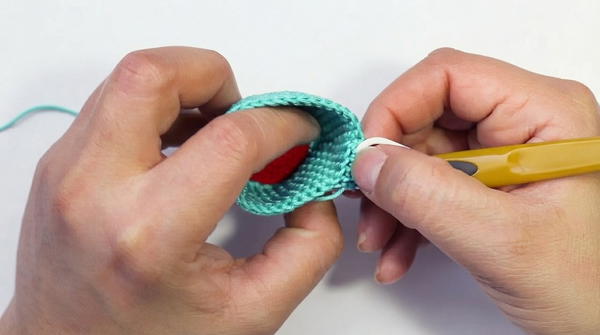
- Insert Cardboard:
- Place small circular cardboard inside the cup base for stability.
- Round 9:
- Repeat (4 sc, 1 inc) 6 times. (36 sts)
- Rounds 10 to 14:
- Work 1 sc in each stitch around. (36 sts per round)
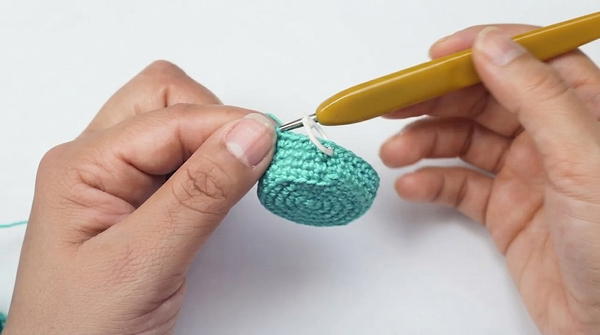
- Work 1 sc in each stitch around. (36 sts per round)
- Round 15:
- Work 1 sc in ONLY the front loop (flo) of each stitch around. (36 sts)
Shapes the cup’s top for attaching cocoa.
- Work 1 sc in ONLY the front loop (flo) of each stitch around. (36 sts)
- Fasten off, leave a yarn tail for assembly.
Part 2: Cup Handle (Green Yarn)
- Chain 10 stitches (ch 10).
- Starting from the second chain from the hook, work 1 slip stitch (sl st) in each chain back toward the beginning.
- Leave a long tail to sew the handle onto the cup.
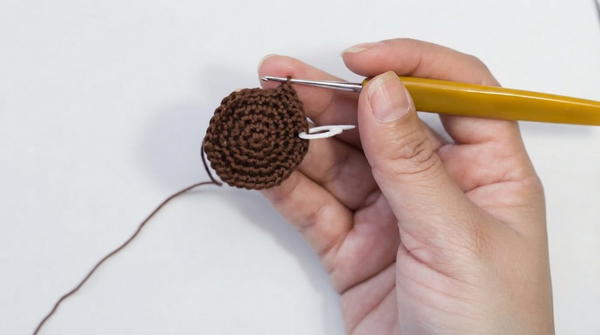
Part 3: Cocoa Topping (Brown Yarn)
Use brown yarn and 1.5 mm hook.
- Round 1:
- Make a magic ring.
- Work 6 sc into the ring. (6 sts)
- Round 2:
- Work 2 sc (inc) in each stitch. (12 sts)
- Round 3:
- Repeat (1 sc, 1 inc) 6 times. (18 sts)
- Round 4:
- Repeat (2 sc, 1 inc) 6 times. (24 sts)
- Round 5:
- Repeat (3 sc, 1 inc) 6 times. (30 sts)
- Round 6:
- Repeat (4 sc, 1 inc) 6 times. (36 sts)
- Fasten off, leave a tail for sewing.
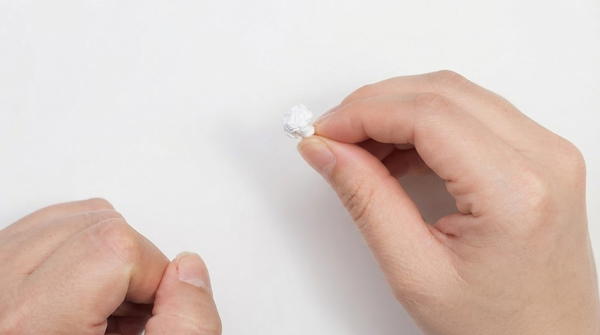
Part 4: Marshmallows (Make 3) (White Yarn)
Use white yarn and 1.5 mm hook.
- Round 1:
- Make a magic ring.
- Work 6 sc into the ring. (6 sts)
- Rounds 2 and 3:
- Work 1 sc in each stitch around for 2 rounds. (6 sts per round)
- Fasten off, leave tails for sewing.
Assembly Instructions
- Attach the Cocoa Topping:
- Using the tail from the cocoa topping, sew it onto the cup top, connecting to the front loops of Round 15 on the cup base for a secure fit.
- Stuff the Cup:
- Fill the cup base lightly with fiberfill before fully closing to keep its shape.
- Attach the Handle:
- Sew the crocheted handle onto one side of the cup using the long tail left.
- Attach Marshmallows:
- Position and sew the three marshmallows on top of the cocoa.
- Embroider Snowflake:
- With white yarn, embroider a snowflake design on the cup’s side for a festive touch.
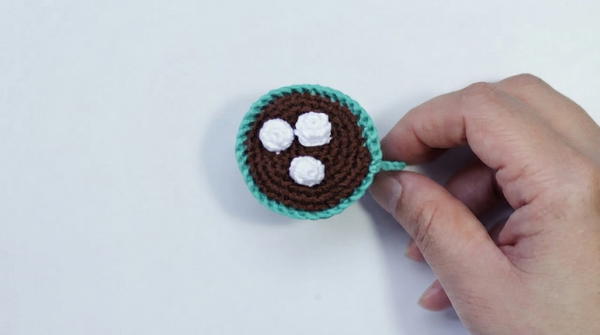
- With white yarn, embroider a snowflake design on the cup’s side for a festive touch.
Finished Size
Your finished crochet cocoa cup with marshmallows amigurumi will measure approximately:
- Height: 6 cm (2.4 inches)
- Diameter: 6 cm (2.4 inches) at the cup opening
- Handle: About 3–4 cm (1.2–1.6 inches)
- Marshmallows: Approximately 1.5 cm (0.6 inches) each
This compact size makes it perfect as a decorative piece, keychain, or a cute gift embellishment.
Conclusion
This delicate crochet cocoa cup with marshmallows amigurumi beautifully captures the warmth and coziness of a comforting winter drink. Following the detailed rounds, stitch techniques, and assembly guidelines, you’ve crocheted a sturdy cup base, a textured handle, decadent cocoa topping, and charming mini marshmallows — all combined with thoughtful finishing touches like a cardboard base and embroidered snowflake. This project balances precision and creativity, ideal for intermediate crocheters looking for a delightful seasonal craft.