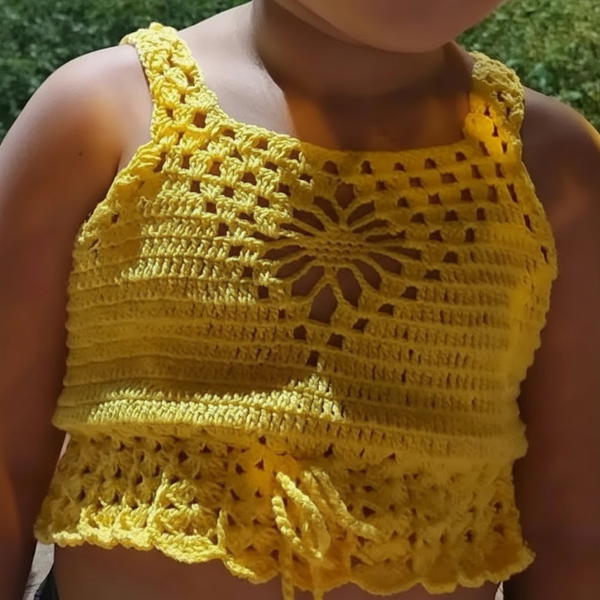
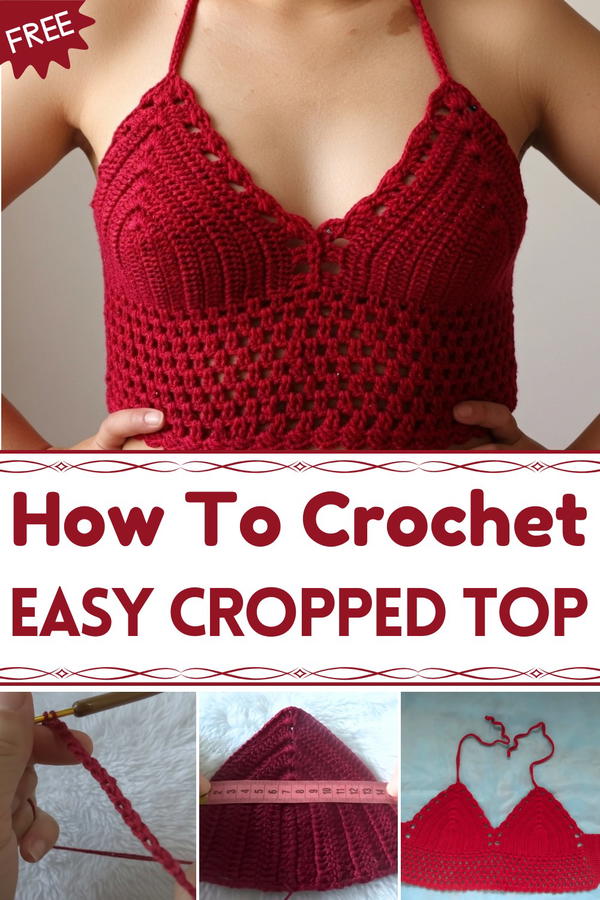
Weave your own summer vibe with this easy Crochet Cropped Top Pattern, perfect for beginners seeking a playful and stylish wardrobe upgrade.
It’s easy to think that simple tops are boring and plain, but this handcrafted piece changes that idea completely. Soft and delicate, this type of top brings a handmade charm that brightens up any outfit. Its cozy texture feels gentle against the skin, making it great for warm weather when you want to stay cool without losing style. The length is just right to show a bit of midriff, creating a playful and trendy look.
Handmade Crochet Cropped Top Pattern Step by Step
Perfect for beach days, casual outings, or adding a fun touch to a party outfit, it pairs easily with jeans, shorts, or skirts. Each stitch tells a story of care and creativity, turning simple yarn into a beautiful piece of clothing.
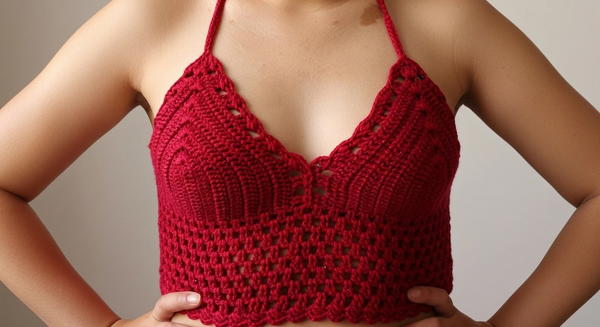
Comfortable and eye-catching, this top combines art and fashion in a way that’s easy to love and wear every day. Whether you make one yourself or wear someone else’s creation, it’s a fresh way to express your unique style.
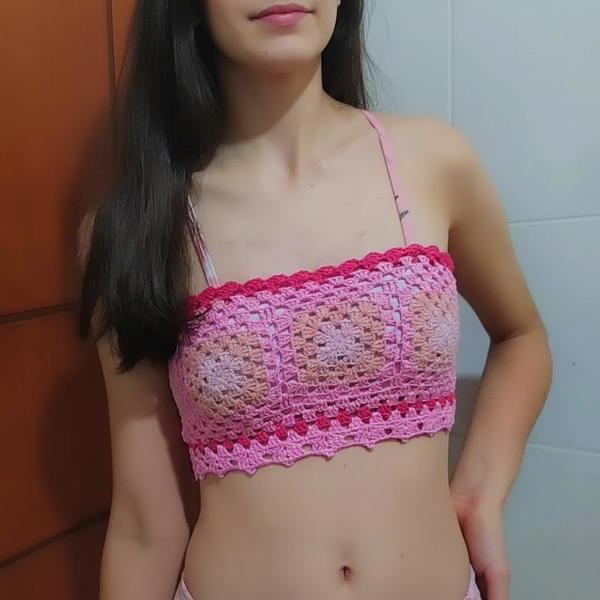
Crochet Camila Fashion Bra Top Pattern
Materials Needed
- Camila Fashion yarn (two strands held together)
- Crochet hook size 3 mm (use 2.5 mm if stitches feel loose)
- Scissors
- Yarn needle
- Measuring tape
Sizes and Starting Chains
- Size Small (S): 14 foundation chains, 6 rows
- Size Medium (M): 16 foundation chains, 7 rows
- Size Large (L): 18 foundation chains, 8 rows
- Size Extra-large (XL): 20 foundation chains, 9 rows
Step-by-Step Pattern
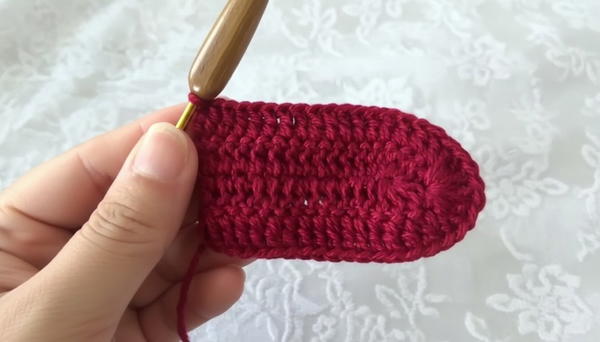
Step 1: Foundation Chain and First Row
- Make a foundation chain according to your size (e.g., 16 ch for size M).
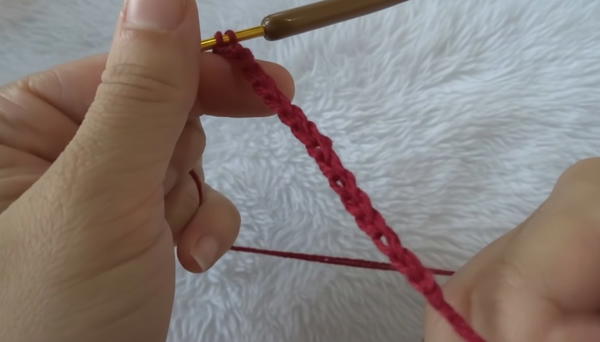
- After making 16 chains, tighten the first chain well.
- Skip the first 3 chains (counts as first double crochet + 1 chain of spacing).
- In the fourth chain from the hook, crochet 1 double crochet (dc).
- Continue to crochet 1 dc in each chain across the row.
- When you reach the last stitch, work 4 dc into the same stitch to create a cluster for shaping.
Step 2: Cluster Increase
- Chain 1 to separate the cluster.
- In the same stitch where you made the cluster, work 4 more double crochets.
- This should create 8 dc stitches clustered with a chain separating four dc on each side.
Step 3: Working Rows with Fan Stitch
- Turn your work.
- For next rows, work 1 dc in each stitch along the row until you reach the chain space at the cluster.
- When you reach the chain space, work the fan stitch: 3 dc, chain 1, 3 dc all in the same chain space.
- Continue working 1 dc per stitch after the fan stitch.
- Chain 3 at row end to turn and repeat this sequence for each row.
Step 4: Repeat Rows
- Repeat the row sequence: double crochet stitches with fan stitch in the center chain space.
- The number of rows varies by size: 6 rows for S, 7 for M, 8 for L, and 9 for XL.
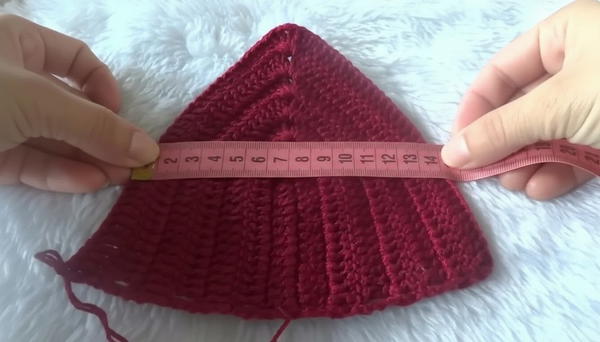
- Adjust if necessary for your desired cup size.
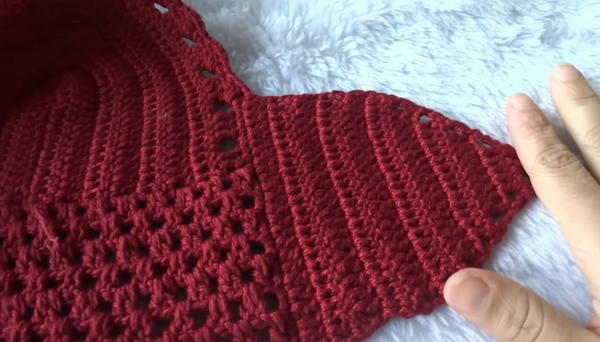
Step 5: Open Work Row (Lace Pattern)
- After completing cup rows, you will start the open work/lace pattern.
- Chain 3 and turn.
- Work groups of 3 dc clustered together with 2 chains separating each group, skipping 2 base stitches between groups.
- Continue this pattern across the row.
- Complete the same number of rows in this open work for symmetry.
Step 6: Repeat on Second Cup
- Repeat Steps 1–5 to make a matching second cup.
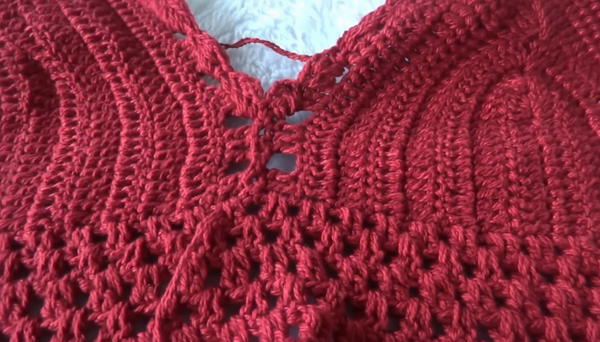
Step 7: Join Cups at Center
- Place the two cups with right sides facing each other.
- Align centers carefully.
- Join edges using slip stitches and secure with tight single crochets in between cluster blocks only (do not join too far to allow stretch and avoid side spillage).
Step 8: Picot Edging
- Add picot edging around the cups and bottom of the top:
- Single crochet, chain 2 then slip stitch in second chain from the hook.
- Repeat this all around for a decorative finish.
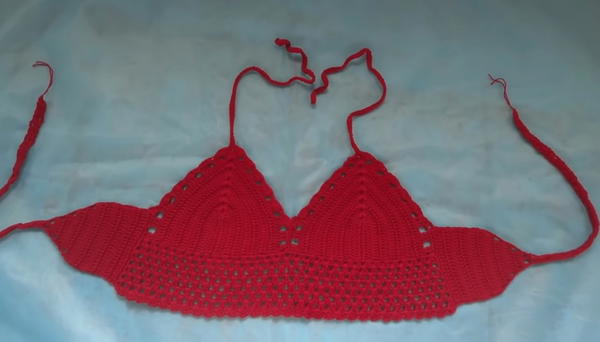
Step 9: Make Tie Straps
- For the back tie, from each side of the cups, chain approximately 80 stitches (or desired length for tying).
- Work back along the chain with single crochet stitches to create a firm strap.
- Optional: Make neck ties by chaining desired lengths and working single crochet similarly.
Step 10: Finishing
- Weave in all loose threads neatly.
- Block your top if desired for shaping.
- Adjust strap length for comfort and fit.
Special Features
- Two strands of yarn held together for better coverage
- Decorative fan stitch clusters
- Open lace section for breathability and style
- Sturdy and neat picot edging
- Adjustable tie straps for custom fit
Level of Difficulty
Intermediate — suitable for those familiar with double crochet, chaining, slip stitches, working in rows, shaping by increasing and decreasing, and joining pieces.
Tutor’s Suggestions
- Use a 2.5 mm hook if your stitches are loose for a better finish.
- Always count stitches carefully, especially for the fan stitch and joining areas.
- Ensure symmetric fan placement in both cups.
- Secure seams but allow enough flexibility for comfort.
- Block your work for neater edges and cup shaping.
Uses
- Stylish summer crochet top for casual wear or beach use
- Lovely handmade gift or retail item for summer fashion
- Good practice project for learning shaping and fastening
Tip
Finish off and weave in yarn tails after finishing each section to keep the project tidy and avoid bulky ends to manage later.
Conclusion
This Camila Fashion crochet bra top combines gorgeous stitch work with functional shaping and adjustments for a perfect summer garment. The detailed pattern ensures a well-structured and flattering fit, with customizable sizing and elegant finishing touches.