Follow this free crochet Squid Game soldier guide to produce a unique and detailed piece that captures the essence of the viral series for fans to admire.
Bringing popular characters into the world of crochet offers a creative and enjoyable challenge for crocheters. The free crochet squid game soldier pattern, shared by the talented Домашні жителі channel, gives enthusiasts a chance to make a striking little figure inspired by the famous series.
Quick Free Crochet Squid Game Soldier Pattern with Instructions
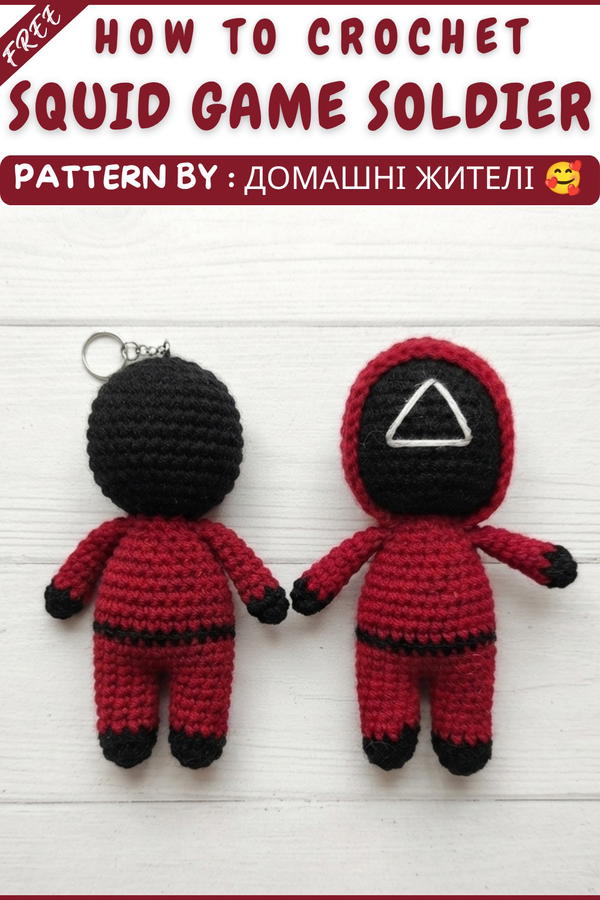
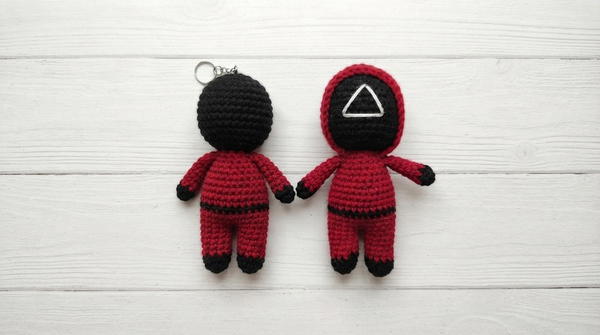
This project creates a compact amigurumi doll, capturing the soldier’s iconic helmet and jumpsuit with clear, bold shapes and contrasting colors. The tight crochet stitches produce a smooth, firm texture, giving the doll a sturdy feel while still remaining soft and cuddly.
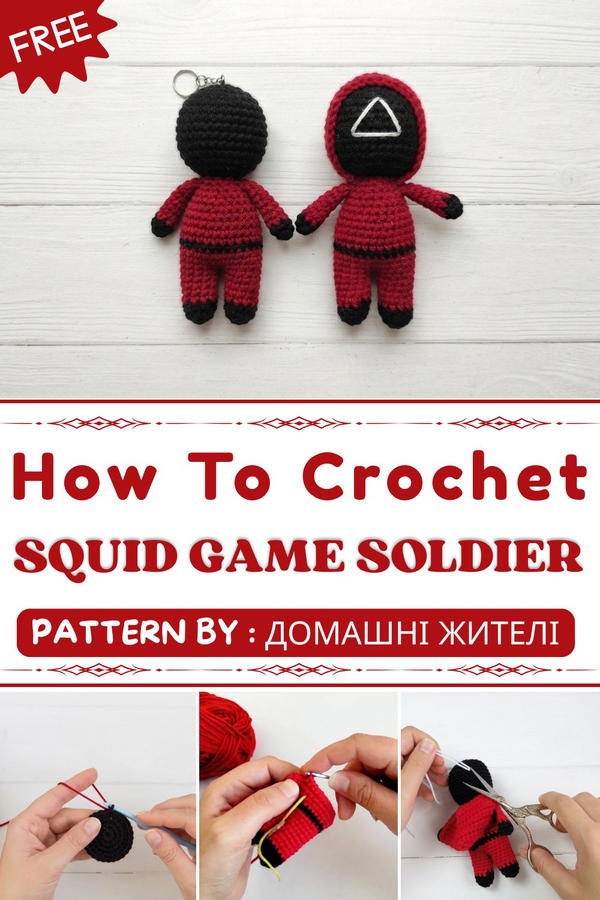
Its design features simple geometric shapes, rounded head, triangular details on the mask, and precise body proportions, that perfectly capture the show’s mysterious guards. The pattern works wonderfully for gifting fans of the series, as a quirky home decoration, or as a standout accessory on backpacks or desks.
Beyond its visual appeal, this crochet soldier is an engaging way to refine basic to intermediate crochet skills. This handcrocheted figure brings a touch of fun, fandom, and artistic flair into everyday spaces, making it a delightful addition to any handmade collection.
Crochet Squid Game Soldier Pattern
Bring the iconic Squid Game soldier to life with this step-by-step amigurumi crochet pattern. Designed for intermediate beginners, this project captures the unique style of the guard with simple shaping, color changes, and easy assembly. Using YarnArt Baby acrylic yarn and a 2.5 mm hook, you’ll create miniature arms, legs, body, head, and hood, complete with embroidered symbols for the finishing touch. This collectible figure is perfect for fans, gifting, or display.
Pattern Basic Points
Key Construction Elements
- Amigurumi in the round: Both head, body, arms, and legs are crocheted in spirals.
- Color changes: Feature precise transitions for the mask, suit, and hood.
- Panel hood: Flat crochet allows shaping and attachment.
- Assembly: Easy, stepwise joining for a neat finish.
- Embroidery: Final detail with a face mask symbol for authenticity.
Special Notes
- Use a stitch marker to track rounds; amigurumi is worked in a spiral with no joins.
- Stuff as you go, keeping limbs firm but not overstuffed to maintain shape.
- Change color on the last yarn-over of the previous stitch for clean edges.
- For hood shaping, decrease evenly along the edge to prevent curling.
- Embroider the symbol carefully for neatness.
Skill Level
Confident Beginner — Amigurumi
You’ll need to know chains, single crochet, increase (inc), decrease (dec), and color changes. Some sewing and embroidery for assembly.
Materials
- YarnArt Baby acrylic yarn:
- Pink (suit)
- Black (mask, belt)
- White (symbol detail, optional)
- 2.5 mm crochet hook
- Fiberfill stuffing
- Tapestry needle
- Embroidery floss (white/black)
- Scissors
Measurements / Sizing
- Finished height: ~9–12 cm (varies with tension and stuffing).
- Width: Proportional to height (~4–6 cm).
Gauge
- Gauge is not critical, but stitches should be tight—no stuffing should show through.
Stitch Abbreviations
- ch – chain
- sc – single crochet
- inc – increase (2 sc in one stitch)
- dec – decrease (sc two together)
- FO – Fasten off
Special Stitches
- Increase (inc): Work 2 sc in same stitch.
- Decrease (dec): sc two stitches together.
- Crochet closed: After folding, work single crochet through both layers.
The Pattern
1. Arms (Make 2)
- R1:
- 3 ch, 6 sc in 2nd ch from hook (6)
- R2:
- 1 sc, 1 inc; repeat (9)
- R3:
- 9 sc
- Change to pink on the last stitch
- R4–5:
- 9 sc each round
- R6:
- 1 sc, 1 dec; repeat (6)
- R7–10:
- 6 sc each round
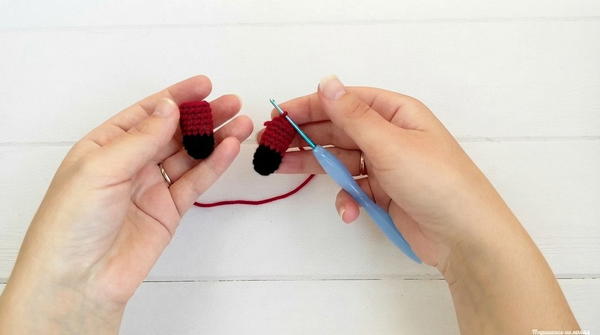
- At the end, fold and crochet closed (through both layers)
- FO
2. Head
- R1:
- 2 ch, 6 sc in second chain (6)
- R2:
- 6 inc (12)
- R3:
- 1 sc, 1 inc; repeat (18)
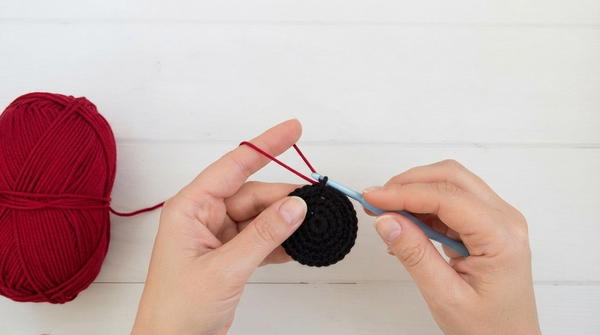
- 1 sc, 1 inc; repeat (18)
- R4:
- 2 sc, 1 inc; repeat (24)
- R5:
- 3 sc, 1 inc; repeat (30)
- R6–13:
- 30 sc each round
- R14:
- 3 sc, 1 dec; repeat (24)
- R15:
- 2 sc, 1 dec; repeat (18)
- R16:
- 1 sc, 1 dec; repeat (12)
- R17:
- 6 dec (6)
- FO, leaving a long tail (stuff before closing)
3. Legs (Make 2) and Body
Legs
- R1:
- 2 ch, 6 sc in second chain (6)
- R2:
- 6 inc (12)
- R3–4:
- 12 sc each round
- Change to pink; R5–9:
- 12 sc per round
Body
- Join the two legs with 2 ch.
- R1:
- Work evenly around both legs and the chain: 28 sc
- R2–4:
- 28 sc each round
- R5:
- Change to black, 28 sc
- R6–9:
- Change to pink, 28 sc each round
- R10:
- 5 sc, 1 dec; repeat (24)
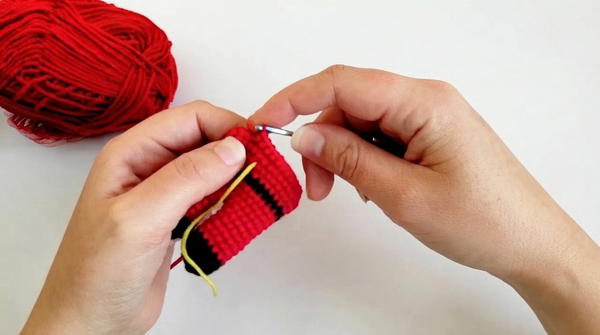
- 5 sc, 1 dec; repeat (24)
- R11:
- 24 sc
- R12:
- 4 sc, 1 dec; repeat (20)
- R13:
- 20 sc
- R14:
- 3 sc, 1 dec; repeat (16)
- R15:
- 16 sc
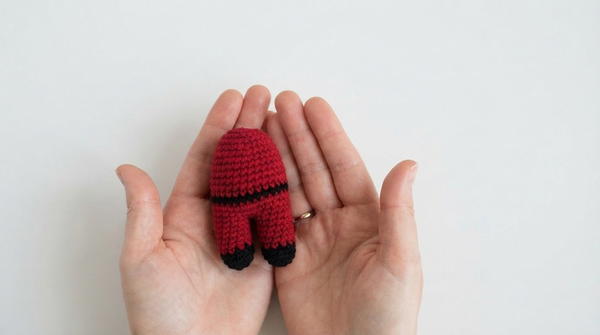
- FO (leave tail, stuff body and legs)
4. Hood
- Base:
- 14 ch
- 13 sc across, then 13 sc along the opposite side of the chain (26 total)
- Rows:
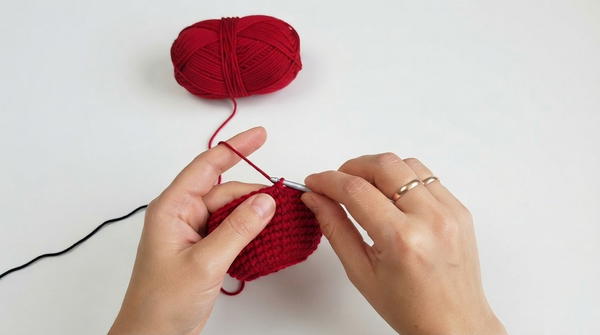
- Work back and forth, 26 sc for 10 rows
- Bottom Shaping:
- Continue with rows of 1 sc, 1 dec until edge is shaped for hood contour (decrease at both ends every row).
- FO (leave tail for sewing)
5. Assembly & Finishing
- Sew Head to Body: Attach securely with invisible seam.
- Attach Arms: Sew arms to sides of body, positioning slightly under head.
- Sew Hood: Place around head and attach along neckline and back.
- Embroider Symbol:
- Use white or black yarn/floss and embroider the soldier symbol (circle/triangle/square) on the mask with tiny backstitches or satin stitch.
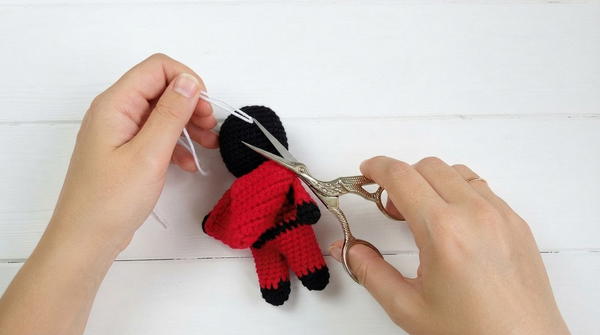
- Use white or black yarn/floss and embroider the soldier symbol (circle/triangle/square) on the mask with tiny backstitches or satin stitch.
Assembly & Finished Size
- Height: Approximately 9–12 cm
- Width: 4–6 cm
- Finish: Sculpted head and hood, sewn limbs and body, embroidered face detail.
Important Points
1. Amigurumi Construction
- The figure is worked in continuous* spiral rounds*—not joined at the end of each round.
- Head, body, arms, and legs are crocheted separately and then assembled.
2. Color Changes
- Color changes are crucial for the soldier's uniform look: pink for the suit, black for mask details, and contrasting embroidery for the symbol.
- Change color by completing the last yarn over of the previous stitch with the new yarn.
3. Component Assembly
- Arms, legs, body, and head are crocheted separately and sewn together for a more professional and neat finish.
- The hood is crocheted as a separate panel, shaped, and then attached to the head and body.
4. Stuffing
- Each piece (especially the head and body) should be stuffed firmly (but not overstretched) as you go, ensuring the doll keeps its shape.
5. Symbol Embroidery
- The final touch is the embroidered mask symbol (circle, triangle, or square, per your preference).
- Use backstitch or satin stitch for a clear, clean symbol.
6. Stitch Markers
- Using a stitch marker to mark the start of each round helps maintain stitch counts and prevents mistakes, especially in the spirals.
7. Folding and Closing Limbs
- Arms are folded in half and crocheted closed to give a firm, finished arm shape.
8. Uniform Stitch Tension
- Maintain an even, tight tension to prevent stuffing from showing through and for a clean, compact look.
9. Seamless Joins
- Carefully sew each limb and the hood using a tapestry needle for seamless joins.
10. Yarn and Hook Size
- Use YarnArt Baby (or a similar weight) and a 2.5 mm hook for best results—this ensures the piece is small, neat, and stuffed evenly.
Conclusion
This pattern guided you through crocheting and assembling each part, mastering color changes, shaping, and embroidery for an accurate, collectible figure. The process develops both amigurumi technique and finishing skills.