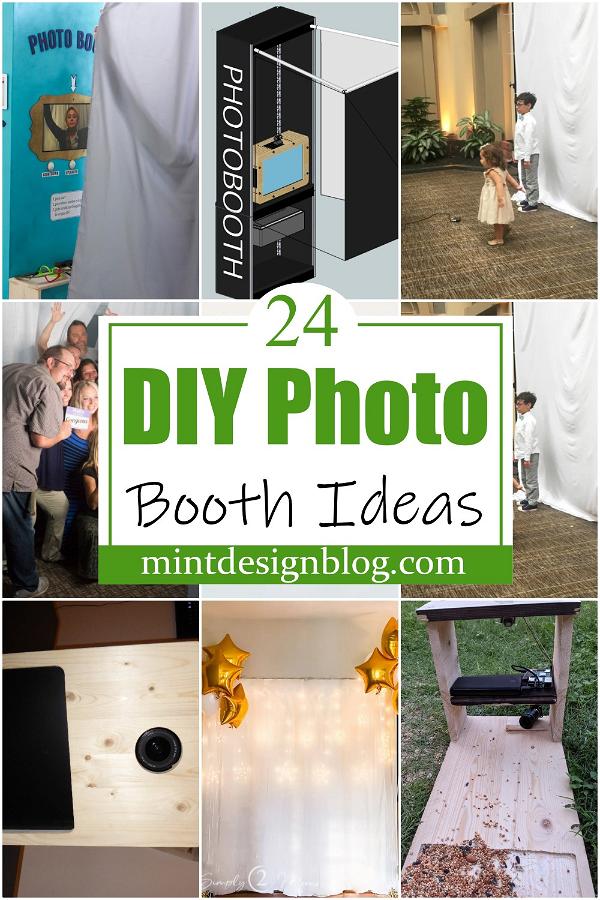
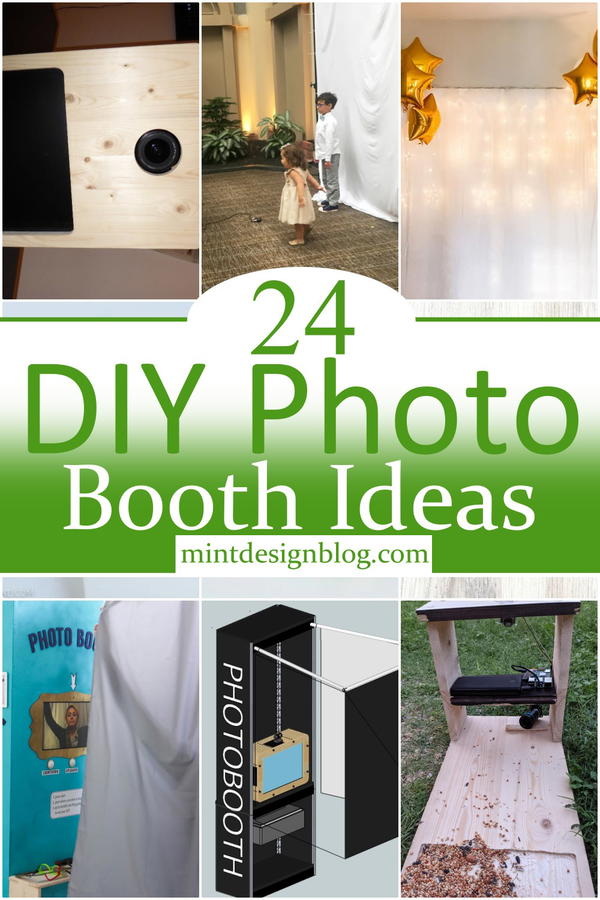
A photo booth is a fun way to create memories during any event. It can be used for weddings, birthdays, corporate events, and more. You don't need to spend much money on an expensive booth because if you are creative and have time, you can make one using items found around the house. Creating a photo booth has never been so easy and fun! If you are thinking of starting your own DIY photo booth, we would love to guide you through them. We have short-listed some amazing Photo Booth Ideas that will inspire you to create one of your own. It's a great help if you are searching for fresh ideas for the wedding or any other special occasion that requires the presence of this awesome activity.
DIY Photo Booth Ideas
Planning a party is no easy feat with all the planning, preparation, and budgeting. First, you must come up with an idea of what type of party you want. Then, you might have to research where to get your supplies from. After that, all your hard work has been done. Now, it's time for some more fun! Try some of these DIY Photo Booth Ideas for an easy way to create a photo booth for your guests at your next party or event. You can do these as cheaply as possible or spend a lot on them. These affordable DIY Photo Booth Ideas will help make your event fun and memorable.
You Can See: 27 DIY Picture Frame Ideas
Easy To Do Ideas:
Creating a DIY photo booth is easy to add fun and excitement to your party or wedding. It also allows you to offer guests something they can keep as a memento of the event, making them feel like they are part of the experience. So, if you are planning a summer party or looking for something new to do with your friends, here are some DIY Photo Booth guides that will help you make one for less money and stress!
Uses And Benefits:
Now, people have more options to choose from when creating this element of their event. Photo booths can create a fun atmosphere at a party and leave the guests with memorable memories. The booths can look lavish and beautiful or simple and fun, depending on the theme and decoration you are going for. You don't need to go out and buy one from a store anymore because there are tons of DIY tutorials available on the internet that would help you create one without breaking your bank!
If you want to make your guests laugh, or if you want to add some cool decoration to the party, then these 25 DIY Photo Booth Ideas are surely going to inspire you!
Photo Booth Idea To DIY
The camera is a very important part of the photo booth. It can make your camera stand with a tripod stand at the height you want, helping you get the ideal photos. Otherwise, you need to find a place to hold your camera in the hand-made photo booth. A digital point-and-shoot camera will be a good choice, but other important factors should also be considered. You need to pick a tripod stand that is tall enough to give you a decent shot of your subject.
How To Build A Photo Booth
For a photo booth to be successful, you will need to have the right props and equipment. You must ensure that the technology is compatible with the hardware and software. The best time to prepare is before the party begins because once the guests arrive, they will likely begin taking pictures. This often leads to problems with filling up memory cards and cameras needing batteries charged before they can capture moments. These tips will help you have a smooth event without worrying about your guests having issues with their photos!
How To DIY A Photo Booth For Events
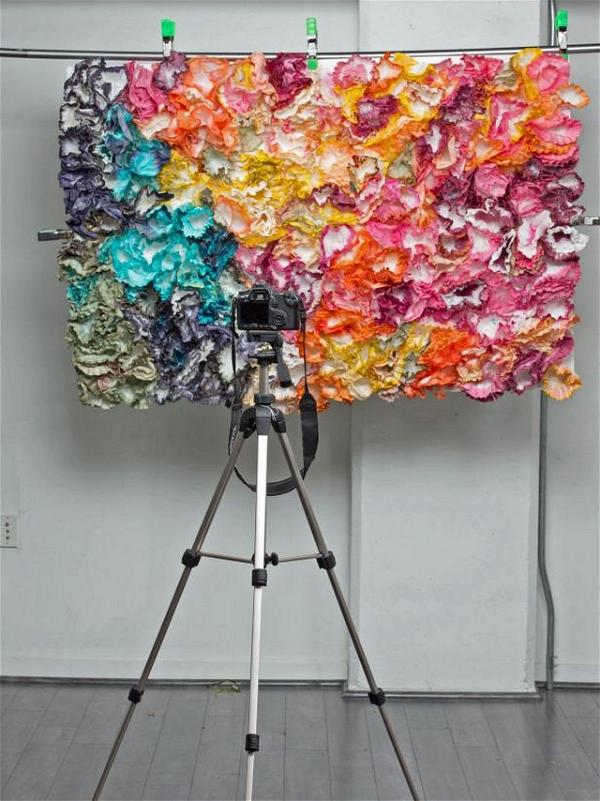
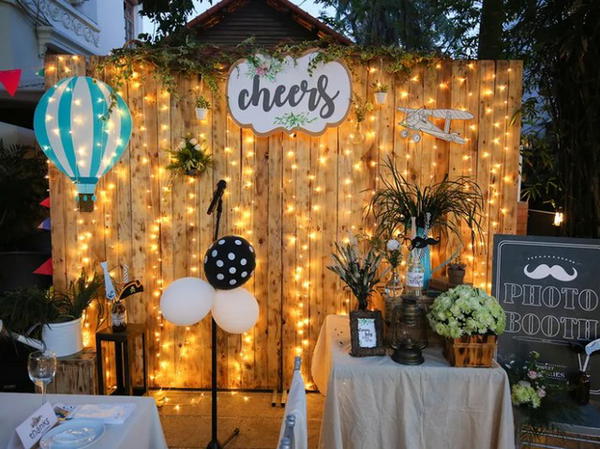
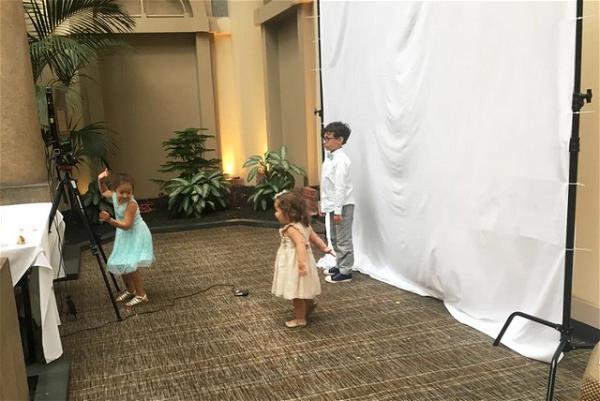
Planning a wedding, party, or corporate event? You need to have a photo booth at your next parties! A photo booth backdrop is the most important part of a photo booth. Make your own in just a few hours with this video tutorial. This tutorial shows you how to build a cheap backdrop from fabric and PVC pipe attachment. Everything is easy to set up, dismantle and store away. The best part of this photo booth is that it does not require any tools or equipment, so you can just start setting it up for your next event.
DIY Photo Booth Idea For Weddings
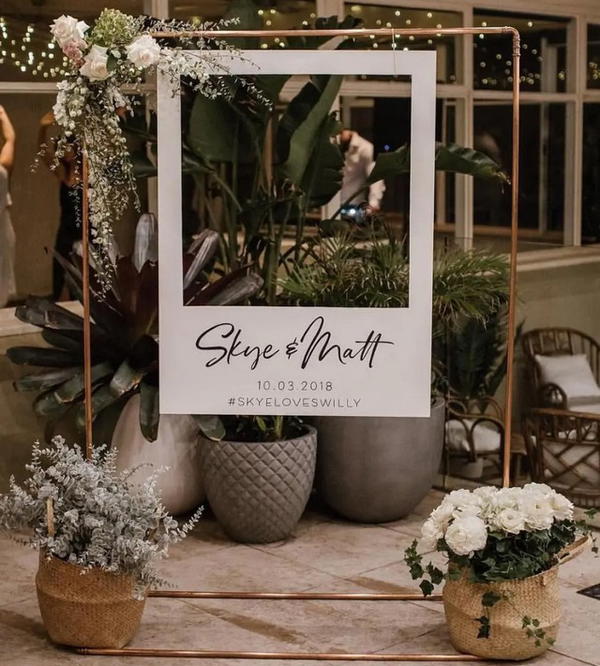
You can create a beautiful, captivating photo booth for your wedding by following a few simple steps. Here are six steps to follow to have a stunning photo booth backdrop that will be used by your guests and give you great pictures. The first step is finding a suitable location for the photo booth where it will attract people. Then, make the photo booth backdrop. After this, you need to decide on the type of camera that will be used. In addition to helping you find a suitable location for your booth and make the backdrop, this guide gives tips on choosing the right camera and requesting guests to be patient.
Photo Booth Idea For Birthday Girl
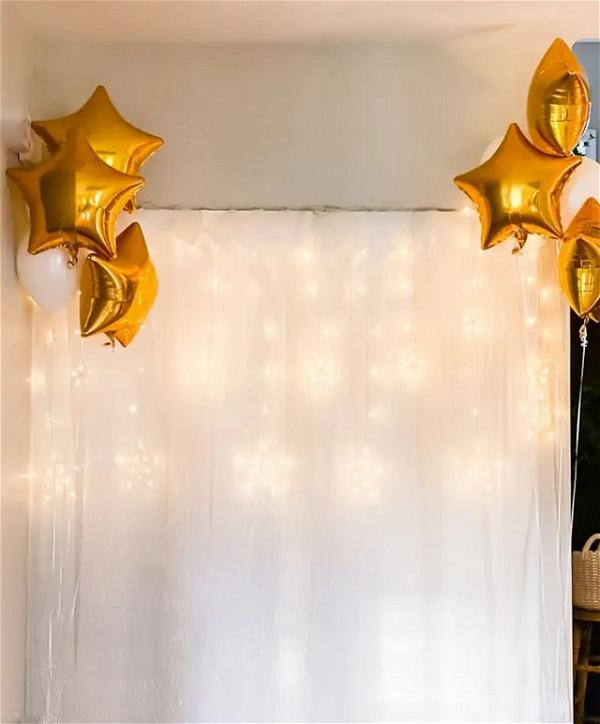
This is an easy, quick project that will last you for years. The great thing about it is that you can move it around if you want to and use it for different events. A few things to remember: The glue gun can be dangerous to use, so please be careful and follow all warnings on the package. Make sure that when you are covering your photo booth with gold mylar star or balloon decoration, use some paper towels or something like cardboard on the floor because there may be something sticky on the base of the booth, which may leave marks on your floor.
Polaroid Photo Booth Idea
This Polaroid Photo Booth Idea is just what you need to spice up your photo booth. This guide will help simplify all the DIYs involved in lighting and picture props. No worries, this guide has helped you with everything from constructing a simple lighting setup to creating cool photo booth props that everyone will love. So quickly go through the steps and prepare for more fun, happy memories and priceless photos that guests will cherish for years to come!
How To Make An iPad Photo Booth
There is something truly magical about a photo booth. It doesn't matter if it's a big, elaborate setup or a super-simple ring light photo booth like this tutorial shows you how to build. Just seeing the resulting images will instantly create happy memories, regardless of how the photos are taken. You could even save your favorite shots and turn them into a keepsake book. With this video, you will learn how to make an iPad photo booth with an inexpensive ring light to create an awesome interactive experience for your wedding or event.
DIY Photo Booth Props
A DIY photo booth is a fun way for your guests to capture their special moments at your wedding. And if you don't have guests, it's a fun way for you and your bridal party or family to capture the day as well! The creator of this work has meticulously documented the whole process in a very easy-to-follow tutorial. The most important step is to make sure you have a tripod and a Raspberry Pi with a camera. This is a great place to start learning about how to build a photo booth with this great tutorial.
Documentation Photo Booth To Make
This DIY phone booth is a great way to get high-quality photos for your business or event. This guide will walk you through the process if you have ever considered building a photo booth for less than $150. It's very simple to build and easy to customize, giving you complete control over the look and feel of your setup. Also, it's easy to move around and doesn't require much space. Learn more about the process by clicking on the link below. Full instructions, as well as additional photos and tips, are supplied in this guide.
Photo Booth Idea With Bird
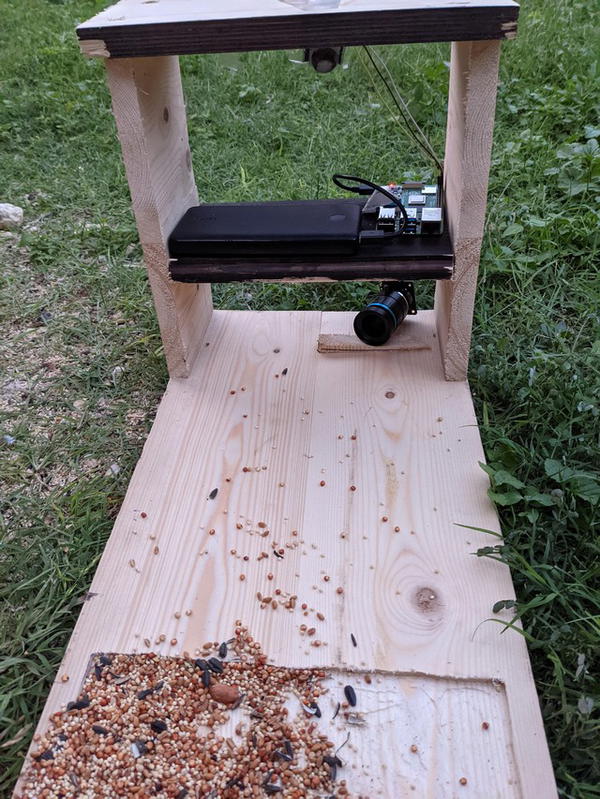
This DIY Bird Photo Booth is a fun project for the whole family. You will need a raspberry pi, micro SD card, PIR sensor, external power bank, camera module and ribbon cables to make this photo booth work. The guide will provide the required electrical connections and coding options to make everything plug in nicely. This project is not for beginners, as some electrical connections and coding knowledge would be helpful. The instructor wrote both a detailed guide and an electrical connection diagram to help anyone wanting to make this easy project possible.
GIF Photo Booth Idea
A DIY GIF photo booth is all the rage nowadays, and it is not hard to understand why. The notion of creating personal memories with your friends and family has lost its novelty. Everyone wants to have fun and acknowledge their special times together in a unique way with all the bells and whistles. You will find yourself saying, "I wish I'd known how easy this was!" You won't need to hire someone anymore; you'll just make one yourself with the help of this simple guide.
DIY Professional iPad + DSLR Photo Booth
Offering a unique and sophisticated option for your next photo booth, this DIY Professional iPad + DSLR Photo Booth takes your personal photos to a whole new level. This professional photo booth uses a DSLR camera, which is super amazing. The creator connects the DSLR to wifi to make the photo pop beautifully and bright. Through its durable lens design, the camera’s Lensbaby produces swirls of light in the background, creating beautiful images from any vantage point.
DIY Simple Photo Booth
Create a DIY Photo Booth with your own camera, backdrop and accessories. You can use it for parties and events or even set it up at home for everyday use! The best part is that this project doesn’t require too much effort on your part. It does not require much time and costs less money compared to the photo booths at parties, weddings, etc. With a few materials and basic knowledge of the tools, you can easily make your own photo booth. This DIY project is perfect for any event and can be customized to your preferred style.
Wedding Photo Booth Props Idea

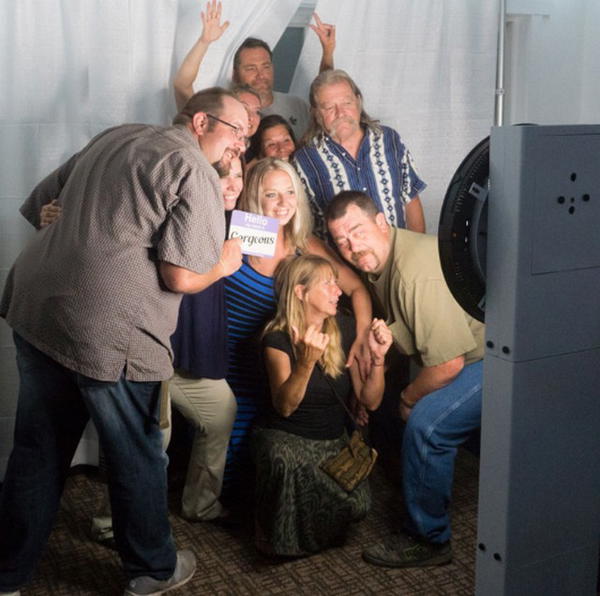
A photo booth can be a great addition to any special occasion or celebration. The process of putting it together is very simple, requiring all users to do is walk up, look through the screen, press the button, and strike a pose. Experienced photographers will be on hand to assist with getting people situated in front of the camera for their photos at no additional cost. It will be a great way to record all those precious family moments you would have missed. Our booth lets anybody take great shots in a flash.
DIY At Home Photo Booth
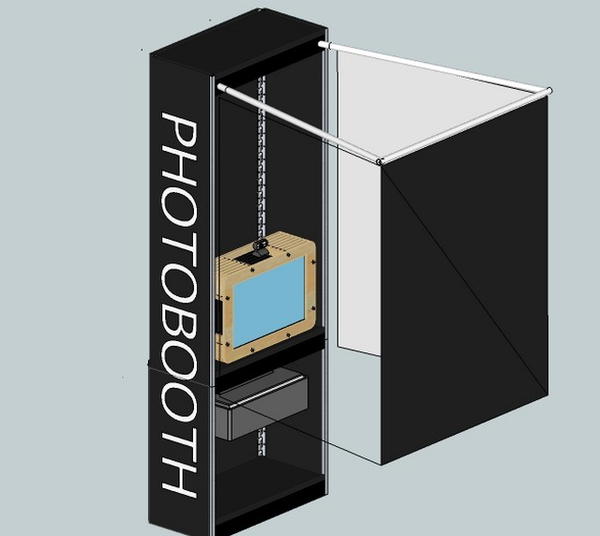
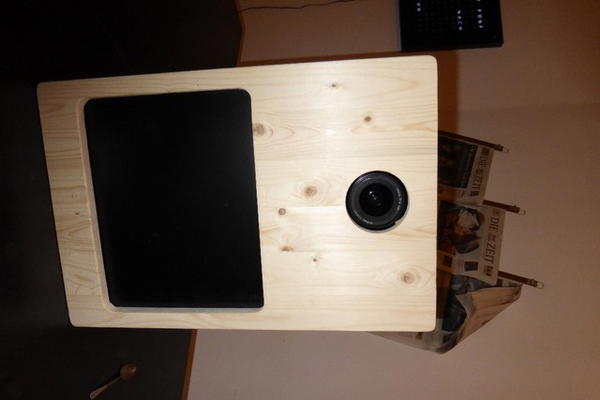
This all-in-one wood PC is made of real wood, so it can be as good as you want it to be. You can build this yourself or follow the step-by-step guide to make your own photo booth. This will look and function great at any event you want to show off! All the necessary materials are in this guide: a 3D model, a SketchUp file for designing your PC, a parts list and a helpful section on what tools you need to complete this project. This project is designed to build a working PC that looks and feels like a wooden photo booth. The design combines several well-known DIY projects into a single solution, making it easy to pick up and put down as necessary during a high-volume event.
iPad Photo Booth DIY
If you are looking for a photo booth at your party that does not cost too much, then this DIY photo booth is for you. All you need is an iPad and a screen. You also need a light that can be attached to the screen so that people can see their image clearly. If you cannot find a light or want to add more lights, do it yourself or hire someone to do it for you. The steps for making this photo booth are simple and straightforward, but you have to follow each step carefully so as not to mess up and make mistakes.
DIY Geometric Wood Photo Booth
For this project, you need to gather all the materials needed. The first step is to use cedar wood and measure to cut pieces as per the size of your choice. In this DIY photo booth, we used six pieces: 4 for the top, 2 for the bottom, and 1 for each side. Then measure the sides, draw them out on paper, and cut them out with a jigsaw or band saw. After that, everything else seems easy; stain it with any color you want; assemble them in whatever manner you like using nails and screws; then add hinges and install lights inside doors so that they can be turned on or off from outside with a switch.
How To Build A Mirror Photo Booth
The instructor uses off-the-shelf parts in this video to create an innovative and effective mirror photo booth. First, she uses a permanent marker to create a grid on her mirror. The entire process takes less than five minutes. Then she screws the frame with pocket holes and joins it with wedges so that no tools are necessary. This video tutorial will show you how to build this simple and effective photo booth with your mirror. You may use this for personal use, or if you are a professional photographer, you can make it an addition to your services.
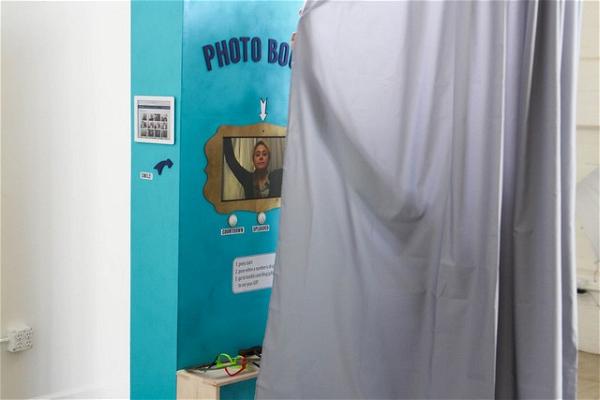
DIY Photo Booth For Events
Photo booth for your wedding, birthday, engagement party or any event! Save time and design your own backdrop for your custom photo booth. See different styles and browse unlimited options to make a specially themed black or white backdrop. Your guests will love taking selfies with their favorite phones and tablets. This project is easy to do, and the props are cheap - just watch the video tutorial to get started!
How To Build A Photo Booth On A Budget
The budget-friendly DIY photo booth project is perfect for birthdays, parties, and weddings. It is designed to stand alone or be set up in a corner. The box has holes for each component of a photo booth so that you can customize the look of your booth. The parts are painted white and assembled with glue and brads for easy set-up at any event. This project is a simple and easy way to create a photo booth in your home. It has all the amenities of a professional photo booth without the hassle or cost of one. Anyone can easily make this with basic tools and woodworking knowledge.
How To DIY Photo Booth
Your DIY photo booth should be easy to set up and move around since you'll probably have to haul it out for different events. When choosing a location, keep in mind that you want people to be able to see the props clearly so they can get into character or whatever else they are supposed to do against the backdrop. It is the perfect way to entertain friends and family at parties, but also a very good way to save money on hiring a professional photographer for your next party or event.
Easy To Make Superhero Photo Booth
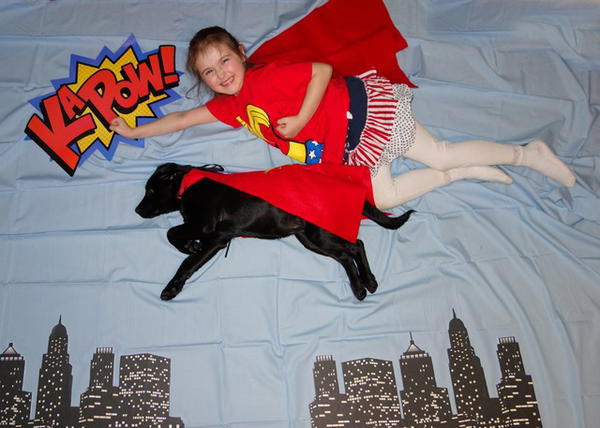
Photo booths are the perfect addition to any party, wedding, or special occasion. But what if you don't want to spend much money on them? There's no need to go out and spend hundreds of dollars on a professional photo booth when you can make your own that is just as fun and simple using just a few supplies. This DIY Superhero Photo Booth is made from a large blue sheet and is absolutely free! All you need to do is get a big blue sheet; if it's a new one, you can iron it to make it smooth. Then, lay it on the floor and set up the props.
Mobile Photo Booth
This DIY photo booth system can be assembled in a few hours. We include all the tools you need and instructions to get it set up and working. You must connect an external screen through HDMI, go through our app for setup, and disable the preview screen in settings. Then you're ready to start taking photos! This has been tested with various models of iPhones and Android phones. Just make sure they have their own internal storage (or wifi).
DIY Party Photo Booth
Creating a party photo booth can be the perfect way to create the ultimate guest experience at your next event. One of the biggest roadblocks when creating your own photo booth is finding an affordable, professional-looking, easy-to-use setup that everyone will love. Thankfully, we have just that! This DIY Party Photo Booth includes everything you need for a successful event. Assemble this box using cardboard and paper, then mount a backdrop with an LED display. Edit text on the words and numbers on the LEDs to customize them and add them to any background color scheme you like.
See Other Projects
- DIY Bed Fan Projects
- 8 DIY Garage Door Screen Projects
- 14 DIY Catfish Rod Rack Projects
- 15 DIY Chimney Cap Projects