This site has everything you need about crafts, home decoration ideas, wearings, and more! We will try to ensure your time on our site is worthwhile.
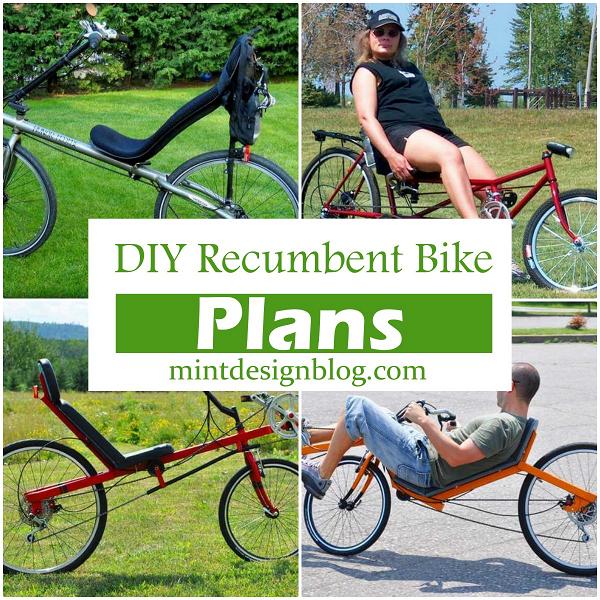
- 17 DIY Recumbent Bike Plans
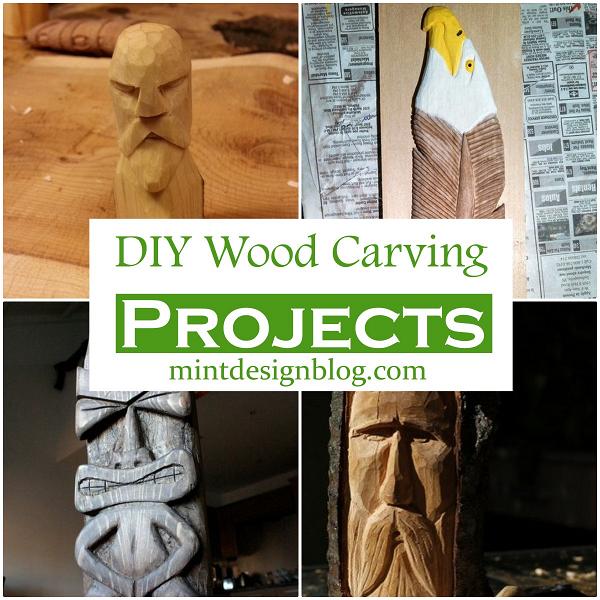
- 18 DIY Wood Carving Projects For Beginners
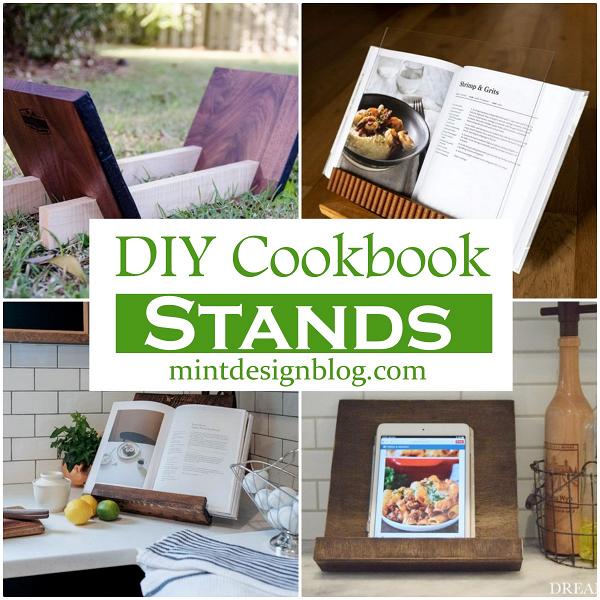
- 12 DIY Cookbook Stands For Cooking
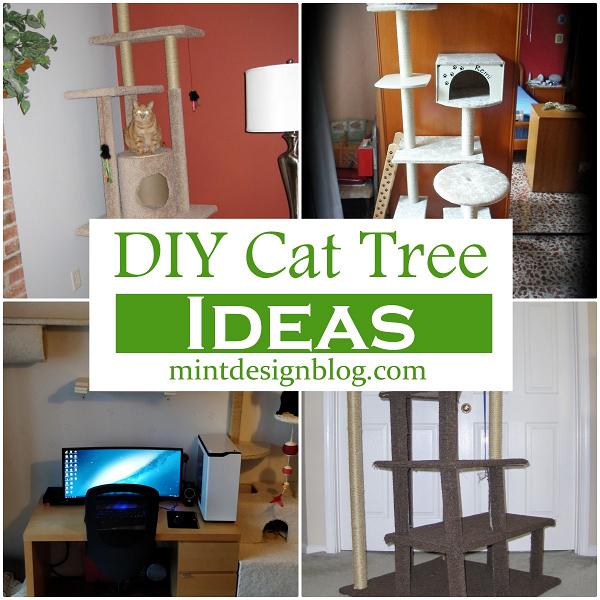
- 25 DIY Cat Tree Ideas To Make Playable Tower For Cats
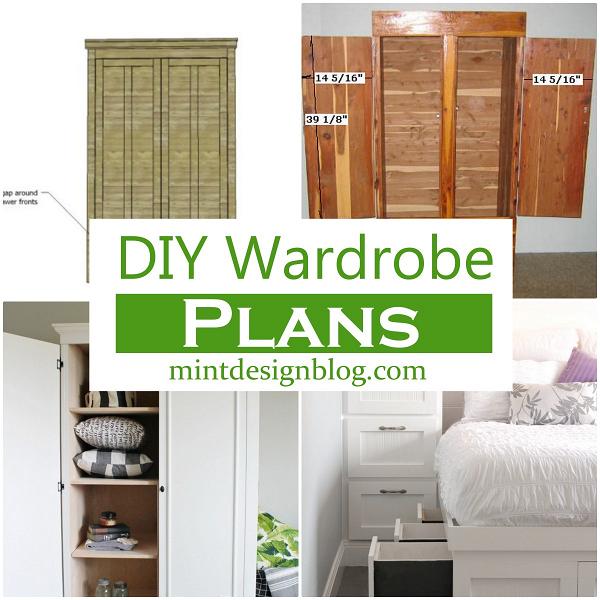
- 10 DIY Wardrobe Plans For Any Space - Easy And Affordable!
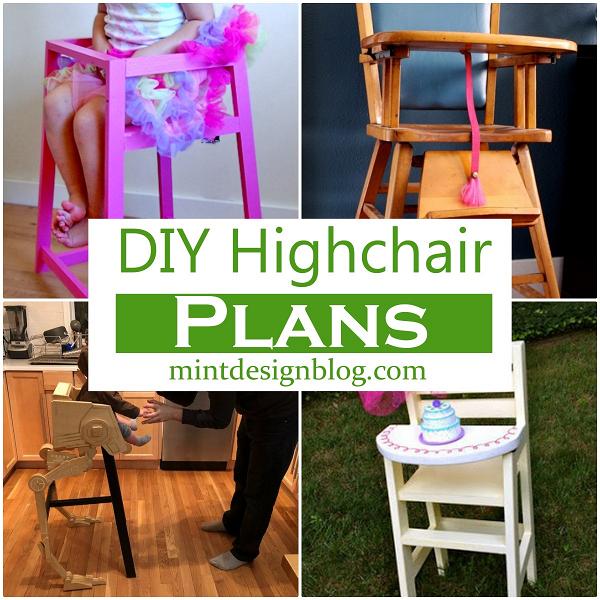
- 11 DIY Highchair Plans For Kids Comfy Meals - Easy & Affordable!
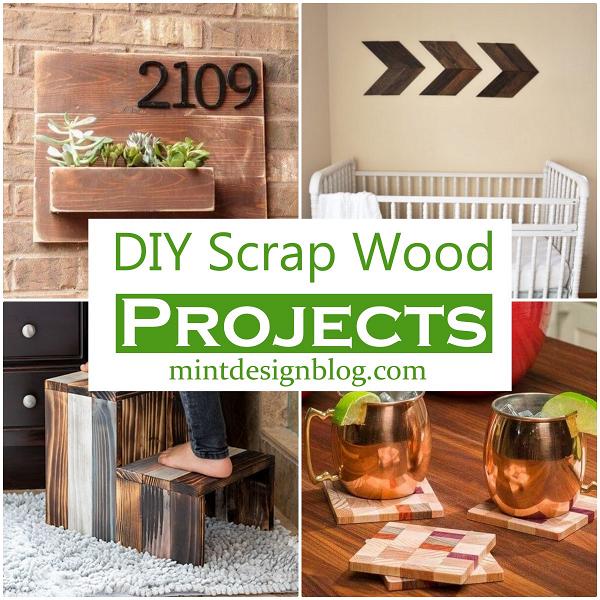
- 45 DIY Scrap Wood Projects - Clever Wood Reuses For Beginners
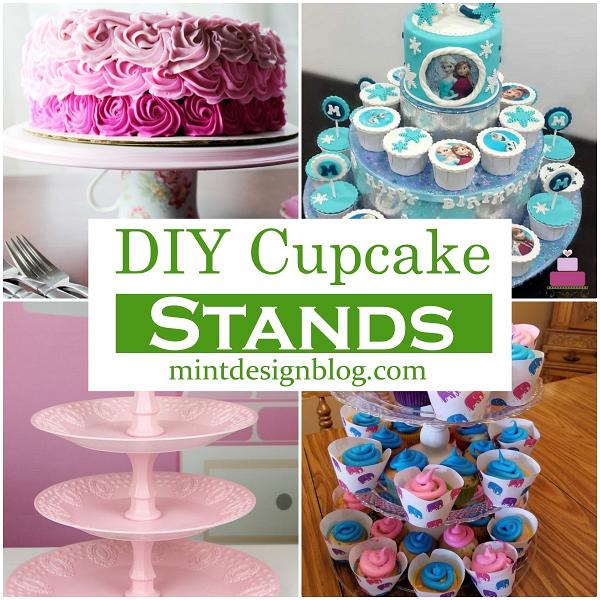
- 15 Homemade DIY Cupcake Stands Ideas For Parties & Bakery
DIY Projects
Learn how to fix your home problems with DIY projects. From decorating a room to building furniture, this section will help you discover great new ways to repurpose materials and save money on your next home improvement project.
You must use the category slug, not a URL, in the category field.Crafts
Every crafty idea starts with a single notion or an inspiration. Our goal is to provide you with the most functional DIY ideas, crafts for kids and home decorations. We post lots of arts & crafts ideas, tutorials and guides that are unique, fun and simple. Check out some of our best handmade ideas like DIY wall art, holiday decorations, homemade gifts, playful toys and more.
You must use the category slug, not a URL, in the category field.DIY Vehicle Projects
You must use the category slug, not a URL, in the category field.DIY For Animal
You must use the category slug, not a URL, in the category field.Free Crochet Patterns
Our collection of crochet patterns includes thousands of free projects to keep you busy crafting for months to come. From cute baby crochet patterns to quick amigurumi patterns and more, we’ve got a project that’s just right for your skill level.
You must use the category slug, not a URL, in the category field.