Create something special with this free crochet T-shirt yarn purse pattern and design a practical yet fashionable purse you’ll love to show off.
Have you ever wanted a stylish purse that’s both practical and handmade with a personal touch? I recently discovered a lovely project on the U R Unik channel that truly delivers on this. The Free crochet T-shirt Yarn Purse pattern featured there transforms simple T-shirt yarn into a fashionable and durable accessory you’ll enjoy carrying every day.
Free Crochet T-shirt Yarn Purse Pattern with Easy Instructions
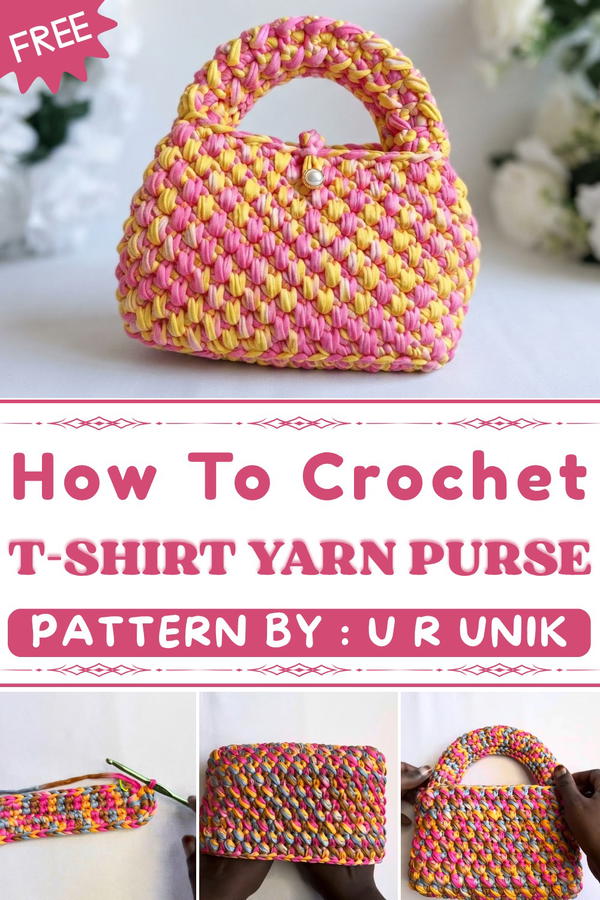
This purse has a soft yet sturdy feel, crafted in a compact shape that’s perfect for your essentials. Its vibrant colors and neat stitch work give it a fresh, modern look with a charming handmade vibe. Whether you’re heading out for a casual walk or meeting friends, this bag adds a pop of character and warmth to any outfit.
Beyond its visual appeal, it makes a wonderful gift idea. Creating a purse like this shows care and thoughtfulness that friends or family will appreciate. The purse combines beauty and function, making it a keepsake that can be enjoyed for years.
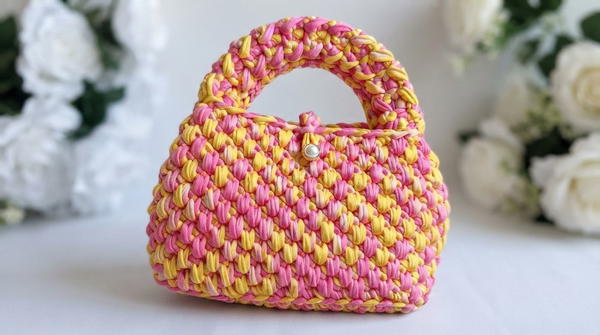
With its well-crocheted handle and secure closure, this accessory balances convenience and style effortlessly. The combination of durability and elegance is impressive, especially considering how simple materials like T-shirt yarn can be transformed with creativity.
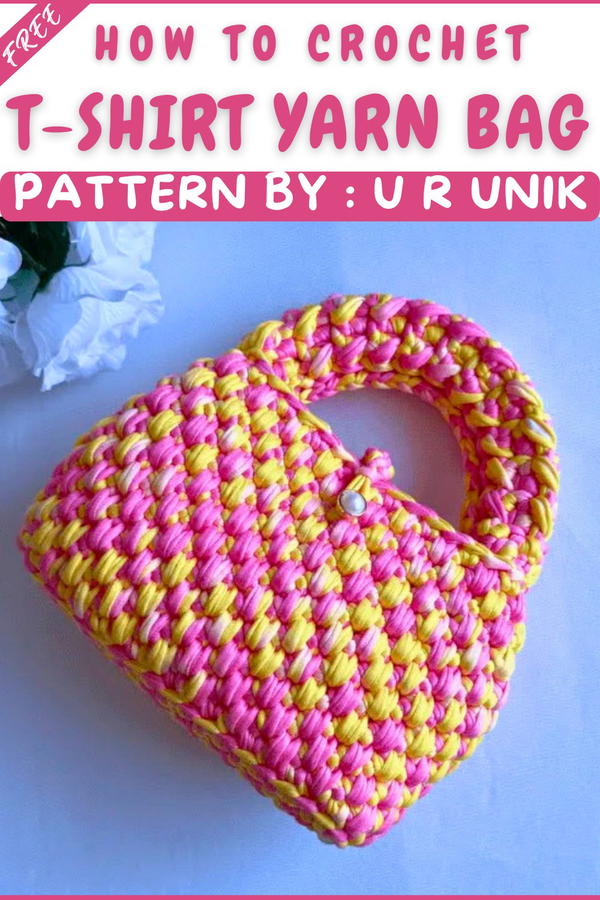
T-Shirt Yarn Bag with Decorative Handle and Button Closure
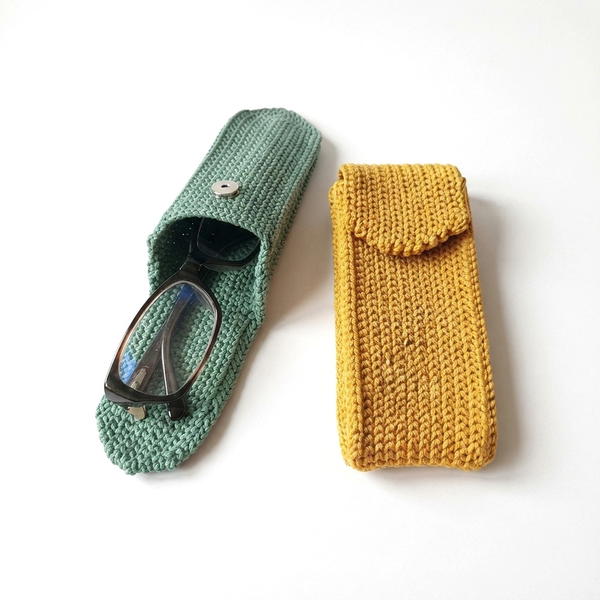
A compact yet stylish purse crafted with durable T-shirt yarn, featuring a reinforced oval base, easy texture, and a decorative, sturdy handle with a button closure. Clean lines, firm shaping, and secure assembly create a bag suited for daily use and multiple occasions.
Pattern Important Tips
- Base Corners: Increase with 2 single crochets at each corner while working in the round around the base’s perimeter to maintain a flat, oval shape.
- Even Tension: T-shirt yarn can stretch; keep stitches even and neat for structural integrity.
- Back Loop Only (BLO): Working the main body in the back loops gives subtle ridges and flexibility; always insert the hook only under the back loop unless otherwise specified.
- ‘Down’ Single Crochet: For body texture, alternate regular single crochet with a ‘down’ single crochet worked into the previous row—maintain count and don’t skip stitches for a uniform look.
- Handle Reinforcement: Firm slip stitches and side decreases on the folded handle add strength for carrying heavier items.
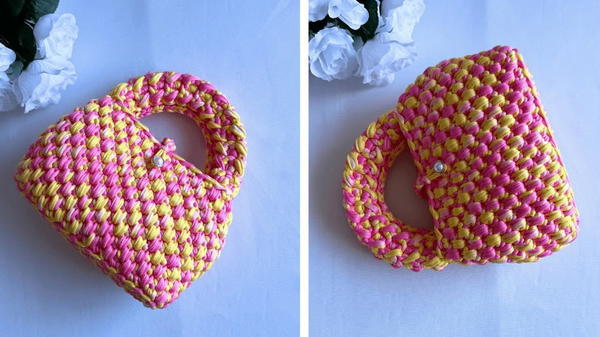
Skill Level
Beginner to Confident Beginner. This project requires single crochet, slip stitch, half double crochet, back loop work, basic increases, simple shaping, and basic hand-sewing for finishing.
Materials
- T-shirt yarn (2 mm thickness, approx. 128 meters)
- Size 6 mm crochet hook
- Yarn needle (for sewing edges and button)
- Small button
- Scissors
Gauge and Stitch Pattern
- Base before edging: approx. 6” (15 cm) x 2” (5 cm)
- Main body: worked in BLO single crochet, with alternating “down” single crochet for texture
- Handle: approx. 7” (18 cm) long, 1.5” (4 cm) wide after folding and joining
- Button loop: 10 chains (fits small button)
Stitch Abbreviations
- CH: Chain
- SC: Single Crochet
- SL ST: Slip Stitch
- HDC: Half Double Crochet
- BLO: Back Loop Only
Special Stitches
- Down Single Crochet: Instead of working into the current row, insert hook into the stitch directly below on the previous row, draw up a loop, complete as SC. This creates a subtle, elongated stitch for extra texture.
Notes for Starting the Pattern
- Work the base flat before transitioning to working in the round—use stitch markers as needed at corners.
- Crochet handle separately, then attach securely to maintain bag structure under use.
- A button and loop closure provides security and a decorative finish; adjust loop length for your specific button.
Pattern Instructions
1. The Base
- Foundation: CH 18.
- Rows 1–5:
- SC in each chain across (17 SC). CH 1, turn.
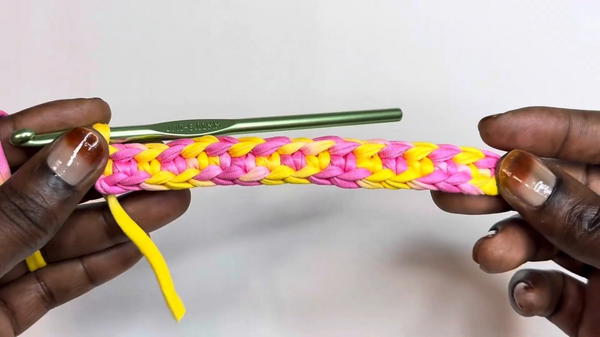
- Repeat for a total of 5 rows, creating a sturdy rectangular strip as the foundation.
- SC in each chain across (17 SC). CH 1, turn.
- Edging the Base:
- Do not fasten off.
- Begin working in the round along the perimeter:
- SC evenly along the first long side.
- At the corner, make 2 SC in the same stitch.
- Continue down the short side (across the row ends), again working 2 SC in each corner stitch.
- Proceed up the second long side.
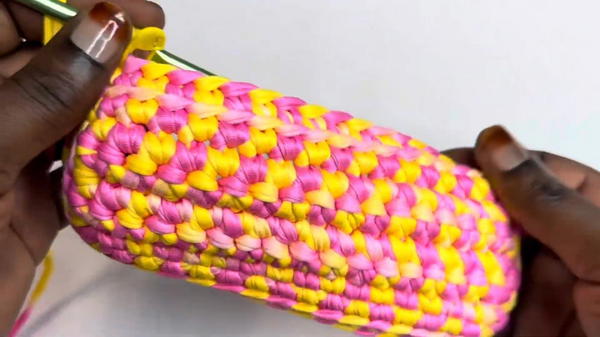
- Repeat 2 SC at each corner, so all four corners are rounded.
- Join with a SL ST to the first SC or continue without joining if working continuously in the spiral.
2. The Body
- Begin Body:
- From where your yarn is, work SC in the BLO of each stitch around the base perimeter—this creates a defined bottom edge for the bag.
- Complete one round in BLO.
- Textured Pattern Rounds:
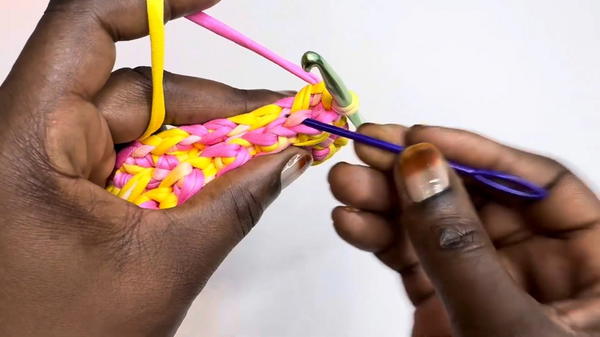
- For subsequent rounds, alternate:
- 1 regular SC,
- 1 ‘down’ single crochet (insert into stitch below previous round).
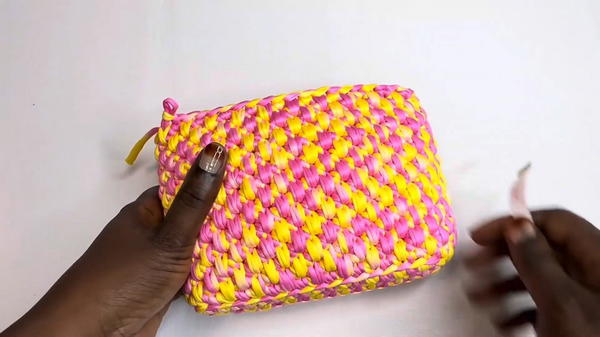
- Repeat this alternation for the entire round. If necessary, adjust so rounds start and end with a regular SC for a clean join or spiral.
- Continue in this pattern, working evenly in each stitch around, until you reach your desired bag height—typically 5–7 inches (13–18 cm) total (including the base).
- Fasten off and weave in the end for a neat top edge.
- For subsequent rounds, alternate:
3. The Handle
- Foundation: CH 26.
- Row 1:
- Start with 1 SC in the first chain,
- Then alternate 1 HDC and 1 SL ST until reaching the last chain,
- End with 1 SC in the final chain.
- Rows 2–8:
- CH 1, turn.
- Repeat the handle pattern: 1 SC, alternate 1 HDC and 1 SL ST, end with 1 SC.
- Complete for a total of 8 rows.
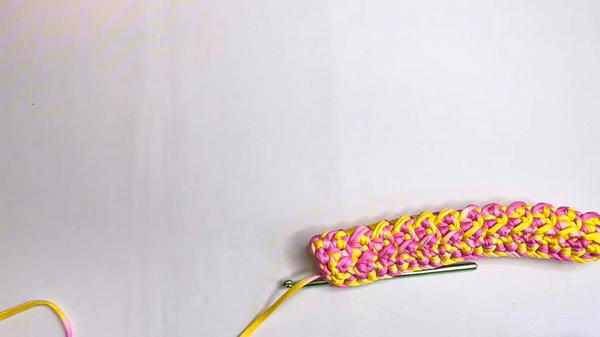
- Joining the Handle:
- Fold the strip in half lengthwise.
- Use SL ST to join the short ends together, forming a closed loop.
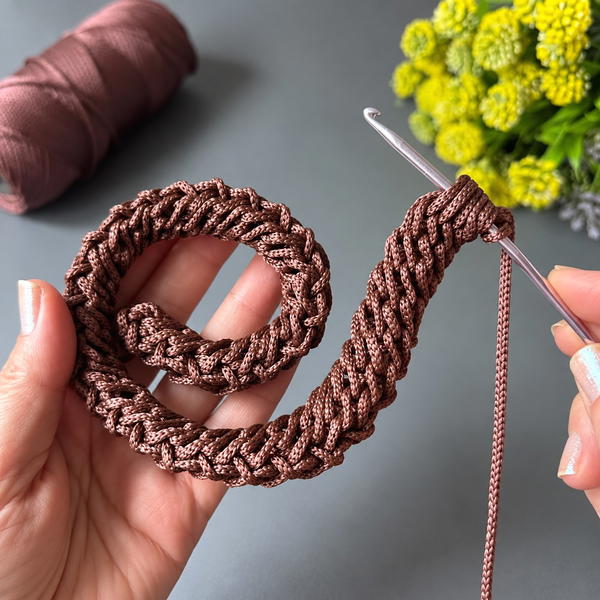
- Continue to crochet along each long side with a series of slip stitches, using decreases at the ends of each round to gently taper the handle sides and reinforce the seams.
- Fasten off and weave in ends.
4. Assembly
- Side Shaping:
- Slightly indent the sides of the bag, pinching a minor pleat at the top of each side for shape.
- Sew a stitch or two with the needle and matching yarn to secure these indents.
- Handle Attachment:
- Center the handle at the bag’s top opening.
- Sew the folded ends of the handle onto the inside of the bag, spacing evenly for balance and a comfortable carry, using multiple passes for reinforcement.
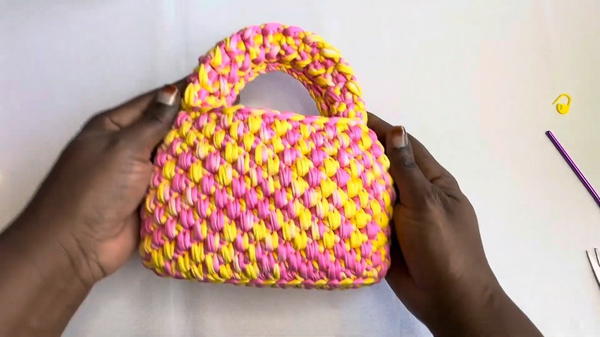
- Button Closure:
- To form the closure loop, CH 10 from the center top inner edge, then SC back along the chain to the base; fasten off.
- Position and sew a small button on the exterior front panel of the bag to match the loop placement.
- Ensure the loop fits snugly over the button for secure closure.
Assembly and Sizing
- Bag:
- Base: Approx. 6” x 2”.
- Height: To preference, typically 5–7”.
- Handle: About 7” long, 1.5” wide after folding.
- Compact, rectangular profile fits small essentials.
- Button cord:
- Sits on center to keep contents secure—adjust for comfort and size.
- Reinforced stitching:
- Ensures durability, especially for handle joins and at the indented sides.
Conclusion
This T-shirt yarn bag combines strength, texture, and minimalist style. The solid base and compact form maximize usability, while strategic increases and the BLO method give crisp structure. The handle’s unique stitch repeat and joined edges ensure a comfortable grip, and the button loop closure adds practical simplicity. This project balances approachable construction with detail—making a chic, sturdy everyday accessory that’s both satisfying to produce and delightful to use. With its blend of clever shaping and tidy finishing, this bag offers versatility for carrying essentials and showcases the beauty of T-shirt yarn in a refined, modern form.