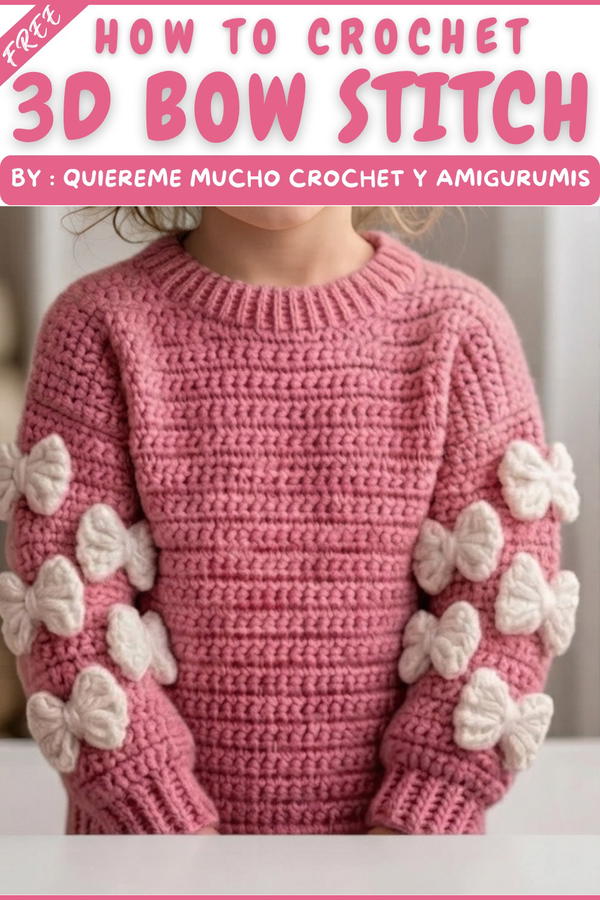
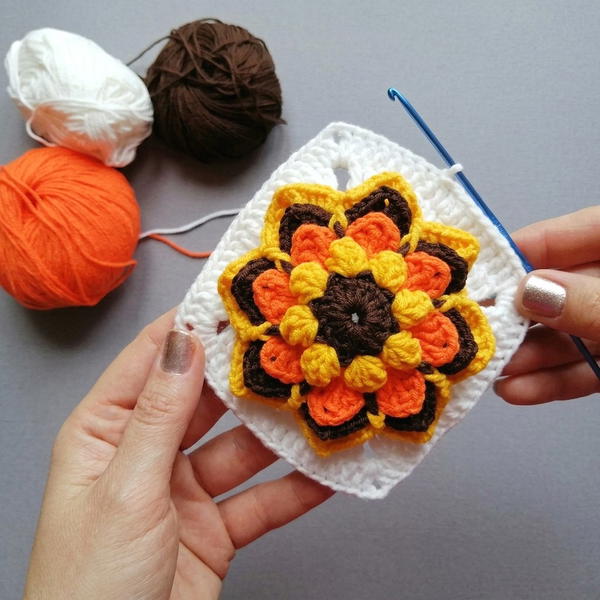
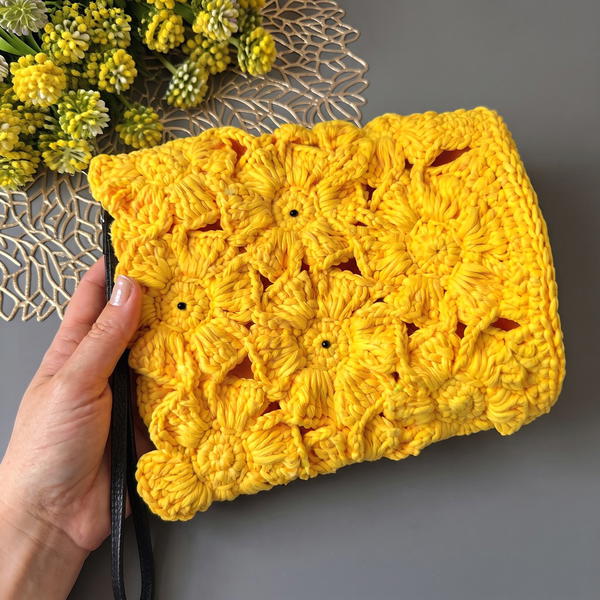
Give your projects a unique touch with the free crochet 3D bow stitch pattern that features a beautifully textured and eye-catching design.
A 3D bow made with crochet is a charming and stylish accessory that adds a special touch to any item. The Free Crochet 3D BOW STITCH Pattern shows you how to make this lovely bow with easy steps. The pattern comes from the YouTube channel Quiereme Mucho crochet y amigurumis, known for clear and simple video guides on various crochet projects, especially amigurumis and small decorative pieces.
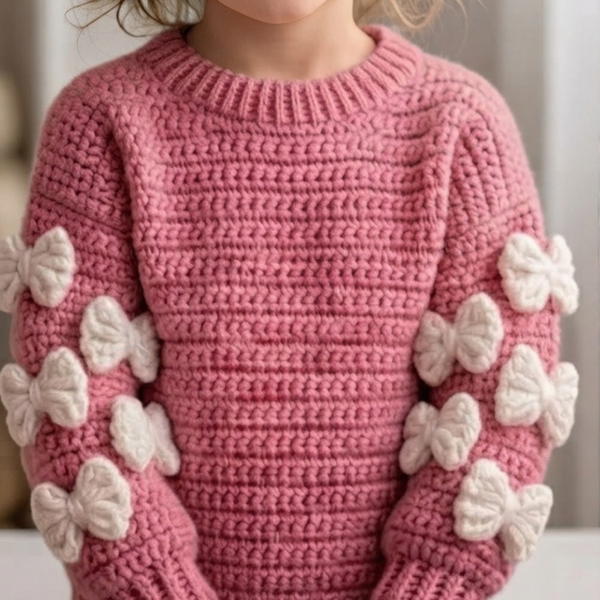
This bow has a beautiful, raised shape that stands out because of its three-dimensional design. The stitch used gives it a slightly bumpy texture, making the bow feel firm yet flexible. Its rounded loops and neat edges give the bow a polished, attractive look. The style is classic but also playful, making it perfect for decorating hats, scarves, bags, or even gifts. The size can be adjusted, so you can make bigger or smaller bows depending on what you prefer or need.
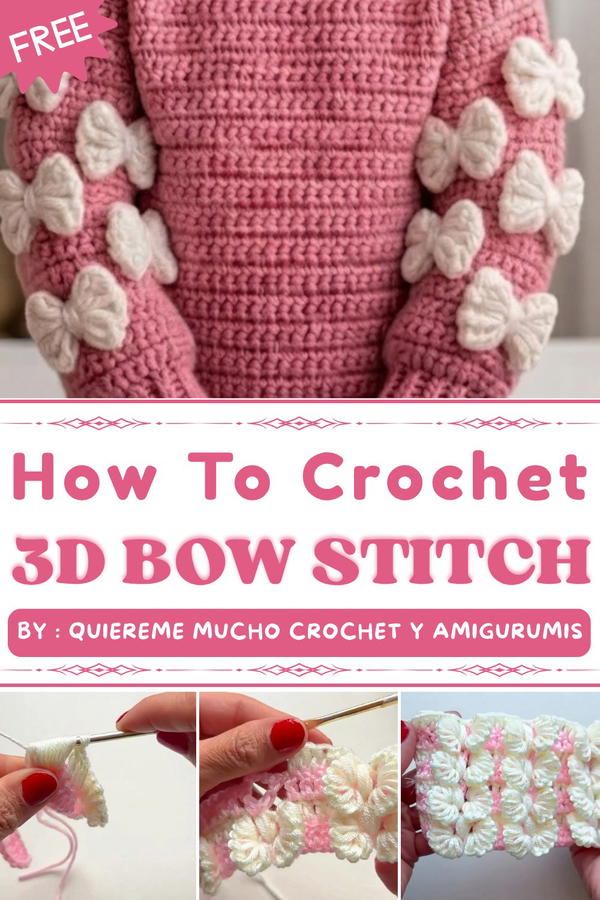
3D BOW STITCH: Simple Free Crochet Pattern
One great thing about this project is that the finished bow can be used in many ways. It makes a lovely decoration to brighten up accessories or clothing and also works well as a gift topper to add a thoughtful touch. Because it is durable and holds its shape nicely, it can also be collected or shared with friends who enjoy yarn work. Thanks to the clear instructions from Quiereme Mucho crochet y amigurumis, anyone can make this cute 3D bow stitch easily and enjoy the fun of having a pretty and useful piece to show off or share.
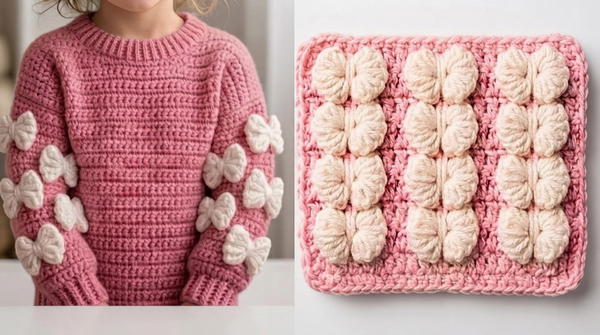
Crochet 3D Bow Pattern – Beginner-Friendly Step-by-Step Guide
This pattern creates a beautiful 3D bow design using medium-weight yarn and a 3.5 mm crochet hook. It works on a foundation chain that is a multiple of 10 and builds dimensional bow shapes with puff stitches and double crochets. Perfect for scarves, blankets, or decorative fabrics, this guide breaks down the pattern into easy-to-follow steps for beginners.
Materials Needed
- Medium-weight yarn (worsted/aran weight)
- 3.5 mm crochet hook
- Scissors
- Yarn needle (for weaving ends)
- Optional: second color yarn for the bow row
Abbreviations
| Abbreviation | Meaning |
|---|---|
| ch | Chain stitch |
| dc | Double crochet |
| sl st | Slip stitch |
| puff st | Puff stitch (explained below) |
Special Stitches
Puff Stitch (8 loops)
- Yarn over (yo), insert hook into stitch or space, yarn over, pull up a loop.
- Repeat this 8 times, so you have 8 loops on the hook.
- Yarn over and pull through all loops.
- Chain 1 to secure.
Puff Stitch (4 loops)
- Yarn over, insert hook into stitch or space, yarn over, pull up a loop.
- Repeat this 4 times, so 4 loops on hook.
- Yarn over and pull through all loops.
- Chain 1 to secure.
Step-by-Step Pattern
Step 1: Foundation Chain
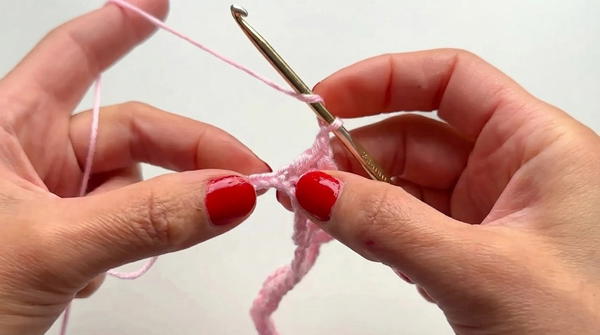
- Chain a multiple of 10.
- For example, chain 40 for a medium width.
Step 2: Base Row – Setup for Bows
- Skip 4 chains from the hook.
- Make 4 double crochet (dc) stitches, one in each of the next 4 chains.
- Chain 1 (ch 1).
- Skip 3 chains.
- In the 4th chain, work:
- 1 double crochet (dc),
- chain 5 (ch 5),
- 1 double crochet (dc) — all in the same stitch (creates a chain-5 loop).
- Chain 1 (ch 1).
- Skip 3 chains.
- Make 4 double crochet (dc) stitches in the next 4 chains.
Repeat this whole sequence across the row until completion:
- Skip 4 chains,
- 4 dc,
- ch 1,
- skip 3 chains,
- (dc, ch 5, dc),
- ch 1,
- skip 3 chains,
- 4 dc.
Step 3: Bow (Butterfly) Row – Making the 3D Bows
- Change yarn color if desired for contrast.
- Chain 3 (ch 3).
- Work 4 double crochets (dc) over each group of 4 double crochets from the previous row.
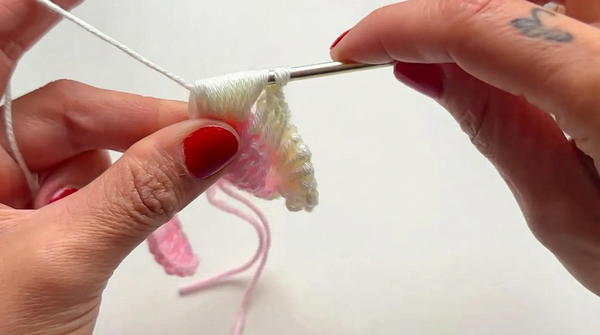
For each bow cluster:
- First wing:
- Work an 8-loop puff stitch into the side of the next double crochet.
- Secure it with a slip stitch (sl st) into the chain space adjacent to this stitch.
- Center body:
- Work a 4-loop puff stitch into the central chain-5 hole from the previous row.
- Chain 1 (ch 1) to secure.
- Second wing:
- Work another 8-loop puff stitch into the last double crochet of the group.
Repeat this bow formation across the entire row.
Step 4: Preparing Next Base Row
- Chain 3 (ch 3).
- Work 4 double crochets (dc) over the previous row’s 4 double crochets.
- Chain 1 (ch 1).
- Into the top of the previous row’s center bow (the 4-loop puff stitch), work:
- 1 double crochet (dc),
- chain 5 (ch 5),
- 1 double crochet (dc) — all into the same stitch/space.
- Repeat this base row pattern across the row.
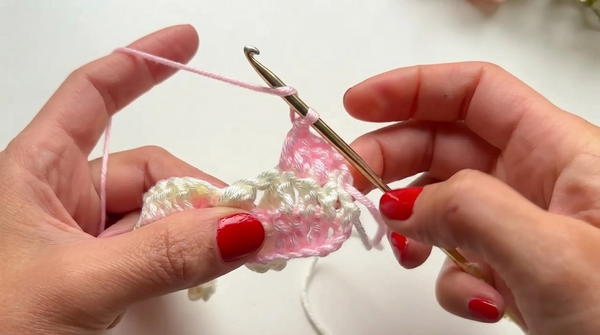
Step 5: Repeat Row 3 and 4
- Alternate between Bow Row (Row 3) and Base Row (Row 4) to build your project lengthwise.
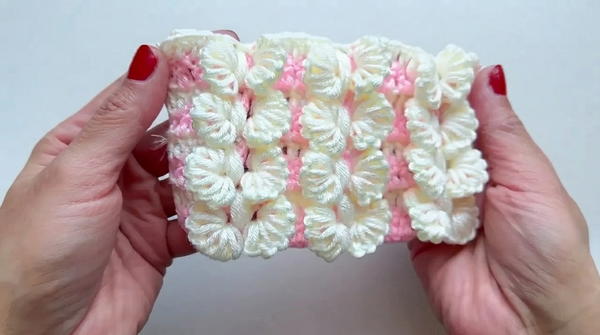
- The front side will show the 3D bows, while the back side will remain flat and neat.
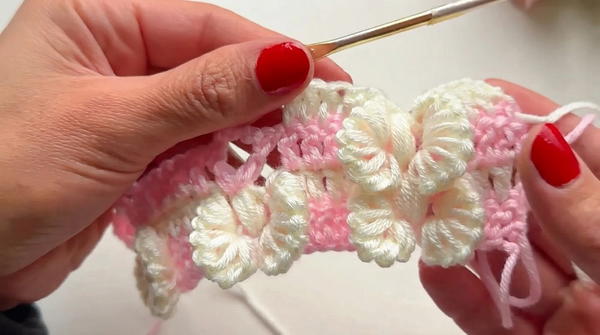
Assembly & Finished Size
- The width depends on your foundation chain multiple (e.g. 40 chains).
- Length depends on how many bow and base row repeats you make.
- Suitable for scarves, throws, or decorative panels.
- Weave in all ends carefully with a yarn needle for a clean finish.
Tips for Beginners
- Maintain even tension to keep bows and base rows consistent.
- Count stitches carefully to preserve pattern multiples of 10.
- When making puff stitches, keep loops loose but consistent for good texture.
- Use stitch markers if needed to track pattern repeats.
- Practice puff stitches separately if new to this technique.
Conclusion
This 3D bow crochet pattern offers an eye-catching texture using simple stitches with a creative twist. By alternating base rows of double crochets and puff-stitch bow rows, you build a dynamic fabric that’s beautiful and fun to make. Follow the steps carefully, and you’ll have a charming, dimensional project perfect for gifts or personal use.