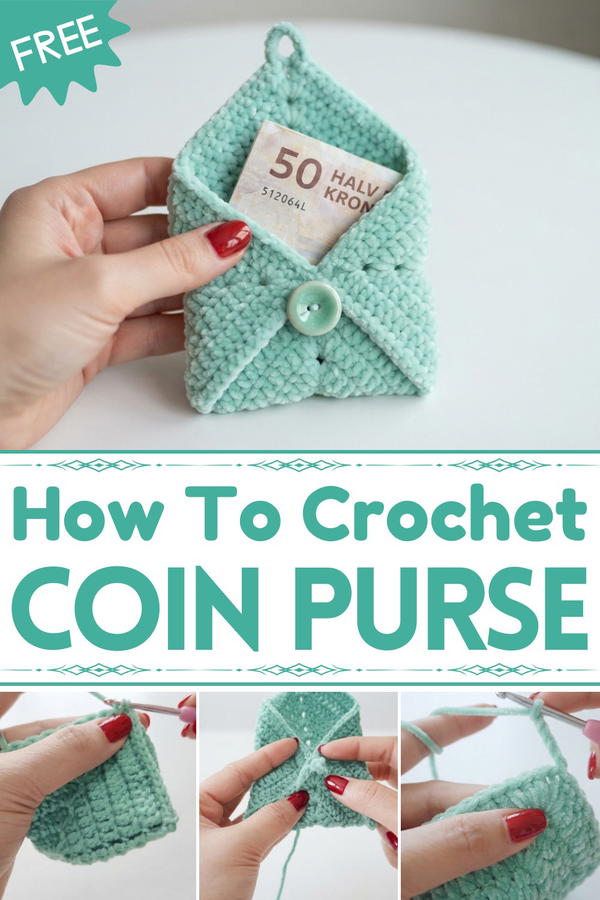
Bring charm and functionality to your accessories with this Free Crochet GRANNY SQUARE COIN PURSE Pattern, featuring simple steps and timeless design.
Looking for a fun and stylish accessory to brighten up your day? This Free Crochet GRANNY SQUARE COIN PURSE pattern is just the perfect project! Compact and cute, this coin purse offers a cozy fit that’s ideal for carrying your spare change or small essentials. Its playful granny square design adds a splash of color and retro flair, making it a charming addition to any outfit throughout the year.
Crochet GRANNY SQUARE COIN PURSE Pattern with Easy Steps
This purse features the classic granny square stitch, creating a textured, eye-catching pattern that's both charming and durable. Made with medium-weight yarn, the fabric feels soft to the touch while maintaining enough sturdiness to keep your coins secure. The construction is simple but smart, with a practical closure to keep everything inside safe and a neat finish that showcases the beautiful granny motifs.
If you’re new to crochet, don’t worry, this pattern is beginner-friendly with clear, step-by-step instructions and useful tips. We recommend selecting cotton or acrylic yarn for its durability and ease of care. When it comes to sizing, you can customize the purse depending on how much you want to carry or how bold you want your accessory to be.
Be mindful to keep your stitch tension even and avoid missing stitches to ensure your coin purse turns out perfectly shaped and functional. This free crochet granny square coin purse pattern is a wonderful way to practice your skills while making something both beautiful and practical.
Quick Overview of Pattern
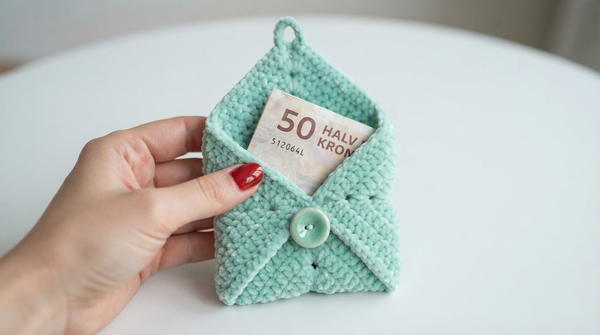
- Use a solid granny square (number of rounds determines purse size)
- Fold square in a special way to create coin purse shape
- Seamed with single crochet (sc) stitches along sides
- Closure made with a crochet loop and bead/button
- Simple, seamless construction and fully customizable
Ready to crochet your own vibrant treasure? Follow along with the full tutorial and bring this delightful accessory to life today!
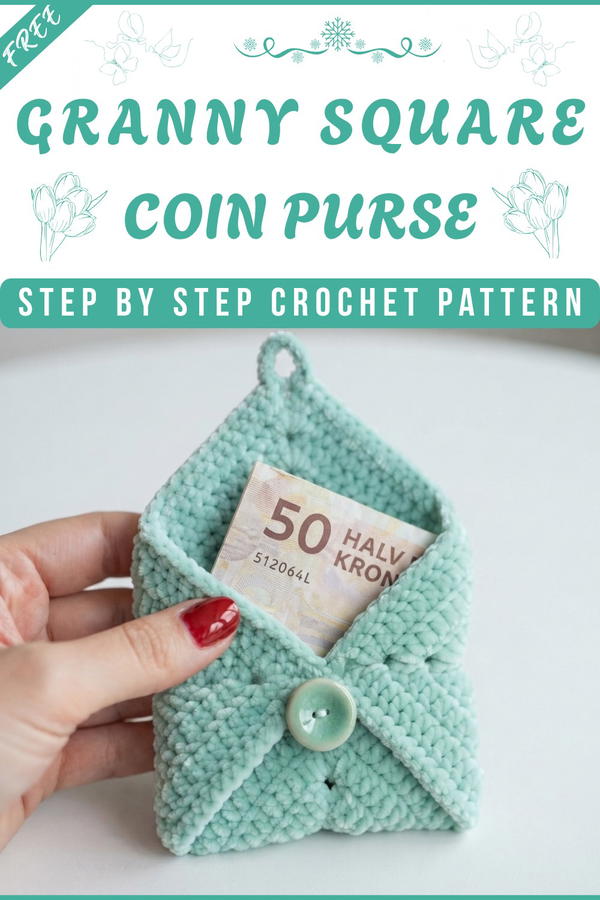
Solid Granny Square Coin Purse – Step by Step Crochet Pattern
Notes
- Any color and type of yarn can be used, but acrylic or cotton yarn gives structure.
- Number of rounds in your square determines the finished purse size. The sample uses 7 rounds.
- Bead is added as a decorative closure, but a button can also be used.
- A slip stitch marker helps keep seams straight.
- Familiarity with constructing a solid granny square is required; refer to YouTube tutorials for the solid granny square base.
Skill Level
Beginner to Advanced Beginner
(Requires basic seaming and single crochet use; knowledge of constructing a solid granny square).
Materials
- Acrylic yarn (sample uses Cute Turquoise; cotton or any color/type is fine)
- 3 mm crochet hook
- Stitch marker (or safety pin)
- Bead (for closure; 1 piece)
- Needle (for sewing bead and weaving ends)
- Scissors
Measurements / Sizing
- Purse size depends on the number of solid granny square rounds:
- Sample square: 7 rounds
- You may add or reduce rounds for larger or smaller coin purses
- Final size: approx. 9–12 cm per side using medium weight yarn and 3mm hook
Gauge (and Stitch Pattern)
- Gauge is not critical.
- Stitch pattern: Single crochet (sc) & solid granny square (refer to any online tutorial for base square).
Stitch Abbreviations
- sc – single crochet
- ch – chain
- sl st – slip stitch
- st(s) – stitch(es)
Special Stitches
- Single crochet seam: Used to join two edges together by working single crochet through both thicknesses of fabric.
- Crochet button loop: Created with chains; forms a closure loop for bead or button.
The Crochet Pattern
1. Create the Solid Granny Square
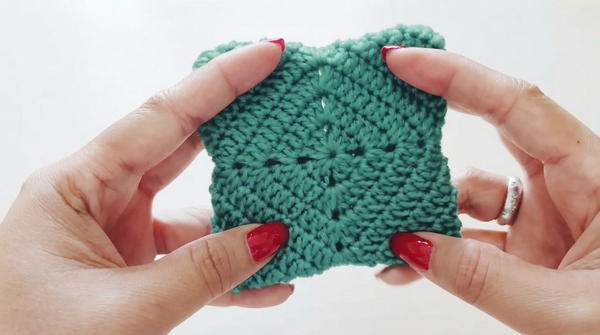
- Make one solid granny square to your desired size.
- The sample uses 7 rounds.
- Fasten off and weave in starting tail.
- Mark the "right" and "wrong" side if you wish.
2. Fold Your Square to Form Purse
- With the right side facing out, fold your granny square diagonally to match two adjacent sides, forming a purse-like triangle shape.
- You can fold in either direction as preferred, but the center seam should align neatly.
- Place a stitch marker where the sides join (at the corner). This keeps the edges aligned as you seam.
3. Seaming the Sides
- With your working yarn and 3 mm hook, start at one corner (use a slip knot for neatness if reattaching yarn).
- Insert hook through both layers' loops at the edge.
- Ch 1 (does not count as sc).
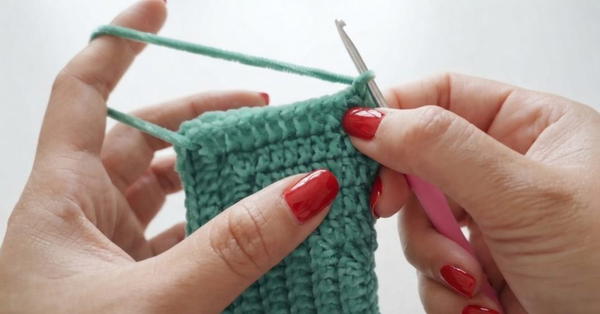
- Work 1 single crochet (sc) in each stitch along the first seam (joining the two folded sides together).
- Work through both layers.
- Continue this seaming method along the side.
- At the corner where you meet the next square corner, work 2 single crochet (sc) into the same stitch for a neat turn.
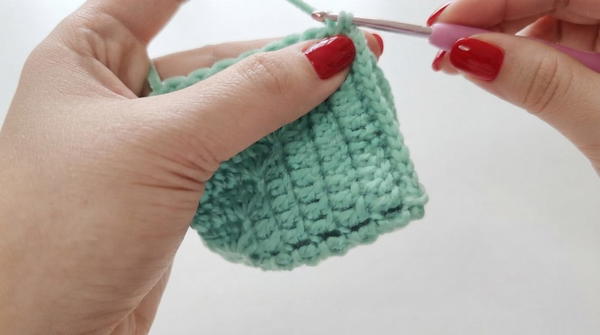
- Continue seaming along the second side:
- Again, single crochet through both layers in every stitch.
- When reaching the next square corner/side, work 2 single crochet into the corner.
- Fasten off.
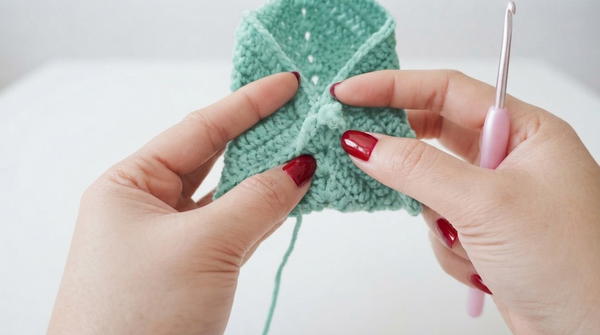
- Optional: You can use a slip stitch at the start/end to secure more tightly; weave in and trim excess yarn.
4. Creating the Purse Opening & Loop
- Insert your hook at the purse opening edge (where the last side remains unjoined, which will become the purse’s “mouth”).
- Attach yarn with ch 1.
- Work 1 sc in each stitch along purse opening edge until you reach the midpoint/top center (align with the side/center of the square).
- You can use the natural side "hole" as a guide.
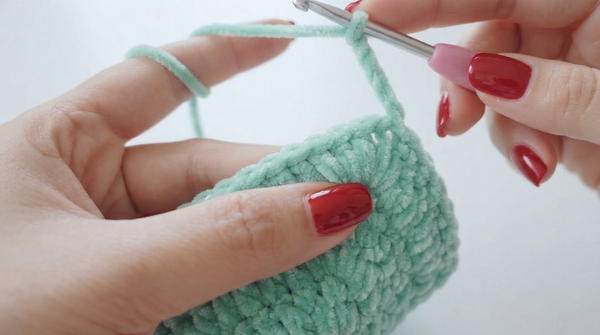
- You can use the natural side "hole" as a guide.
- Once at the midpoint, ch 8 (forming a closure loop for the bead).
- Insert hook back into the same space, make 1 sc to secure the loop.
- Continue with 1 sc in each stitch along the rest of the opening edge until you reach the end/corner.
- Join to the first sc with a sl st, ch 1, and fasten off.
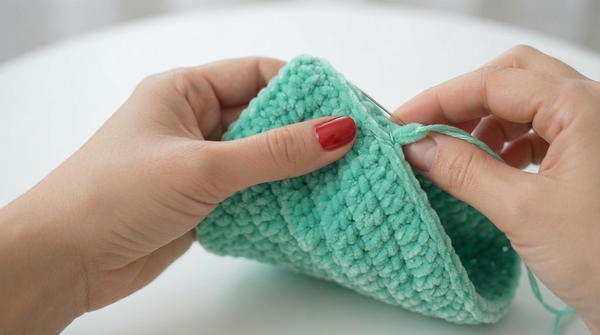
5. Weaving Ends
- Thread needle, draw through all remaining yarn tails to inside, and secure/snugly weave in.
- Cut excess yarn.
6. Attaching the Bead
- Thread your bead onto needle and sew onto the main body of the purse, centered beneath the crocheted loop.
- Sew firmly so the loop pulls snugly over bead.
- Secure thread inside and snip excess.
Assembly & Finished Size
- With a 7-round square, your solid granny square coin purse should measure around 10–12 cm per side when folded.
- The depth is roughly half that, depending on how tightly you seam and type of yarn used.
- Closure loop should fit snugly over bead.
- Purse will have a neat, triangular envelope look.
Conclusion and Ending Words
Here is the final look of our solid granny square coin purse. It's very easy to make and is an excellent way to use up scraps or try color combinations. You can also modify the size by adding or subtracting rounds from the square.