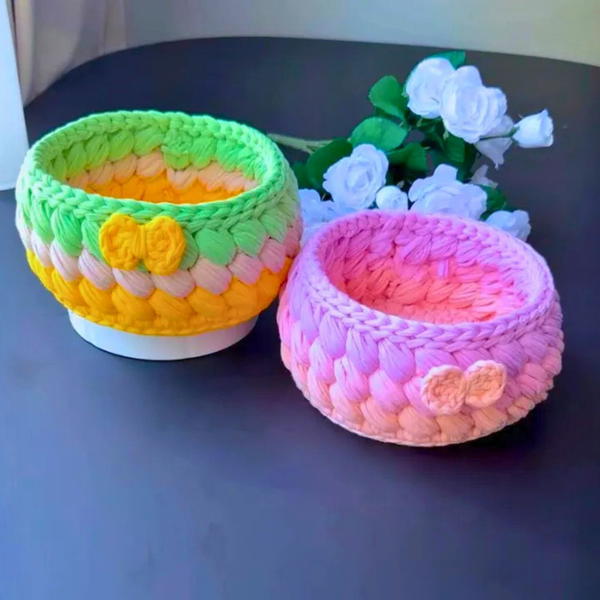
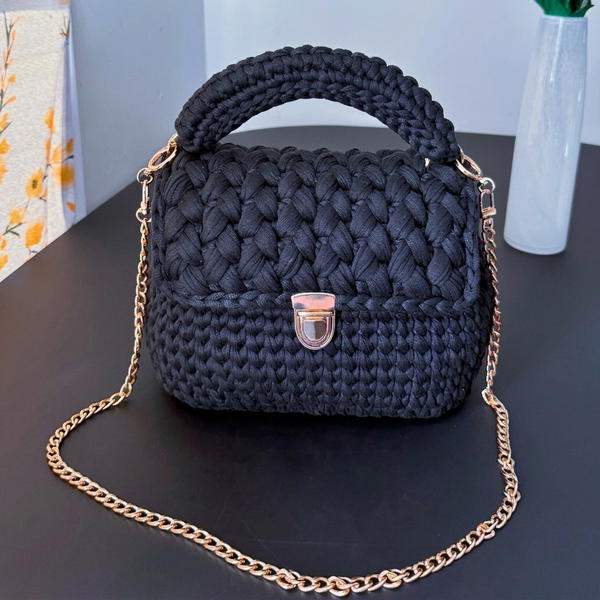
See how the Free Crochet PURSE Pattern provides clear instructions to refine your skills and produce a stylish accessory that’s both practical and unique.
Create a stylish and practical accessory that effortlessly complements your everyday outfits. This charming purse combines comfort with a flattering fit, making it perfect for all seasons and occasions, from sunny strolls to cozy evenings. Its compact design lets you carry essentials without feeling weighed down.
Using soft and durable yarn, the purse features a textured stitch pattern with single crochet and half-double crochet techniques, resulting in a fabric that is both sturdy and comfortable. Thoughtful design touches like a secure flap closure and an adjustable strap add to its polished and versatile look.
Free Crochet Purse Pattern With Simple Bag Steps
Perfect for beginners, this project offers clear, step-by-step instructions and handy tips to ensure a smooth and enjoyable crochet experience. Selecting medium-weight yarns such as cotton blends or acrylic provides just the right balance of structure and softness. Plus, you can customize the size to suit your needs, whether you want a small clutch or a roomy tote.
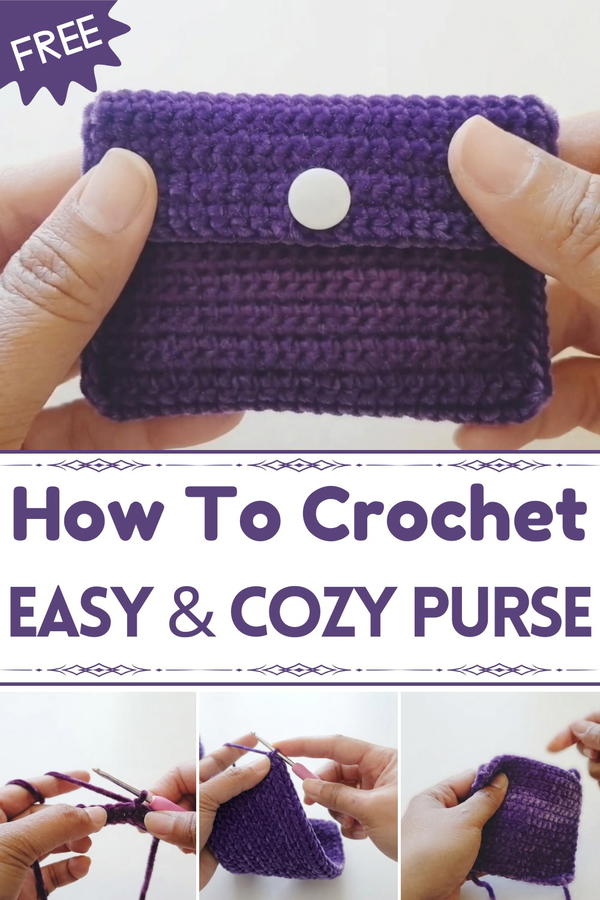
Avoid common mistakes such as uneven tension or skipped stitches, which can alter the shape and durability of your finished purse. Practicing consistent stitches helps maintain an even texture and overall professional appearance.
Step into this free crochet purse pattern and enjoy making a unique, wearable piece that’s as functional as it is fashionable. It’s the perfect project to express your creativity while crocheting a beautiful, everyday essential.
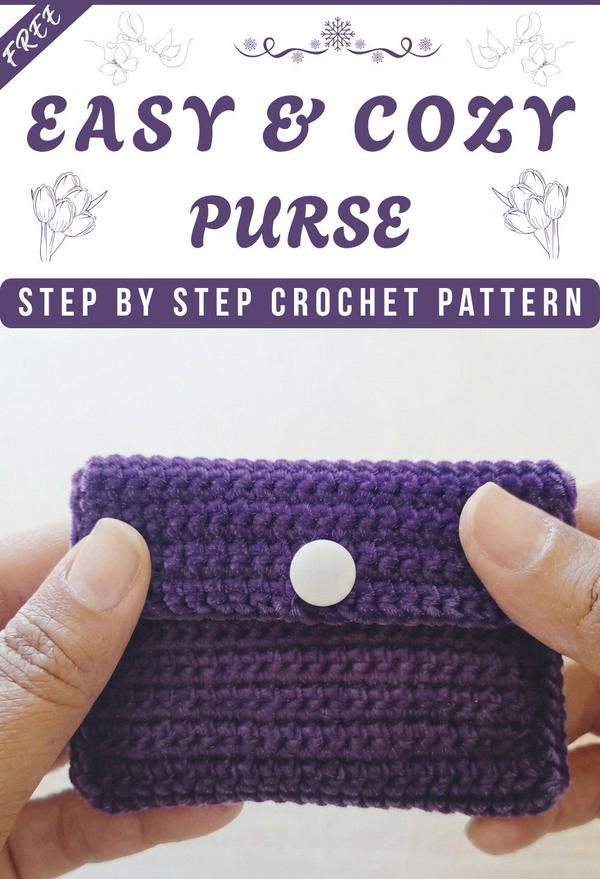
Super Easy Crochet Wallet: Step-by-Step Pattern
Quick Overview Of Pattern
- Simple rectangular, fold-over wallet, made almost entirely in single crochet.
- Created using one rectangular panel folded and joined at the sides.
- Features a button closure with a buttonhole created using chain spaces.
- Minimal shaping, perfect for quick gift-making.
- Optional stitch markers for folding alignment.
Notes
- The pattern uses only single crochet stitches, making it great for beginners.
- You can use acrylic or cotton yarn depending on your preference.
- Make sure your stitches are tight enough to make the wallet sturdy.
- A neutral or bright color can be chosen depending on the purpose and recipient.
- Measurements are mentioned in centimeters; adjust for inches if needed.
Skill Level
Beginner.
The pattern is perfect for those new to crochet, requiring only basic stitches and skills.
Materials
- Yarn: 100% acrylic (or use cotton yarn if preferred). Example: Old yarn from Bilka, Denmark.
- Crochet hook: 3mm
- Needle: For sewing in ends and attaching button.
- Button: 1 piece (to fit through a chain-2 buttonhole)
- Stitch markers: Optional (for folding and seam alignment)
- Scissors
Measurements / Sizing
- Finished Panel Size: 14.5 cm length (can be up to 15 cm as per video)
- Folded Wallet Height: About 6 cm per pocket section (when folded)
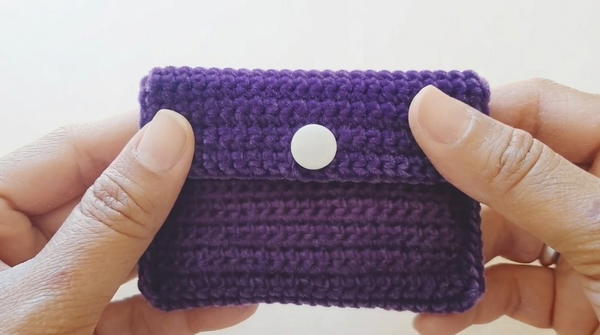
- Final Wallet Dimensions: Approximately 14.5 cm x 6 cm (when folded and assembled)
- (No schematic, but the shape is a simple rectangle folded in thirds)
Gauge and Stitch Pattern
- Gauge is not critical for this project!
- Stitch pattern: Single crochet (sc) throughout.
Stitch Abbreviations
- ch: chain
- sc: single crochet
- st(s): stitch(es)
- sl st: slip stitch
Special Stitches
- Single Crochet (sc): Insert hook in stitch, yarn over and pull up a loop, yarn over, pull through both loops.
- Buttonhole: Created by chaining 2 and skipping 2 stitches.
The Crochet Pattern
1. Foundation and Panel
Step 1:
Make a slipknot and ch 23. (This is your foundation chain.)
Step 2:
Working back into the foundation chain, sc in the second ch from the hook and in each chain across.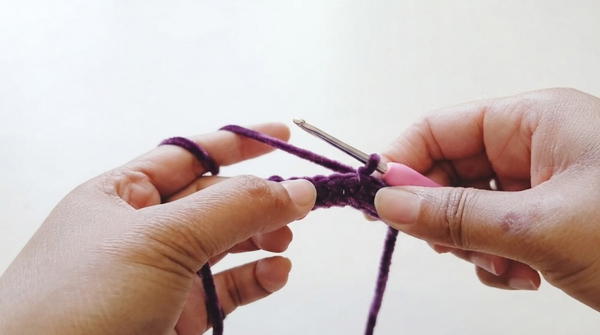
- At the end of this row, you should have 22 sc.
(This is Row 1.)
Step 3:
Row 2 onwards
Ch 1 (turning chain), turn your work. Sc in the first stitch (right after the turning chain), then sc in each stitch to the end of row.
Step 4:
Repeat Row 2 until your work measures 14.5 cm, or until you have completed 40 rows of single crochet.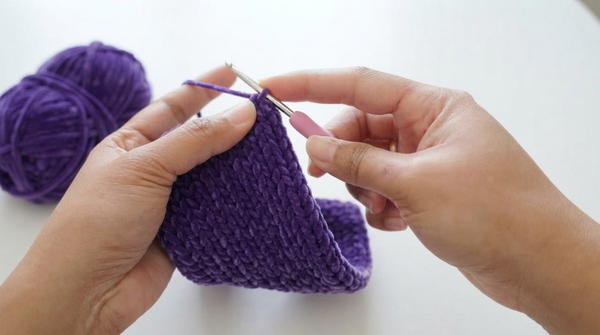
Tip: You can measure your work or count your rows; both methods are valid.
2. Creating the Buttonhole Flap
Step 5:
With right side facing, turn your work (after reaching 14.5 cm/40 rows).
Sc in the first 10 stitches (1 sc in each of next 10 sts).
Step 6:
Ch 2 (this creates your buttonhole), skip the next 2 sts.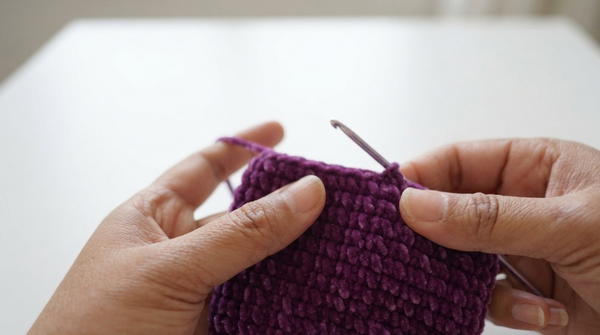
Step 7:
Sc in each of the remaining 10 stitches.
- You now have 10 sc, 2 ch (buttonhole), and 10 sc for the row (total still 22 sts).
3. Working Over the Buttonhole
Step 8:
Ch 1, turn. Sc across row as follows:
- Sc in first 10 stitches.
- When you reach the ch-2 (buttonhole), work 2 sc into the buttonhole space.
- Then sc in the last 10 stitches.
- You should again have 22 sc across the row.
4. Folding and Joining the Sides
Step 9:
Fold your work so the pocket section is approximately 6 cm deep (bottom edge folded up towards the flap).
- Use a stitch marker to hold the fold in place at both edges.
- Repeat on the opposite edge. Make sure both sides are even.
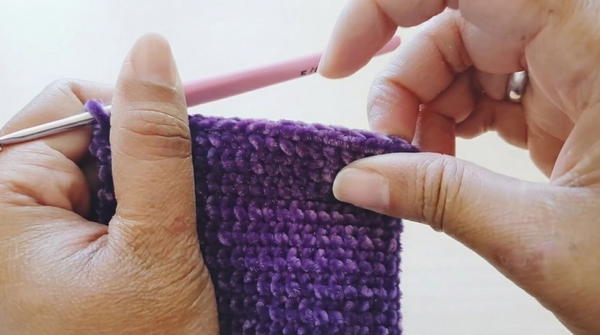
Step 10:
Start at the side edge (with a slip knot on your hook if you broke yarn).
- Join with sc: Insert hook through both layers (front and back) at the side edge, pull up a loop and make a sc.
- Work 1 sc in each space up the entire side seam, making sure to keep sides aligned.
- At the very top, work 2 sc in the same stitch (corner increase for neatness).
Step 11:
Remove the stitch marker once the seam is complete.
Step 12:
Fasten off, leaving a tail to weave in.
Repeat the joining process on the other side seam of your wallet, ensuring an even finish.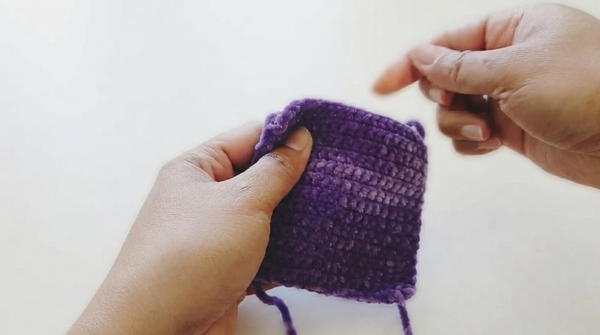
5. Assembly & Finishing Touches
Step 13:
Thread a needle with matching yarn (or use the tail), and sew on your button to the bottom pocket panel, directly beneath the buttonhole flap. (Eyeball the best position so the buttonhole aligns when closed.)
Step 14:
Weave in any remaining ends using a needle, hiding them inside the seam.
Finished Size
- Your wallet should now measure approximately 14.5 cm x 6 cm when folded and finished.
- The closure should be neat, and the button should fit comfortably through the chain-2 buttonhole.
Conclusion and Ending Words
Here is the finished look of our super easy crochet wallet! As you can see, it's stylish, practical, and simple to make. I hope you'll give this pattern a try and enjoy creating your own. If you found this step-by-step tutorial helpful, please consider leaving a comment on my website. Your feedback is always appreciated.