Stay cozy and celebrate the season with this Free Crochet Christmas Hat Pattern, offering a fun and easy way to create festive, handmade holiday accessories.
There’s something truly special about wearing a festive hat during the holiday season, especially one you’ve made yourself. The Free Crochet CHRISTMAS HAT pattern is the perfect project for crocheters looking to add a touch of handmade charm and warmth to their winter wardrobe.
Quick and Easy Christmas Hat – Free Crochet Pattern
This pattern creates a timeless Christmas hat with the familiar pointed shape and a fluffy pom-pom that instantly screams holiday spirit. The texture can vary from smooth stitches to more intricate ribbing or bobble details, adding both visual and tactile interest. Designed to fit snugly, the hat comes in multiple sizes to suit children and adults alike, and it’s easy to customize by switching up colors or adding playful accents like stripes or small embellishments.
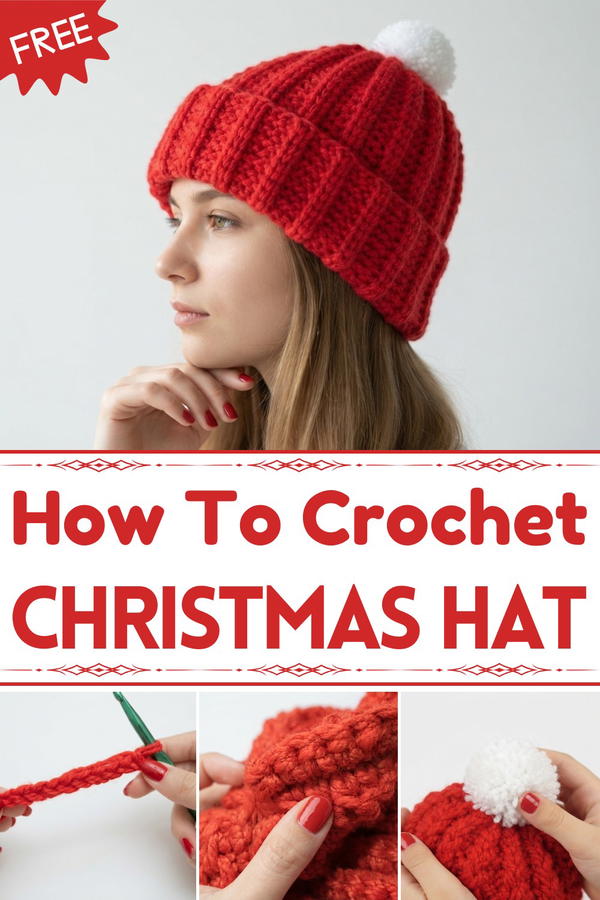
Typically worked from the top down in continuous rounds, the hat gradually takes shape through thoughtful increases that form its classic point. Using a soft, medium-weight yarn, like a wool-acrylic blend, helps the stitch patterns stand out while providing cozy warmth without bulk. A helpful tip is to maintain consistent tension to ensure a nice fit and even texture throughout.

Inspired by the joyful and cozy spirit of Christmas, this hat is ideal for family gatherings, festive photos, or as a handmade gift that shows you care. Don’t be afraid to experiment with fun color combinations, sparkly yarn, or decorative trims to put your own spin on this holiday favorite. Making this Christmas hat is a delightful way to celebrate the season with creativity and warmth.
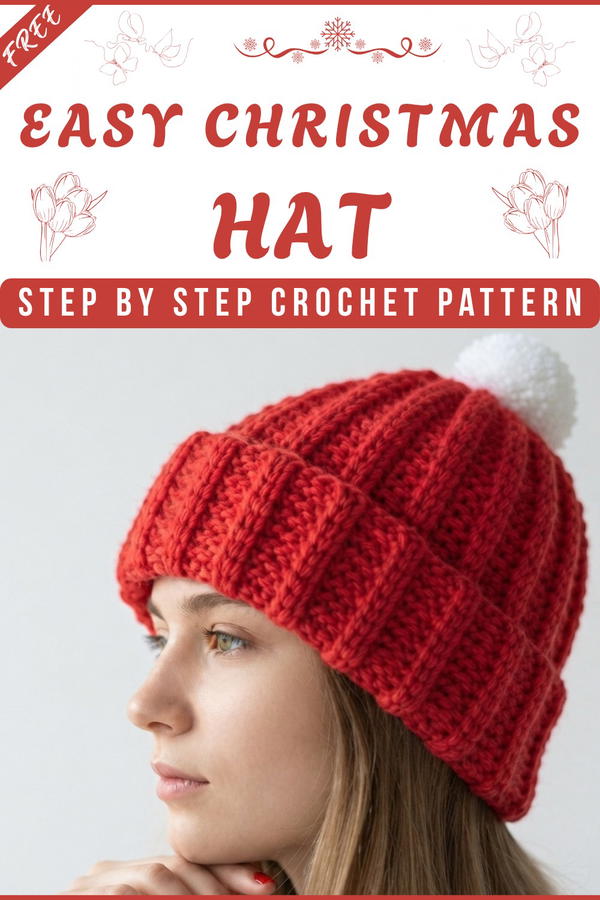
Christmas Hat Crochet Pattern
In today's tutorial, we are going to make a Christmas hat—my unique version, crocheted with ribbed texture, a soft pom-pom, and warm, festive colors. This project is beginner-friendly and works up quickly with simple single crochet stitches and chunky yarn. If you would like to try this classic holiday make, follow each step closely.
Quick Overview Of Pattern
- Create a long foundation chain.
- Work single crochet in rows, always in back loop only to create rib texture.
- Fold and sew sides together to form tube.
- Close the top to shape the hat.
- Add pom-pom as a finishing touch.
- Fold brim for optional style.
Notes
- Pattern is based on basic single crochet stitches, worked in back loops only for ribbing.
- If chunky yarn is unavailable, use two strands of medium (worsted or aran) weight yarn.
- Finished size is adaptable—adjust length and width for custom fit.
Skill Level
Beginner
(Uses basic stitches and simple seaming; suitable for all skill levels.)
Materials
- Red acrylic yarn (worsted/aran weight, two strands held together or use chunky yarn)
- Pom-poms (see video for tutorial link)
- Tapestry needle
- Scissors
- 7 mm crochet hook
Measurements / Sizing
- Hat length: ~44 rows, each row is approximately 1 cm tall, so finished length about 44 cm (before folding brim)
- Hat width: 41 chains, width is about 40–45 cm, fits average adult head circumference
Optional: Fold brim for a shorter, snug fit.
Gauge
- 10 single crochet rows (worked in back loop) = ~10 cm
- 10 single crochet stitches = ~10 cm with two strands/red yarn and 7 mm hook
If hat is too loose/tight, adjust hook size or number of chains/rows.
Stitch Abbreviations
- ch = chain
- sc = single crochet
- blo = back loop only
- sl st = slip stitch
Special Stitches
Single Crochet in Back Loop Only (sc-blo):
Insert hook into only the back loop of the stitch (not both), yarn over, pull through, yarn over again, pull through two loops. This technique creates visible ribbing and stretch.
The Crochet Pattern!
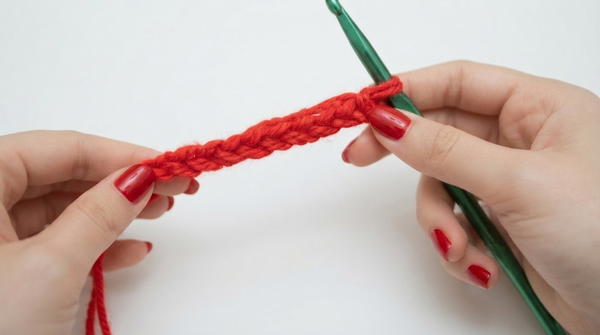
Step 1. Foundation Chain
- Using two strands of red acrylic yarn, make a slipknot.
- With your 7 mm crochet hook, chain 41.
Step 2. First Row – Single Crochet
- Turn, starting in second chain from hook, make 1 single crochet in each chain across.
- You should have 40 sc at the end of the row.
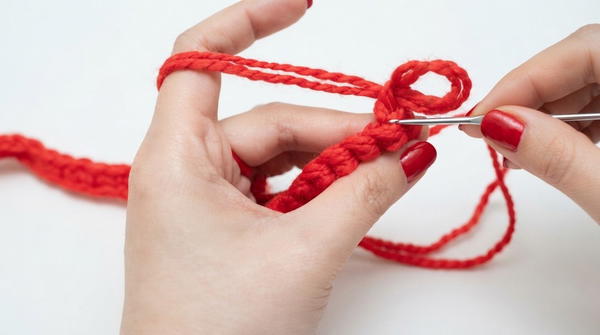
"First row we will make a single crochet in the entire row ... At the end we should have 40 single crochet."
Step 3. Rows 2–44 – Rib Stitch
- For each row:
- Ch 1, turn.
- Work 1 sc in back loop only in every stitch across (total 40 sc per row).
- Repeat this for rows 2 through 44.
"In every row we will make a one chain from the start ... we will be working in the back loop only."
- Continue until you have 44 rows or your hat measures about 44 cm tall.
"We will repeat this method until we reach forty-four rows."
Step 4. Forming the Hat Tube
- When all rows are complete, lay your rectangle flat with ribbing running vertically.
- Fold rectangle in half so foundation chain meets last row.
"Now we're going to connect this side to this side to make it round."
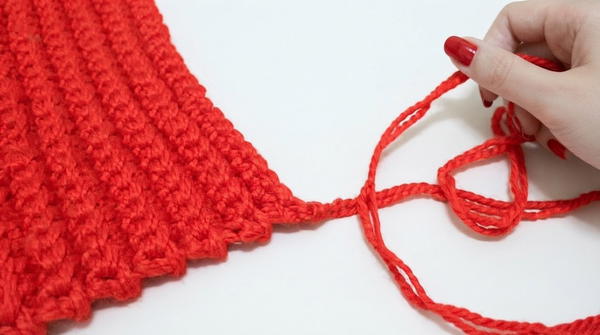
Step 5. Sewing the Side Seam
- Thread tapestry needle with yarn tail.
- Insert needle through the back loop on one edge and the front loop from the opposite edge.
- Use mattress stitch or whip stitch, sewing sides together from bottom to top.
"Here is my needle ... back loop and then on the other side, front loop."
- Finish sewing seam; cut yarn or weave excess inside.
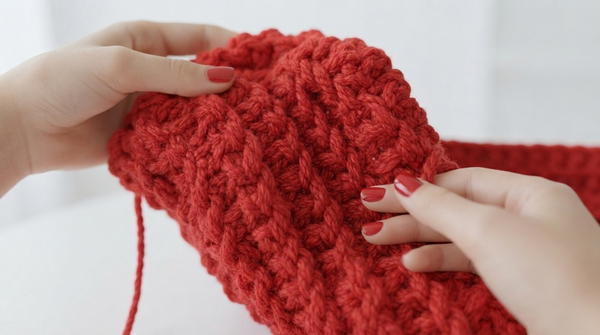
"I'll get back to you once I'm done sewing the sides ... Now guys, we are done sewing the sides."
Step 6. Closing the Top
- With new yarn tail (or use remaining), thread tapestry needle.
- Insert needle through the top edge, weaving in and out of each row, around the circumference.
- Pull tightly to gather and close the top.
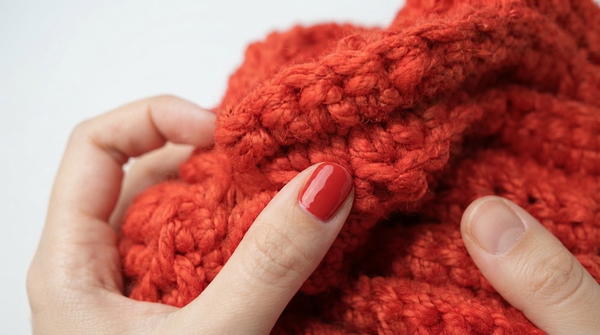
"What we are going to do now is insert our needle ... pull the tail to close the top of our beanie."
- Secure with a knot; weave in excess yarn to reinforce closure.
Step 7. Adding the Pom-Pom
- Using tapestry needle and extra red yarn, sew a pom-pom securely to the closed top of the hat.
- Cut excess yarn or weave it inside for a neat finish.
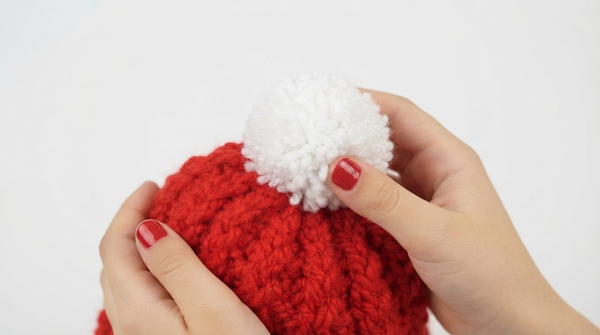
"Next, we will add our pom-poms at the top of our beanie ... I'm done sewing the pom-poms on the beanie."
Step 8. Optional: Fold the Brim
- For added style, fold the lower edge of your hat up to form a brim.
- If desired, sew along the folded edge for a permanent cuff.
"Our beanie alone, you can fold it like this and then sew it here if you want to."
Assembly & Finished Size
- After following all steps, you should have a ribbed, stretchy hat that fits comfortably.
- Hat length: ~44 cm unfolded, or shorter as desired by folding brim.
- Hat circumference: Fits standard adult head (about 54–60 cm).
Conclusion and Ending Words
Here is the final look for our Christmas hat—a simple, cozy and festive beanie with ribbed texture and a soft pom-pom on top. Style with a folded brim if you prefer. The hat is very easy to make, and perfect for beginners.