Keep your hands busy with this Free Crochet Strawberry Keychain Pattern, perfect for creating a charming and useful accessory effortlessly.
If you’re looking for a quick and charming project to brighten up your everyday accessories, a little crochet keychain might be just the thing. The free crochet strawberry keychain pattern offers a fun and easy way to create a sweet, handmade charm that’s perfect for your keys, bags, or even as a cute gift. As a crochet designer, I love how this pattern combines simplicity with adorable style.
Free Crochet Strawberry Keychain Pattern for Summer Accessories
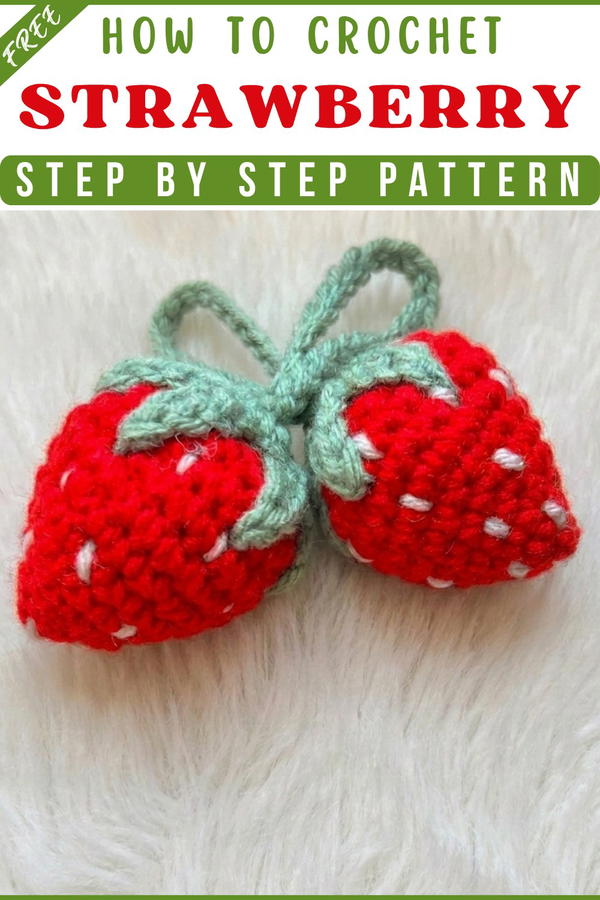
This strawberry keychain is a miniature marvel, featuring a plump, rounded shape that closely resembles the real fruit. Its vibrant red body, dotted with tiny seeds, and the leafy green top add to its realistic yet whimsical appeal. The texture is soft and slightly squishy, thanks to the tight stitches used in making it sturdy enough to hold its shape while still feeling lightweight. While the standard size is perfect for keyrings, you can easily customize the size by changing your yarn weight or hook size, or even play with colors for a fun twist.
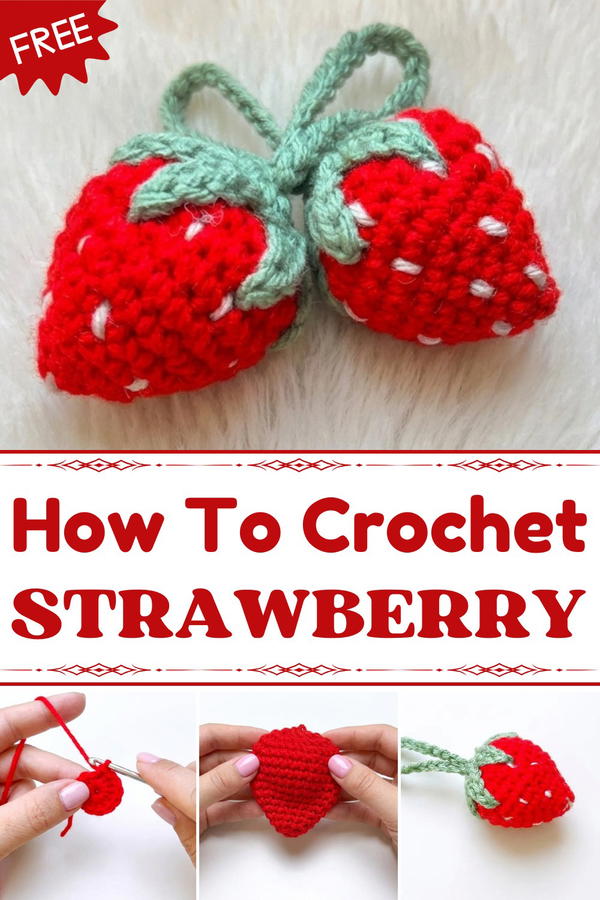
The construction of this keychain involves basic crochet techniques like single crochet rounds, making it ideal for beginners who want a quick win. A helpful tip is to stuff the strawberry firmly to achieve its signature plumpness and use a yarn that has good stitch definition, acrylic or cotton blends work beautifully because they’re durable and highlight the tiny seed details. The inspiration behind this design came from garden fresh strawberries, celebrating their bright colors and cheerful vibe.
This free crochet strawberry keychain pattern isn’t just a delightful personal accessory; it’s also a fantastic gift idea for friends, family, or crochet swaps. Plus, it’s a wonderful way to unleash your creativity by experimenting with different color combinations and embellishments. If you’re after a small project that’s big on charm, this pattern might just be your next favorite.
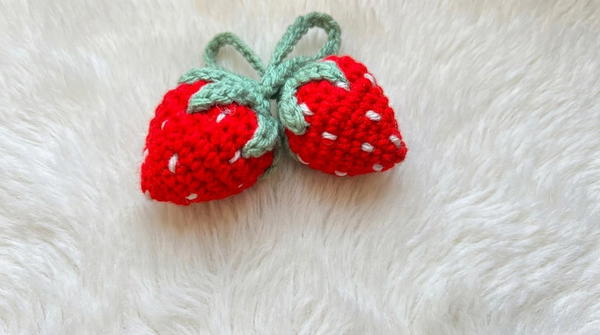
Crochet Strawberry Keychain Pattern
Bring a splash of charm and sweetness into your day with this adorable crochet strawberry keychain. Crafted in the round and finished with delicate embroidery and leaves, this project is ideal for practicing basic increases, decreases, and simple shaping—all while making a practical, gift-ready accessory. Follow this round-by-round guide to make your own cute strawberry from the ground up.
Quick Overview Of Pattern
- The strawberry body is worked from the bottom up, in a seamless spiral using single crochet.
- Increases are made at set intervals for smooth shaping; decreases taper the top for realistic strawberry contour.
- Embroidered white “seeds” provide a fun finishing touch.
- The calyx (leafy green top) is crocheted separately in the round, then each leaf is formed with a unique petal structure.
- Keychain loop is made from a simple chain and attached after final assembly.
- Stuffing is added before closing, resulting in a nicely plump accessory.
Notes
- Pattern uses US crochet terminology.
- The strawberry body is crocheted in a continuous spiral; do not join rounds unless otherwise stated. Mark the first stitch of each round to keep track.
- The pattern is forgiving of minor gauge differences since sizing is not critical for keychains.
- Evenly stuff the strawberry before complete closure for the best shape.
- The calyx is designed to sit slightly over the strawberry top for a realistic effect.
- Adjust yarn colors for creative interpretations (try pastel for a “candy” berry).
Skill Level
Beginner – Confident Beginner
If you can single crochet, increase, and decrease, you can complete this pattern. Excellent for those new to small amigurumi-style projects.
Materials
- Worsted weight or light worsted cotton or acrylic yarn:
- Red or pink (for body)
- Bright green (for calyx/leaves)
- White or pale yellow (for seeds, embroidery)
- Small quantity of polyester fiberfill (polyfill)
- 2.5–3.5 mm crochet hook (adjust for yarn thickness and tension)
- Yarn needle (blunt tip, for embroidery and sewing)
- Scissors
- Removable stitch marker
- Keyring, lobster clasp, or jump ring (optional, for attaching as keychain)
Measurements / Sizing
- Finished strawberry: approx. 1.75–2 inches tall (without calyx)
- Leaf spread: approx. 2–2.25 inches diameter
- Hanging chain: up to 2.5 inches (25 chains, adjustable)
This is a mini accessory, ideal for keychains, bag charms, or party favors.
Gauge
- Gauge is not crucial. For reference:
- 6 single crochet stitches ≈ 1 inch (2.5 cm) using a 2.5–3.5 mm hook and standard worsted cotton.
- Main concern is creating a firm, dense fabric so stuffing does not show through.
Stitch Abbreviations
- ch: chain
- sc: single crochet
- sl st: slip stitch
- inc: increase (2 sc in same stitch)
- dec: decrease (sc two stitches together)
Special Stitches
- Single Crochet Increase (inc):
- Work 2 sc in the same stitch.
- Single Crochet Decrease (dec):
- Insert hook in next stitch, yarn over and pull up loop, insert hook in following stitch, yarn over and pull up loop (you have 3 loops on hook), yarn over and draw through all three.
The Crochet Pattern
The Strawberry Body
Foundation: Make a slip knot and chain 3. Slip stitch into the first chain to form a ring.
Round 1: Chain 1, then work 6 single crochet (sc) into the center of the ring.
Round 2: Increase in each stitch around for a total of 12 stitches.
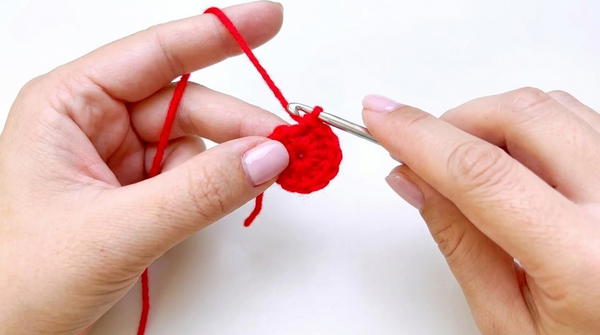
Round 3: 1 sc, increase—repeat 6 times for a total of 18 stitches.
Round 4: 2 sc, increase—repeat 6 times for a total of 24 stitches.
Round 5: 3 sc, increase—repeat 6 times for a total of 30 stitches.
Round 6: 4 sc, increase—repeat 6 times for a total of 36 stitches .
Round 7: 5 sc, increase—repeat 6 times for a total of 42 stitches.
Rounds 8–9: Work 1 sc in every stitch around (28–42 stitches depending on chosen pattern growth; transcript indicates 28 stitches for this specific section) .
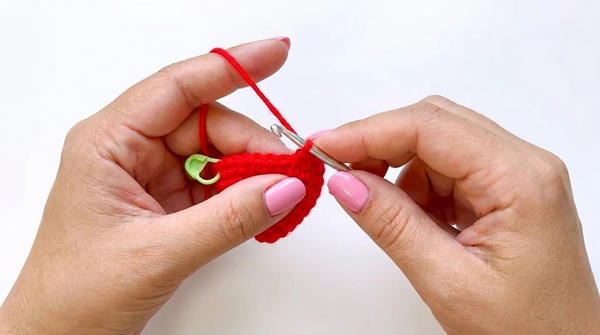
Round 10: 2 sc, decrease—repeat until end of round, totaling 21 stitches .
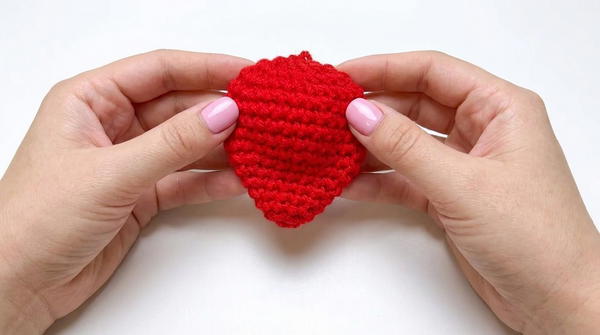
Round 11: 1 sc, decrease—repeat until end of round, totaling 14 stitches.
Round 12: Work 7 consecutive decrease sets to close, then fasten off.
The Calyx (Leaves)
Foundation: Make a slip knot and chain 3, then slip stitch to form a ring.
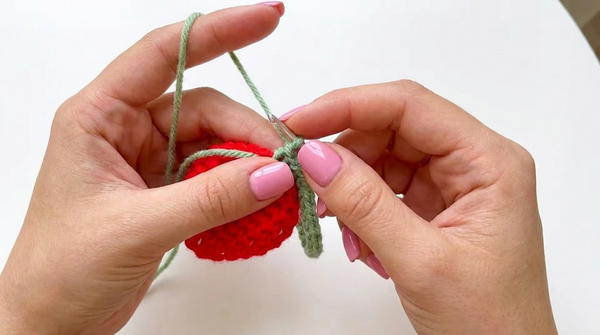
Round 1: Work 6 sc into the ring.
Round 2 (Leaf Formation): Chain 4, skip one, 1 sl st, 2 sc—repeat 6 times to complete the leaves.
Assembly & Final Touches
Once the body is complete, use white yarn to embroider seeds, working upward from the bottom based on your own artistic rhythm.
Next, fill your project with polyfill. Add small pieces gradually to maintain a balanced, rounded shape, then use your yarn needle to sew through the final stitches and pull tightly to close the opening.
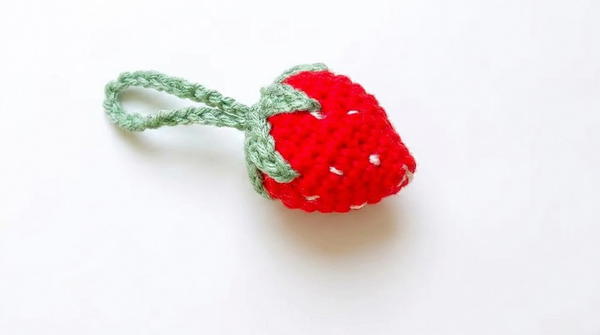
For the final assembly, position the green calyx at the top. Secure it by sewing into the "V" shapes at the tips of the leaves. Finally, attach a hanging chain of your preferred length (approx. 25 chains) to the center.
Conclusion
You have officially finished your delightful strawberry keychain! This project is a fantastic exercise in maintaining consistent tension and refining your assembly skills. I hope you enjoyed this journey of turning simple yarn into a charming accessory. Please consider sharing your finished work, as your support helps keep these tutorials going.
Assembly & Finished Size
- Stuffing:
Fill the strawberry body using small wisps of polyfill. Add gradually, shaping with your fingers to get an even, rounded form. Avoid over-stuffing, as this may stretch the fabric. - Closing:
With your yarn needle, weave the body’s fasten-off tail through the front loops of each remaining stitch at the tip. Pull gently to close neatly. - Embroider Seeds:
Using a length of white (or yellow) yarn, embroider tiny “V” or dash-shaped seeds evenly spaced across the berry. About 8–10 “seeds” on front and back gives a realistic appearance. Follow your artistic instinct for placement. - Attach Calyx:
Position the green calyx over the closed tip of your strawberry. Align the leaves so they appear to “hug” the berry. Sew through the ends of each leaf, anchoring them into the top “V” shapes of the berry. Secure with several stitches per leaf for durability. - Add Hanging Chain:
Attach fresh green yarn at the very center top (through calyx and strawberry). Ch 25 (or as preferred for your keychain length). Fasten off. Thread this loop through a keyring, clasp, or split ring and knot securely. - Weave in all ends.
Your strawberry keychain is now complete!
Conclusion and Ending Words
Congratulations on completing your delightful strawberry keychain! You’ve learned to shape with increases and decreases, embroider sweet details, and assemble a 3D accessory that brings a pop of color and fun wherever it goes. Display your keychain on a bag, backpack, or keys, or share it as a charming handmade gift. Every tiny “seed” you stitched is unique—just like your crochet journey. Share your result to inspire others, and keep exploring new patterns and techniques.