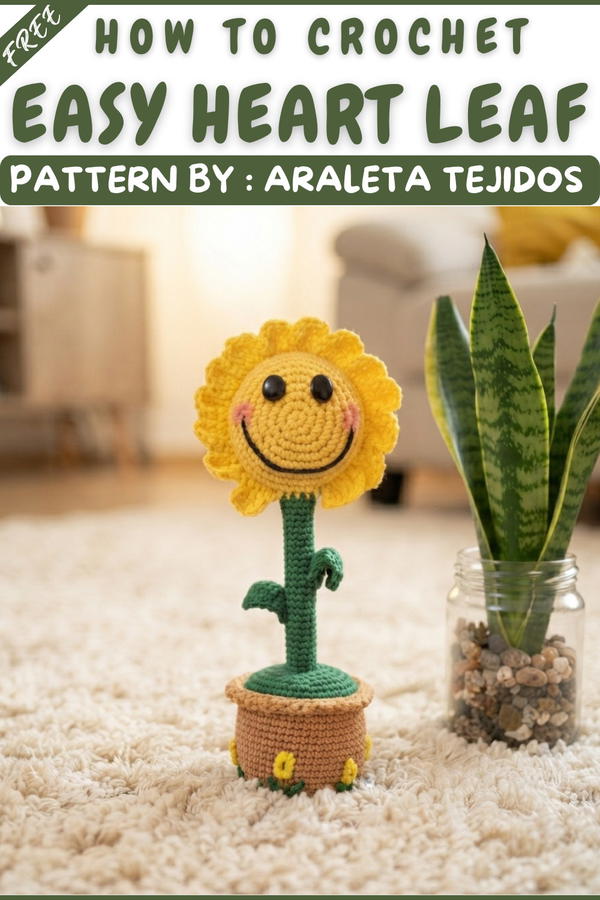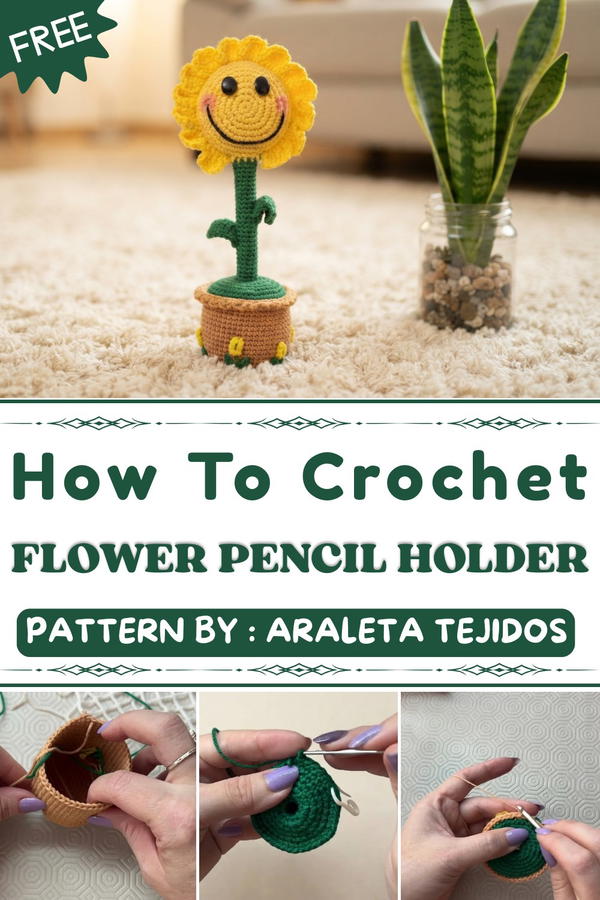
Besides holding pencils, this holder can keep other small items like makeup brushes or crochet tools. Its size is perfect for desks, shelves, or even gift tables. The style is cute and fun, which makes any room feel more welcoming. I like how it adds personality to a simple space with handmade charm.
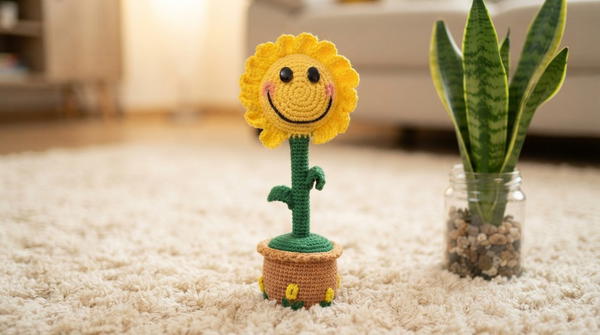
This Free Crochet Flower Pencil Holder Pattern is a wonderful gift idea, too. It shows care because it’s made by hand and can brighten someone’s day. You can also keep it for yourself to add color and order to your desk. If you like making useful and pretty things, this project is a lovely choice. Give it a try—you’ll enjoy making something both practical and beautiful!
Flower-Themed Crochet Pencil Holder/Planter – Complete Step-by-Step Pattern
This detailed pattern guides you through creating a charming flower-themed crochet pencil holder or planter. Combining crocheted textures with embroidery and structural reinforcement, this project results in a sturdy yet decorative accessory perfect for your desk or plant display. Following the instructions extracted from a video tutorial, you will craft a green and light brown circular base, adorned with embroidered flowers, finished with a fitting top piece, and reinforced for stability.
The project is ideal for crocheters interested in combining crochet with embroidery and slight assembly work. From the foundational magic ring construction to subtle back loop-only rounds and decorative finishing touches, you will practice a range of techniques essential for crafting three-dimensional crochet items.
Pattern Highlights
- Construct a circular planter base starting with a magic ring and rounds of increasing single crochets.
- Incorporate a back loop only (BLO) round to add texture and definition.
- Build height with multiple rounds of single crochet stitches.
- Add structure using a custom plastic circular base glued for reinforcement.
- Embellish the lower section with embroidered flower motifs using yarn and needle embroidery techniques.
- Create a matching top/lid piece with gradual increases and defined shaping.
- Final assembly includes weighted stability with stones, stuffing with fiberfill for shape, and sewing the top to the base.
- Finish with a decorative edging around the rim for a polished look.
Notes
- Attention to stitch counts during increase rounds is crucial for maintaining accurate shaping.
- Working the back loop only round creates a subtle ridge, adding an appealing textural contrast.
- Reinforcement with a plastic base ensures your planter stands upright and holds form.
- Embroidery adds a personalized handcrafted touch but requires patience and precise yarn handling.
- Closing the project with stuffing ensures shape retention and allows the pencil holder function.
- The decorative edging completes the look, securing the seam while enhancing aesthetics.
Skill Level
- Intermediate: Best suited for crocheters familiar with circular crochet techniques, increases, back loop only rounds, embroidery basics, and three-dimensional assembly.
- Some experience with finishing and sewing crochet pieces together is beneficial.
Materials
- Yarn: Green and light brown worsted or medium-weight yarn.
- Crochet Hook: 3 mm steel crochet hook.
- Fill: Silicone-based polyester fiberfill for stuffing.
- Additional Supplies:
- Scissors
- Stitch markers
- Glue (for plastic reinforcement)
- Small stones (for weighting)
- Needle for embroidery and sewing.
Measurements / Sizing (Optional Schematic)
- The pencil holder measures approximately the size of a small to medium cup, ideal for pens or small plants.
- Exact dimensions depend on yarn thickness and tension but the base diameter after Round 8 should be roughly 12 – 14 cm (4.7 – 5.5 inches).
- Height after 12 rounds (Step 10) results in about 10 cm (4 inches).
Gauge and Stitch Pattern
- Gauge is flexible; however, the stitch density affects sturdiness and shape.
- Rounds primarily utilize single crochet (SC) stitches for a dense fabric.
- The back loop only (BLO) round adds textural interest while slightly narrowing the fabric.
- Embroidery stitches overlay as small decorative accents, worked with yarn and needle.
Stitch Abbreviations
| Abbreviation | Meaning |
|---|---|
| MR | Magic Ring |
| sc | Single Crochet |
| BLO | Back Loop Only |
| inc | Increase (2 sc in same stitch) |
| ch | Chain |
| sl st | Slip Stitch |
Special Stitches
- Magic Ring (MR): Creates a tight adjustable loop to start circular crochet in the round.
- Increase (inc): 2 single crochet stitches worked in the same stitch to enlarge the circle evenly.
- Back Loop Only (BLO) Single Crochet: Insert hook only into the back loop of the stitch for a raised ridge effect.
The Crochet Pattern!
Part 1: The Planter Base
- Magic Ring and Round 1:
- Create a magic ring (MR).
- Work 7 single crochets (7 sc) into the ring. Tighten the loop to close.
- Round 2:
- Work 2 single crochets (sc) in every stitch (increase in every stitch).
- Total stitches: 14 sc.
- Round 3:
- (1 sc, 1 inc) repeat around the circle.
- Total stitches: 21 sc.
- Round 4:
- (2 sc, 1 inc) repeat around.
- Total stitches: 28 sc.
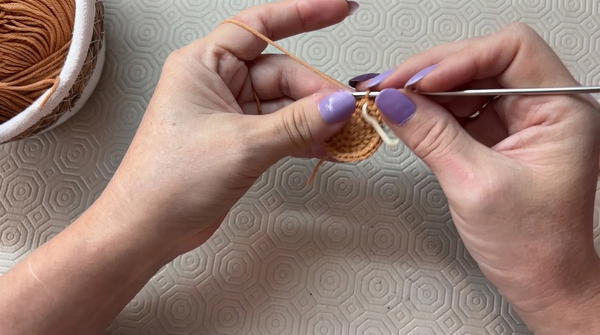
- Round 5:
- (3 sc, 1 inc) repeat around.
- Total stitches: 35 sc.
- Round 6:
- (4 sc, 1 inc) repeat around.
- Total stitches: 42 sc.
- Round 7:
- (5 sc, 1 inc) repeat around.
- Total stitches: 49 sc.
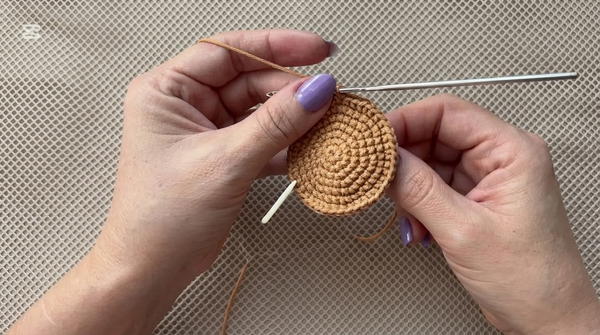
- Round 8:
- Single crochet in every stitch (no increases).
- Total stitches: 49 sc.
- Back Loop Only Round:
- Work single crochet (sc) stitches into the back loop only (BLO) for the entire round.
- This creates a subtle ridge and texture.
- Height Building:
- Work 12 rounds of single crochet in every stitch (sc in each st, no increases).
- This builds the vertical portion (height) of the planter.
- Reinforcement:
- Insert a custom-cut plastic circular base inside the bottom for structure and stability.
- Use glue to secure the plastic base in place.
Part 2: Embroidery and Decoration
- Embroidering Flowers:
- Using yarn and needle, embroider small flower motifs on the lower section of your planter.
- Pass yarn through gaps of six stitches on the crochet surface to form flower shapes.
- Anchor each flower securely with your needle work.
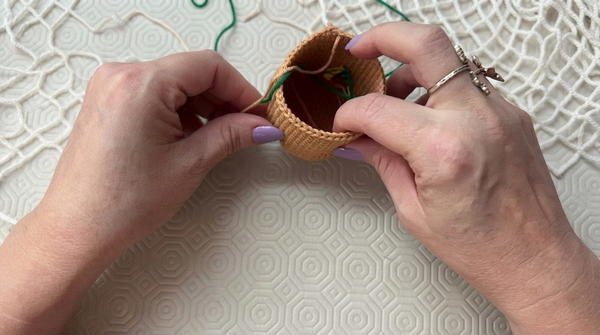
- Spread flowers evenly for a balanced aesthetic.
Part 3: The Top/Lid Piece
- Magic Ring and Round 1:
- Create a magic ring.
- Work 6 single crochets (6 sc) inside.
- Round 2:
- Increase in each stitch (6 inc); (1 inc in each st).
- Total: 12 sc.
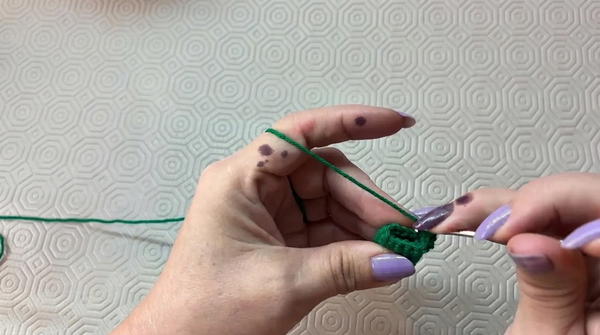
- Rounds 3 to 13 (Body):
- Work 11 rounds of single crochet in every stitch (12 sc per round).
- Builds the main cylindrical shape of the top.
- Back Loop Only Round:
- Work (1 sc, 1 inc) in back loop only (BLO) to expand the diameter.
- Total stitches: 18 sc.
- Round 15:
- (2 sc, 1 inc) repeat around.
- Total: 24 sc.
- Round 16:
- (3 sc, 1 inc) repeat around.
- Total: 30 sc.
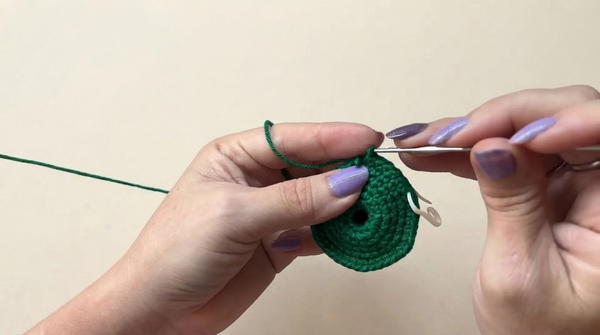
- Round 17:
- (4 sc, 1 inc) repeat around.
- Total: 36 sc.
- Round 18:
- (5 sc, 1 inc) repeat around.
- Total: 42 sc.
- Round 19:
- (6 sc, 1 inc) repeat around.
- Total: 48 sc.
Part 4: Final Assembly
- Weighting:
- Place small stones or suitable weightful materials inside the base for stability.
- Stuffing:
- Fill the planter with silicone-based polyester fiberfill to maintain shape and firmness.
- Position your pen holder (top piece core) centrally inside for alignment.
- Closing:
- Sew the top piece to the planter base carefully.
- Add fiberfill gradually as you sew the seam to ensure no gaps and maintain fullness.
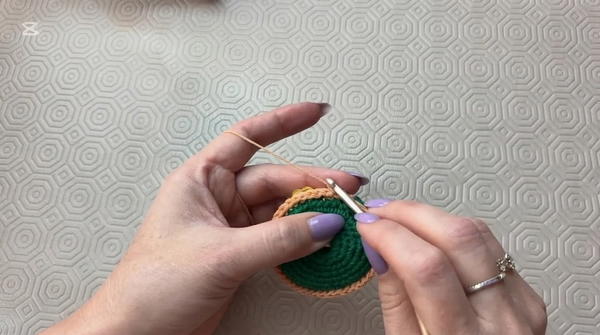
- Edging:
- Create a decorative edging around the rim by alternating 2 chains (ch 2) and 1 single crochet (sc) in the edge stitches.
- This finishing touch provides a neat, decorative border.
Assembly & Finished Size
- The finished project is a sturdy, decorative planter or pencil holder approximately 12-14 cm in diameter with a height of about 10 cm, depending on your tension and yarn choice.
- The weighted base combined with stuffing provides stability and form suitable for practical use.
- The embroidered flowers and edging add a lovely handcrafted aesthetic.
Conclusion
This flower-themed crochet pencil holder/planter combines foundational crochet techniques with decorative embroidery and thoughtful assembly. By following the incremented rounds starting from the magic ring, you develop a firm circular base and build height with consistent single crochet rounds complemented by an attractive back loop-only round that adds texture.
The addition of a plastic base strategically reinforces the planter’s stability; embroidery offers personal flair and beauty. Crafting the top piece with precise increases ensures a complementary fit that closes the planter with neat seams and retains fullness through stuffing. The final edging contributes elegance and durability.
Mastering this pattern enhances your crochet skills in structured 3D shapes, combining stitches, finishing techniques, and decorative embroidery skills—delivering a functional work of art. We encourage you to enjoy this rewarding creative process and explore customization with colors and embellishments for unique variations. priority.