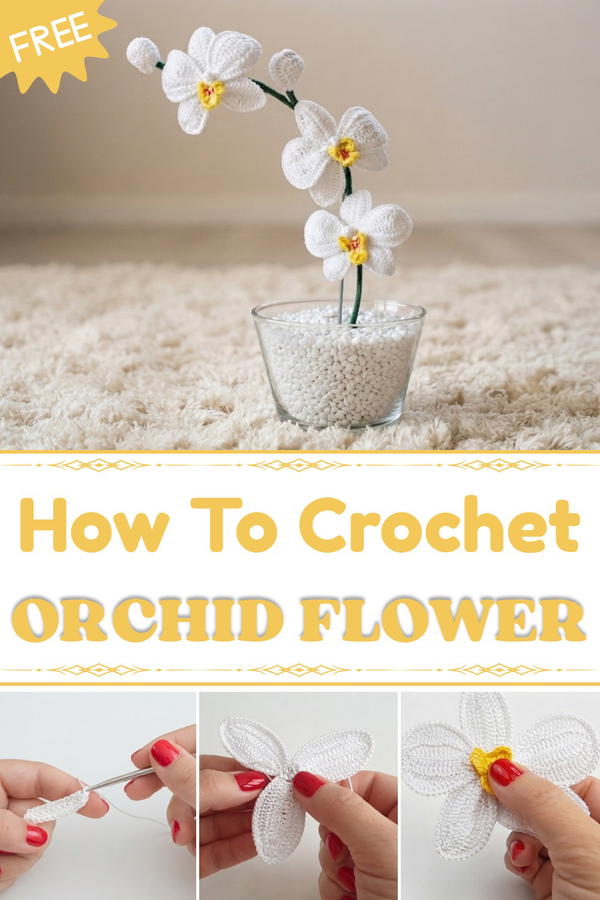
Best suited to those with some familiarity in yarn work, this project offers a gentle challenge in shaping and forming three-dimensional pieces. Following the Free Crochet Orchid Flower Pattern helps sharpen skills in maintaining consistent stitch tension and assembling petal layers neatly. Even crocheters with less experience can take their time and achieve satisfying results through patience.
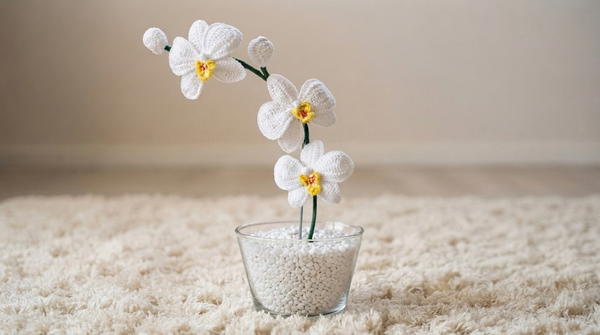
Whether meant to brighten a corner or to gift to friends, these orchid flowers blend beauty and individual expression seamlessly. This project delivers a calming handmade moment while producing a charming item that brings a bit of nature’s grace indoors.
Crochet Orchid Flower Pattern: Beginner-Friendly Step-by-Step Guide
Create a beautiful crochet orchid flower with this easy-to-follow pattern. This design features individual petals, buds, and leaves, each supported by wire to shape and hold their form. Perfect for beginners with some basic crochet knowledge, this guide breaks down every step to help you craft a realistic flower for decoration or gifts.
Quick Overview of the Pattern
- Petals: Crochet shaped petals with detailed stitch patterns and wire inserted for structure.
- Buds: Small rounded buds using chain and mixed stitches with wire inside.
- Leaves: Three sizes (small, medium, large) worked using chains and a mix of basic stitches.
- Assembly: Join petals, buds, and leaves on wrapped wire stems to complete the flower.
Notes
- Maintain medium tension: not too loose or too tight for shape and durability.
- Use galvanized iron wire to support petals and leaves, working crochet stitches around the wire.
- Follow stitch counts carefully to keep shapes even.
- Take your time joining pieces; loose seams look best.
Skill Level
Beginner to Intermediate
Skills used:
- Chain (ch)
- Single crochet (sc)
- Half double crochet (hdc)
- Double crochet (dc)
- Triple crochet (tr)
- Increases (multiple stitches in one)
- Wire insertion and wrapping (basic craft skills)
Materials
- Crochet yarn in your choice of colors (for petals, buds, leaves)
- Galvanized iron wire (various lengths)
- Crochet hook (2.5 mm - 3.5 mm depending on yarn)
- Wire cutters and pliers
- Yarn needle and scissors
Stitch Abbreviations
| Abbreviation | Meaning |
|---|---|
| ch | Chain |
| sc | Single crochet |
| hdc | Half double crochet |
| dc | Double crochet |
| tr | Triple crochet |
| inc | Increase (multiple stitches in one) |
| sl st | Slip stitch |
The Crochet Pattern
Petals
Objective: Make 5 petals with shaped points.
- Start Petal Base:
- Work 3 low single crochet (sc) stitches between half stitches (hdc).
- Create High Points:
- For each petal peak, work 3 double crochets (dc) in the same stitch to increase height and volume.
- Complete 7 high points, then increase these to 10 peaks by working additional doubles.
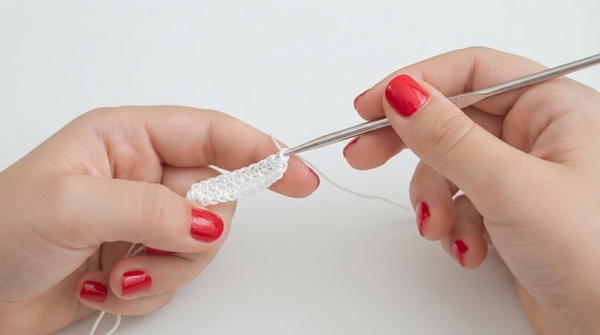
- Finish Petal Edges:
- Work low and half stitches to taper and close the petal's tip.
- Insert Wire:
- Cut a piece of galvanized iron wire slightly longer than petal length.
- Insert wire along the petal and work sc around the wire to secure.
- Shape Petal:
- Gently bend and shape the petal around the wire to form natural curves.
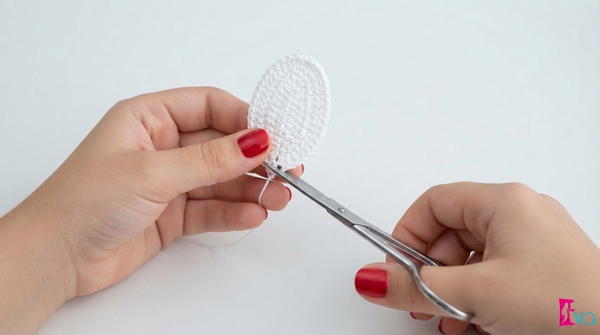
- Gently bend and shape the petal around the wire to form natural curves.
Repeat these steps to make all 5 petals.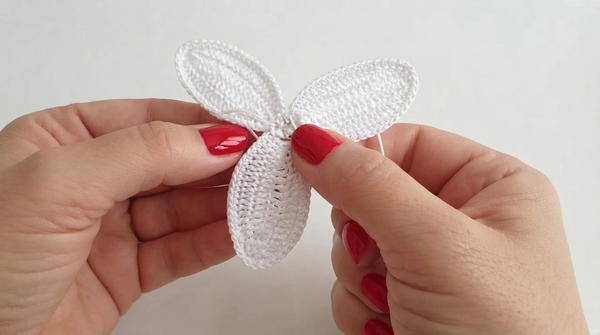
Buds
Objective: Crochet small buds to complement petals.
- Chain foundation:
- Make 20 chains (ch).
- Work stitches on chains:
- Work 5 single crochet (sc) stitches.
- Then one double crochet (dc).
- Continue with 9 stitches varying between low and high points.
- Return on opposite side:
- Work back along the other side of the chain with sc, hdc, and dc stitches mirroring initial side.
- Add volume:
- Use groups of triple crochet (tr), double crochet (dc), and half double crochet (hdc) stitches clustered into single points to add realistic bud shape.
- Insert wire:
- Add a short wire inside and crochet around it to stabilize.
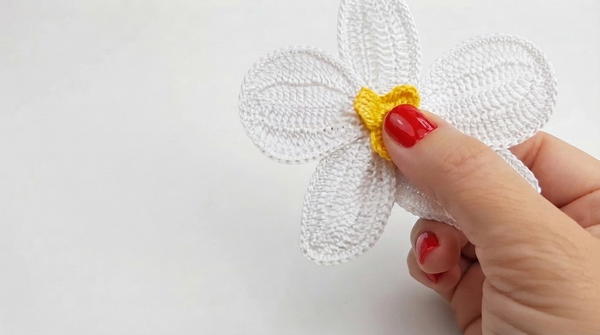
- Add a short wire inside and crochet around it to stabilize.
Leaves
Create three sizes: small, medium, large
- Small leaf: Start with 40 chains (ch)
- Medium leaf: Start with 50 chains (ch)
- Large leaf: Start with 60 chains (ch)
Steps for each leaf size:
- On one chain side, work:
- 3 single crochet (sc)
- 3 half double crochet (hdc)
- 3 double crochet (dc)
- Continue with 21 stitches alternating high and low.
- On the other side of the chain, repeat mirror image of the stitch pattern.
- Insert galvanized iron wire along leaf length.
- Work a full round of single crochet (sc) around the leaf to cover the wire and secure shape.
- Shape gently before assembly.
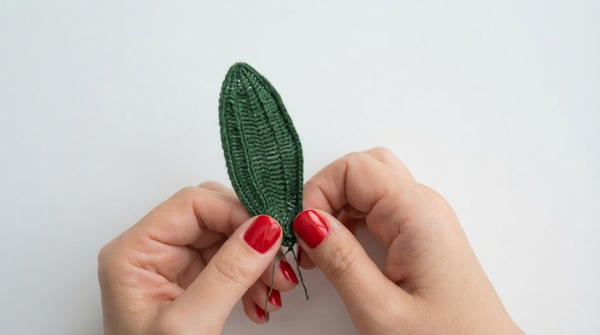
Make 4 leaves of each size.
Assembly & Finishing
- Join petals:
- Arrange the 5 petals in a circle with flat sides together.
- Using yarn and yarn needle, sew them carefully at the base, avoiding bulky seams.
- Leave slight gaps for a natural look.
- Attach buds:
- Fix buds on short wire stems.
- Insert buds between petals and secure with stitches.
- Attach leaves:
- Wrap leaf wires to floral wire stem, arranging leaves naturally around flower base.
- Wrap stems:
- Use yarn or floral tape to cover wire stems for a clean finish.
- Final shaping:
- Adjust wire-supported petals, buds, and leaves for desired look.
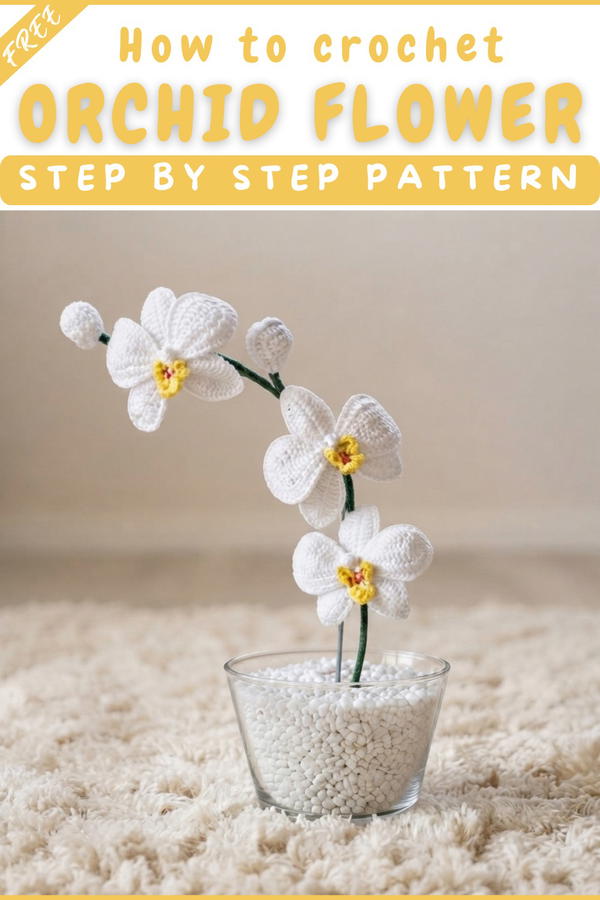
Finished Size
- Flower height (including stem): approximately 30 to 40 cm.
- Width (across petals and leaves): 12 to 15 cm.
Conclusion
You’ve crafted a delicate crochet orchid with realistic petals, buds, and leaves! Using wires to support and shape your flower allows you to create beautiful, lasting decorations. Take pride in your accomplishment, and enjoy using this unique handmade bloom to brighten your home or gift it to a loved one.