Keep your glasses safe and stylish with this free crochet eyeglass cover pattern, providing a practical and elegant solution for daily protection.
If you’re looking for a simple yet stylish way to protect your eyeglasses, a handmade cover could be just the thing. Inspired by a helpful tutorial from the channel Tukitaki, the Free crochet Eyeglass Cover Pattern is an easy project that results in a practical and charming accessory. This eyeglass cover isn’t just a protective sleeve; it’s also a creative way to add a personal touch to something you use every day. Plus, it makes a thoughtful handmade gift for anyone who loves crochet or needs a safe spot for their specs.
Crochet Eyeglass Case Pattern – Free and Beginner Friendly
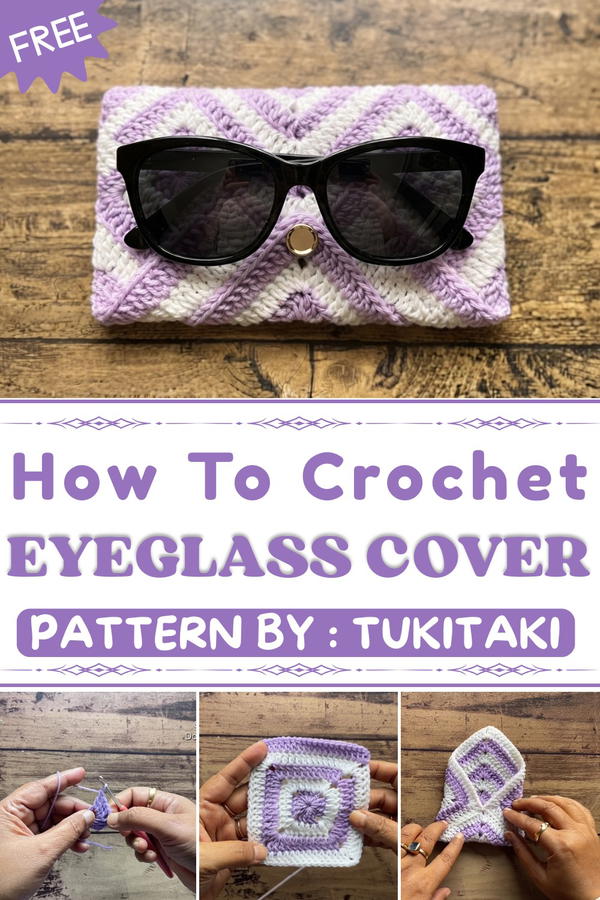
This crochet eyeglass cover features a cozy texture thanks to its tight stitches, which cushion your glasses and keep them scratch-free. The pattern creates a slightly stretchy, pouch-like shape that fits most standard eyeglasses comfortably. Its clean and simple style gives it a modern vibe, while little details like a button or flap closure add both function and flair. The smooth texture makes sliding your glasses in and out a breeze, and the overall look is neat and polished, perfect for carrying in your bag or gifting wrapped up in a sweet way.
Ideal for beginners, the project mainly uses basic crochet stitches, making it a relaxing and rewarding crochet to try. Whether you’re protecting your own glasses or crocheting a unique gift, this pattern lets your creativity shine with color choices and small embellishments. It’s a stylish, useful accessory that combines function with handmade charm, definitely worth adding to your crochet repertoire.
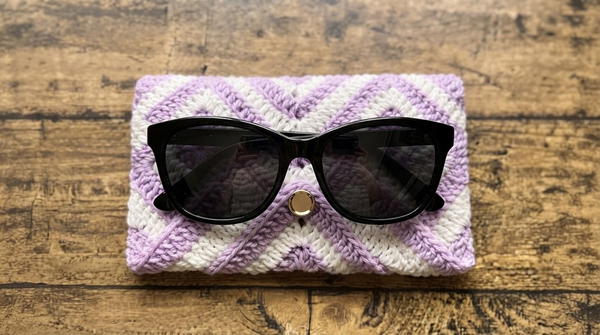
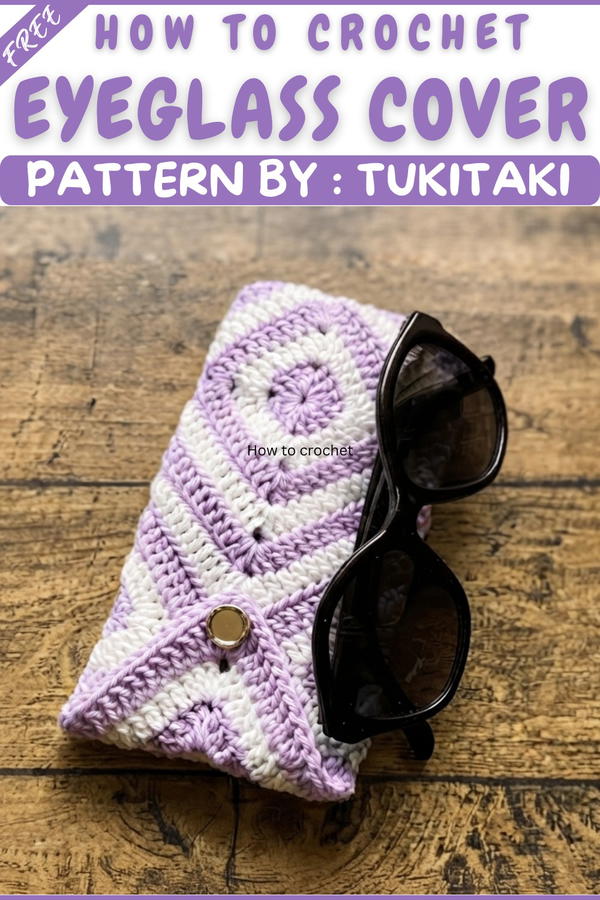
Crochet Sunglasses & Glasses Cover
In this pattern, you will learn how to crochet a charming and practical cover for sunglasses or glasses. We will use simple granny square techniques with color changes to make the project fun and easy. Let’s begin!
Pattern Highlights
- Easy granny square technique
- Alternating color stripes for a modern look
- Made mostly with double crochets (dc)
- Two squares are sewn together to make the cover
- Customizable size
Notes
- Work each square as a spiral or in joined rounds.
- You will change colors at the end of each round.
- You will make two identical squares, then sew them together.
Skill Level
Beginner
If you know how to do a magic ring, double crochet, chain, and sew with a tapestry needle, you can make this!
Materials
- 4-ply wool (in two colors, here we use White and Purple)
- 3 mm crochet hook
- Scissors
- Tapestry needle (for sewing pieces together)
- (Optional) Stitch markers
Measurements / Sizing
- Each square: about 10–12 cm (4–4.75 in) across after 5–6 rounds.
- Finished pouch fits standard sunglasses or eyeglasses.
Gauge
Gauge is not critical. Just keep your stitches even and tight enough for durability.
Stitch Abbreviations
| Abbreviation | What it means |
|---|---|
| ch | chain |
| sl st | slip stitch |
| sc | single crochet |
| dc | double crochet |
| MR | magic ring |
Special Stitches (How-To)
Magic Ring (MR):
Make a ring with your yarn, crochet into the ring, and pull tight to close—this makes a seamless start.
Double Crochet (dc):
Yarn over, insert hook, yarn over, pull through (3 loops on hook), yarn over, pull through 2 loops, yarn over, pull through last 2 loops.
Why You Can Crochet This Eyeglass Cover
Crocheting this eyeglass cover is a great choice because it’s simple, quick, and practical. Even if you’re new to crochet, this project uses basic stitches that are easy to learn and follow, making it perfect for beginners. Creating your own cover means you get a custom size and style that fits your glasses perfectly. Plus, it’s a fun way to add a personal touch and protect your eyewear from scratches and damage. Whether for yourself or as a thoughtful handmade gift, crocheting this eyeglass cover combines creativity with everyday usefulness in a rewarding and enjoyable project.
Step-Wise Instructions
1. Make the First Square (Front of Cover)
With White (or your first color):
Round 1:
- Make a magic ring (MR).
- In MR:
- Chain 1
- [4 double crochet (dc), chain 2]
- Repeat step above 4 times total (This means 16 dc in total and 4 corners).
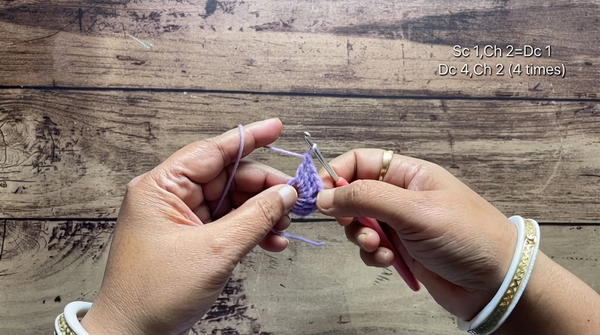
- Pull ring tight to close.
- Slip stitch (sl st) into the 2nd chain at start to join.
- You have made your first round.
Color Change:
At the end of every round, before you finish the slip stitch, pull in the next color to start the next round.
2. Second Round (Change to White)
- Attach White to any corner space.
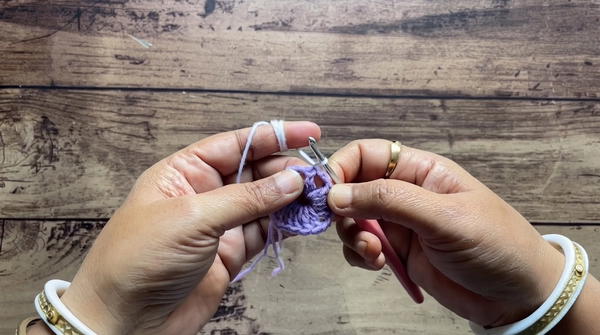
- Chain 1, in the same space, make 2 dc.
(Now you have the side started.) - In next 4 dc (on flat sides), make 1 dc in each stitch.
- In each corner space: 2 dc, chain 2, 2 dc.
- Repeat for all four sides.
- End with slip stitch, changing to purple.
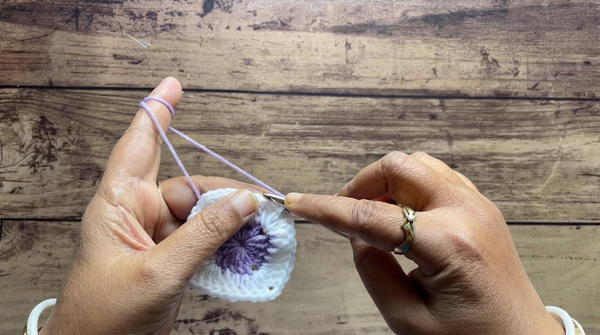
3. Third Round (Purple)
- Attach Purple to any corner.
- In corner: chain 1, 2 dc (side started)
- 1 dc in each dc until next corner
- In each corner: 2 dc, chain 2, 2 dc.
- Continue around.
- Finish with slip stitch, changing to white.
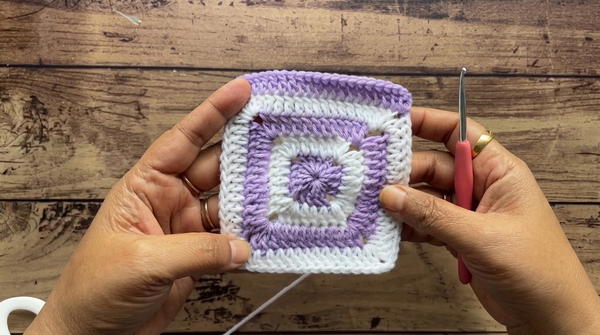
4. Fourth Round (White)
- Repeat as for previous round:
- Start with chain, dc in corner, then dc in each stitch along sides.
- In each corner: 2 dc, chain 2, 2 dc.
- Slip stitch to finish the round, changing to purple.
5. Fifth Round (Purple)
- Repeat as above. (You should have five rounds now, more if you want a bigger pouch.)
- Finish round with a slip stitch.
6. Make the Second Square (Back of Cover)
- Repeat all steps above to make a second, identical granny square.
- Alternate colors as before (white, purple, white, etc.).
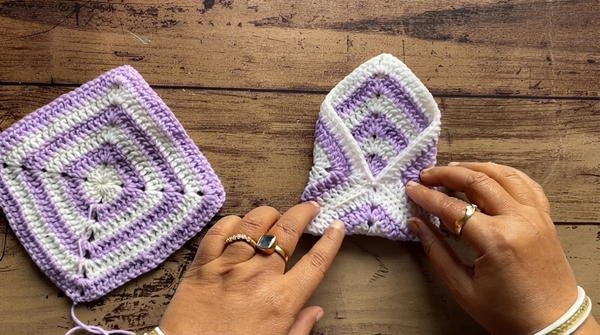
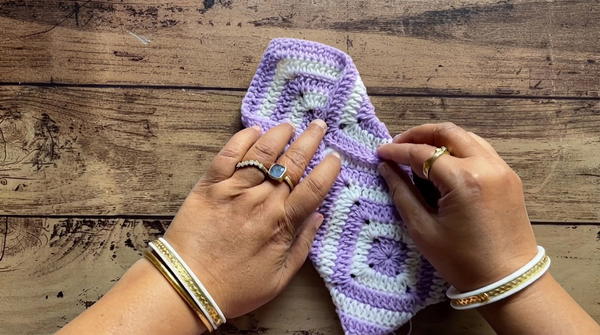
7. Sewing/Joining the Squares Together
- Place the two squares together, right sides facing out.
- Using your tapestry needle and matching yarn:
- Sew together three sides (two long sides and the bottom), leaving one top side open to put in your glasses.
- Carefully sew the stitches and corners, lining them up for a neat finish.
- Weave in all yarn ends.
Assembly & Finished Size
- Finished cover will fit most sunglasses and regular eyeglasses.
- Size: about 10–12 cm wide by 18–20 cm long.
- Optional: Add a button and loop if you want to close the top.
Tips for Beginners
- Keep your chains and double crochets even.
- Take your time sewing sides so they are straight.
- Change colors by pulling the new yarn through the last part of your slip stitch at the end of every round.
- Use stitch markers to keep track of your corners if needed.
Conclusion
You’ve completed a colorful, sturdy cover for your sunglasses or glasses! This project teaches you about the magic ring, double crochet, working in rounds, color changes, and sewing crochet pieces together—all foundational skills for new crocheters.