I remember the first time I made a cozy little square that quickly became my favorite piece for blankets and scarves. This project is a simple but classic crochet item called a granny square. The Free Crochet Solid Granny Square Pattern is easy to follow and perfect for beginners or anyone who loves making warm, colorful crochet pieces. You can find this lovely pattern on the YouTube channel(Crochet Tutorials), where clear instructions make learning fun.
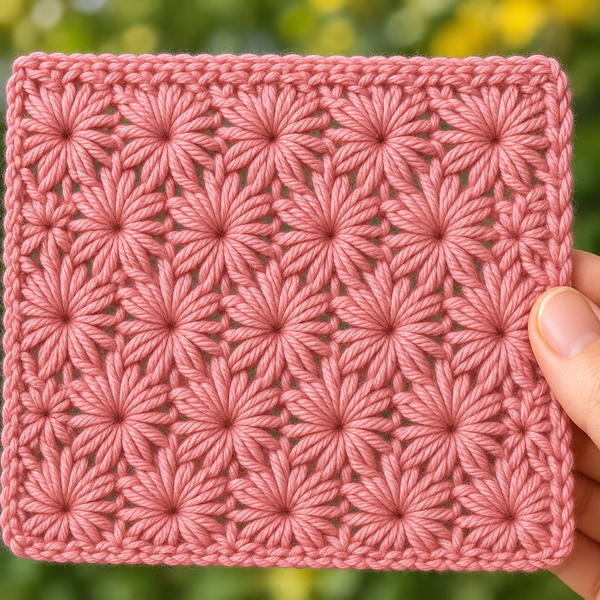
The solid granny square is beautiful in its simplicity. It looks like a small, neat square made of soft yarn that feels warm and smooth. With its tight stitches, the texture is thick and cozy, perfect for keeping you warm on cold days. The square shape is very neat and classic, making it easy to join many of them together to create bigger projects like blankets, pillows, or even bags. The solid design gives it a clean and pretty look, which can fit many styles—from bright and bold colors to soft, calm shades.
Solid Granny Square Crochet: Step-by-Step Guide
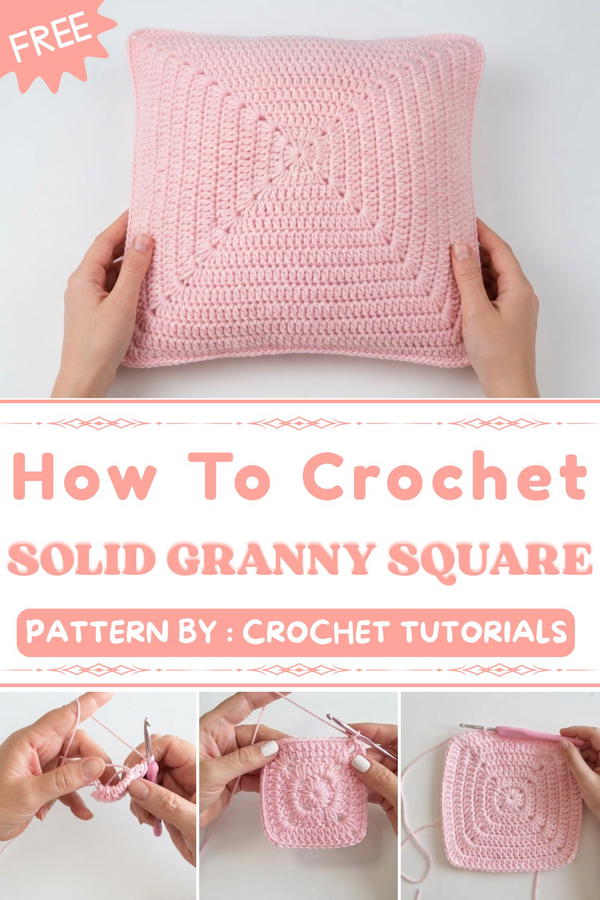
This crochet square is not just useful but also wonderful to gift or decorate your home. Imagine giving a handmade granny square blanket to someone special—it feels warm and full of love. It can also be used to make hats, scarves, or cushions that add a comfy and homemade touch to your space. The solid granny square is a fun, quick way to build a collection of colorful crochet pieces that show off your skills.
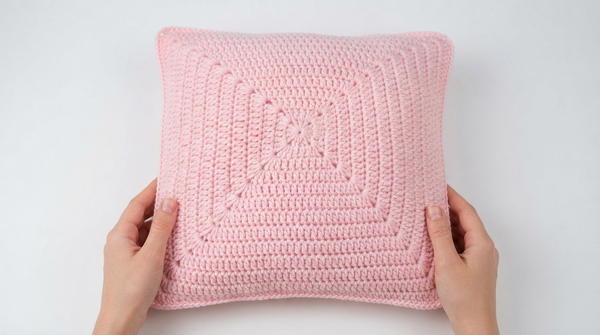
If you like making easy, charming, and useful crochet projects, the Free Crochet Solid Granny Square Pattern is a great choice. It’s friendly for beginners and rewarding for every crocheter. Give it a try—you’ll enjoy creating something warm and beautiful with your own hands!
Solid Granny Square Free Crochet Pattern
This pattern explains how to create a solid granny square, a versatile crochet motif widely used in blankets, cushions, and other projects. This particular pattern features a large square, approximately 35 cm wide, ideal for cushion covers or statement blanket squares. You will learn a neat, hole-minimizing technique using magic rings, clusters of double crochets, and innovative corner stitches for a flat, clean finish. The pattern involves color changes every few rounds for vibrant striping, following a beautiful color palette selected by the designer's daughter.
Quick Overview of Pattern
- Constructed using clusters of three double crochet stitches, separated by chain spaces forming square corners.
- Uses a magic ring start for a hole-free center.
- Employs alternating color rounds to create stripes.
- Chain one spaces used between clusters to reduce gaps and holes.
- Expands round by round, increasing stitch counts evenly to maintain square shape.
- Final size approximately 35 cm x 35 cm (customizable by rounds).
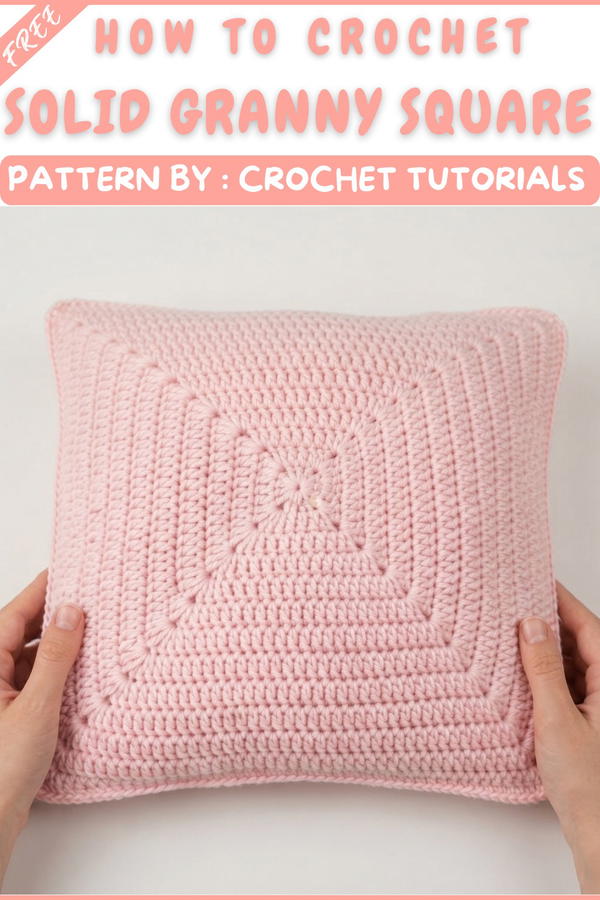
Notes
- This solid granny square is designed to minimize holes, especially suitable for projects like cushions where a dense fabric is preferable.
- The chain spaces at corners are set to one chain rather than two to reduce spacing holes but feel free to increase to two if preferred.
- The stitch count increases by four stitches per side each round due to the corner increases; this helps maintain a square shape.
- The square is worked in joined rounds, turning the work and slip stitching before proceeding to the next round.
- Cotton yarn may reveal stitch definition more clearly; acrylic yarn tends to soften edges.
- Blocking is optional but recommended for neater, sharper square edges.
Skill Level
- Intermediate beginner: Requires knowledge of double crochet, magic ring, working in rounds, slip stitch joins, and counting stitches.
Materials
- Peach color worsted or DK weight yarn
- Crochet hook size 4.5 mm
- Scissors
- Yarn needle for weaving in ends
- Stitch markers (optional, helpful for marking corners)
- Blocking board and pins (optional, for finishing)
Measurements / Sizing
- The completed square will be approximately 35 cm (13.8 inches) square after 12–13 rounds.
- If making smaller projects like blankets with multiple squares, reduce rounds accordingly.
- Adjust hook size and yarn weight to modify size and density.
Gauge and Stitch Pattern
- Approximate gauge: 16 double crochet stitches and 8–9 rows = 10 cm square.
- The pattern works in clusters of 3 double crochets, separated by chain spaces and corner chaining.
- Chain 1 between clusters keeps holes minimal and square solid.
Stitch Abbreviations
| Abbreviation | Term | Description |
|---|---|---|
| ch | Chain | Yarn over, pull through loop |
| dc | Double Crochet | Yarn over, insert hook, pull through two loops twice |
| ss | Slip Stitch | Insert hook, yarn over, pull through loop |
| MR | Magic Ring | Adjustable loop to start rounds tightly |
| st(s) | Stitch(es) | Unit of crochet stitch |
Special Stitches
- Magic Ring (MR): Creates a closed tight center circle, minimizing hole in the middle of your square.
- Cluster of 3 Double Crochets: Formed by 3 consecutive double crochets into one stitch or space, separated by chains forming the solid granny square design.
The Crochet Pattern!
Preparation
- Begin by making a slip knot and placing it on your 4.5 mm hook.
Round 1: Starting the Center
- Step 1: Make a Magic Ring (MR).
- Step 2: Chain 2 (counts as first double crochet).
- Step 3: Work 2 double crochets (dc) into the ring.
- Step 4: Chain 1 to form the corner space.
- Step 5: Repeat the following three more times, for a total of 4 clusters:
- Work 3 double crochets (dc) into the ring,
- Chain 1 (corner space).
- Step 6: Pull the tail of the magic ring tightly to close the center hole.
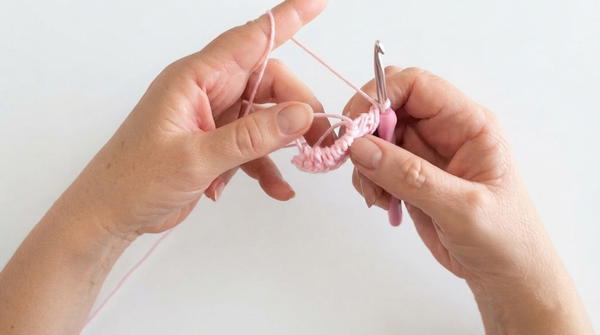
- Step 7: Slip stitch (ss) to the top of the initial chain 2 to close the round.
- You now have a small square with 4 corners formed from clusters separated by chain-1 spaces.
Round 2: Expanding the Square
- Step 1: Slip stitch or chain 1 and turn your work.
- Step 2: Work 3 double crochets (dc) into the first chain-1 corner space.
- Step 3: Chain 1 (corner space).
- Step 4: Work another 3 double crochets (dc) into the same corner space.
- Step 5: Chain 1.
- Step 6: Work 3 double crochets (dc) into each of the two stitches between corner clusters (these are the tops of double crochets from previous round).
- Step 7: At the next corner space, repeat 3 dc, ch 1, 3 dc, chain 1.
- Step 8: Continue this pattern around to complete all four sides.
- Step 9: Slip stitch to the top of the starting stitch (chain 2 or slip stitch as preferred) to join.
- The stitch count has now increased; each side has 7 stitches (including corner clusters).
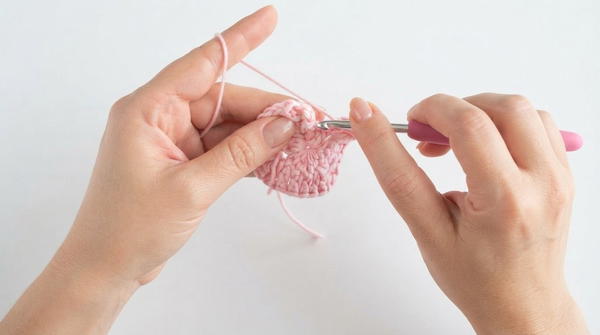
Round 3 and Beyond: Continued Growth
- For each round:
- Chain 3 (counts as the first double crochet).
- Double crochet (dc) into each stitch along the side (working under the top loops of previous stitches).
- In each corner space, work:
- 3 double crochets (dc), chain 1, 3 double crochets (dc) to form corners.
- Continue working double crochets on sides and corner clusters around.
- Slip stitch to join at the end.
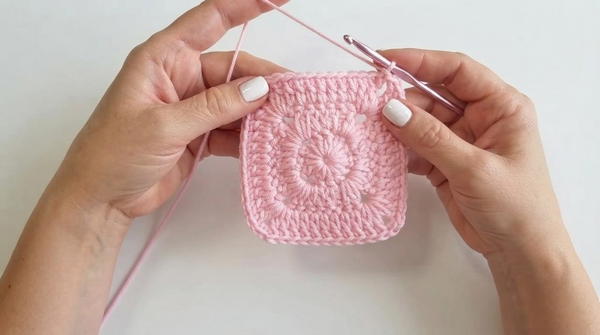
- Stitch count per side increases by 4 each round, due to corner stitch increases. For example:
- Round 3 side stitches: 11
- Round 4 side stitches: 15
- Round 5 side stitches: 19, and so forth.
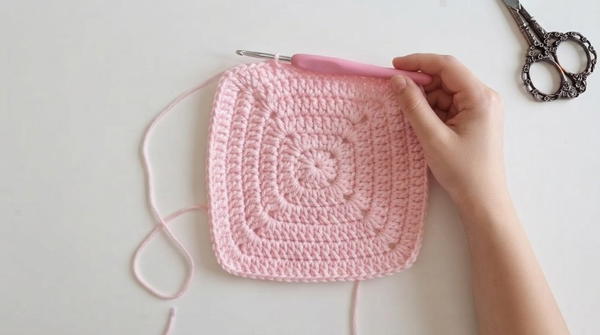
Important Tips
- Corners: Always remember to place the two clusters of 3 double crochets separated by a chain 1 in the corner chain space; this is crucial for maintaining the square shape.
- Chains between clusters: This pattern uses chain 1 spacing to reduce holes and create a solid fabric look. Feel free to increase to chain 2 if you prefer more openness.
- Slip stitches between rounds: Slip stitch into the top of the initial chain 3 or 2 to close rounds neatly without visible gaps.
Troubleshooting
- If your square curls or warps, check stitch counts — you must increase by four stitches per side every round.
- Make sure you crochet into every stitch along the side and properly work corners with 3 dc, ch 1, 3 dc.
- Block the finished square if necessary for a perfect flat shape.
Assembly & Finished Size
- Large granny squares like this can be joined to make blankets, cushions, or used standalone.
- At 12–13 rounds, the square measures approximately 35 cm x 35 cm.
- Using thinner or thicker yarn, or changing hook size, will alter final dimensions.
- For cushion backs, join this square onto fabric or sew similarly sized granny squares together.
- Weave in all yarn ends for a clean finish.
Conclusion
This solid granny square pattern is a fun and rewarding project to build on fundamental crochet skills. Using magic ring starts, double crochet clusters, and careful corner shaping delivers a beautiful, dense square with minimal holes — perfect for practical and decorative applications. Whether used in home decor, gifts, or layered projects, mastering this pattern provides a foundation for countless creative uses.
The color changes add vibrancy and interest, and thoughtful attention to stitch count and tension guarantees a clean, even shape. Enjoy creating your own solid granny squares and exploring their possibilities!