Keep pins neatly in place with Free Crochet Pincushion Cake Pattern, featuring cute cake charm and handy style for sewing spaces and fun projects.
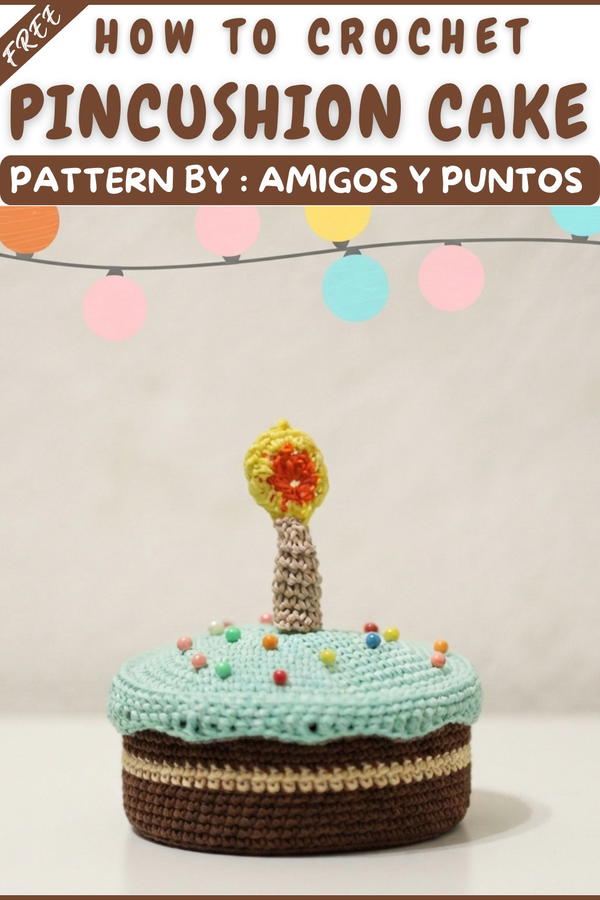
This delightful pincushion looks just like a tiny cake with layers of gentle pink, creamy white, and light brown colors. Designed by a skilled creator from the (Amigos y Puntos)YouTube channel, it brings a cozy and cheerful feel to any sewing space. Its round shape and charming pastel shades make it a perfect little decoration that doubles as a useful tool for keeping your pins safe.
The Free Crochet Pincushion Cake Pattern gives you a sweet way to brighten your sewing corner. People will enjoy the finished piece because it is both adorable and practical. This pincushion fits well on a desk, in a sewing box, or anywhere you need to keep pins handy. It’s also a lovely gift for anyone who loves sewing or simply enjoys cute items that add personality to their workspace.
Free Pincushion Cake Crochet Pattern for Handmade Decor
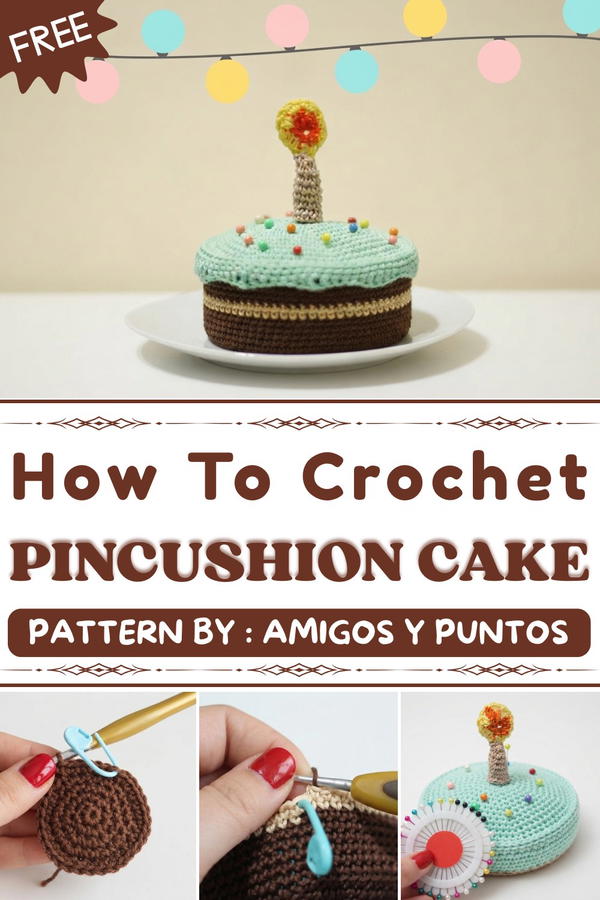
With this pattern, you can quickly make a pincushion that looks like a mini dessert, adding a cheerful pop of color without taking much time. Its charming and whimsical style makes it more than just a sewing accessory—it’s a happy, eye-catching little piece that fits perfectly among your crocheting supplies.
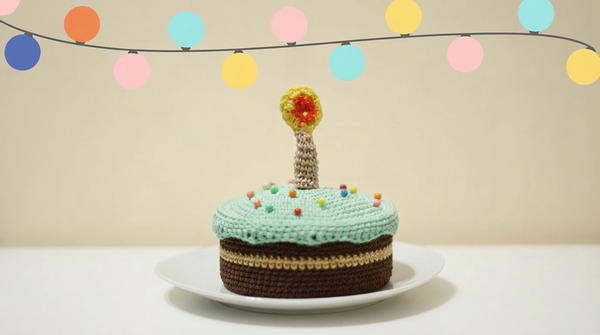
Anyone who likes to sew will appreciate the combination of function and fun in this Free Crochet Pincushion Cake Pattern. It’s simple enough for beginners, yet special enough to make your sewing area feel warm and inviting. This pincushion turns a practical item into a cheerful companion for all your projects.
Crochet Cake-Shaped Pincushion Pattern Using a Recycled Tuna Can
This pattern guides you through crafting a delightful and practical Cake-Shaped Pincushion using a recycled tuna can as the base. Featuring textured layers that resemble cake sponge, fillings, and a decorative mint-colored top with a charming crocheted candle and flame, this pincushion combines eco-friendly recycling with creative crochet. The finished pincushion is both adorable and functional, perfect for stitchers seeking a cute workspace accessory.
Quick Overview Of Pattern
- Base (Cake Sponge): Worked in rounds with increasing stitches creating a thick bottom layer, textured with back loop stitches for added dimension.
- Cake Fillings: Two beige rounds replicating a filling layer.
- Cake Top: Dark brown rounds mirroring the sponge texture.
- Top Covering: Mint green layers combining front and back loop stitches and a decorative scalloped edge.
- Candle and Flame: Small cylindrical candle and colorful flame, crocheted separately and attached on top.
- Assembly: Gluing the base to a tuna can, constructing a center support, stuffing, sewing layers, and finishing touches.
Notes
- Use consistent tight tension to ensure neat texture and fit over the tuna can.
- The pattern predominantly works in single crochet (sc) with strategically used increases and loop-specific stitches for realism.
- Back Loop Only (BLO) and Front Loop Only (FLO) stitches add layer definition and visual separation.
- Assemble carefully making sure layers align perfectly on the tuna can base.
- Stuff generously but evenly to maintain the pincushion’s usability and fluffiness without distorting shape.
- The candle’s pipe cleaner core ensures stability for the flame attachment.
Skill Level
Intermediate
This project involves:
- Magic ring starts
- Working in the round with increases
- Front and back loop only stitches
- Slip stitching and joining rounds
- Crochet of decorative edges with half-double, double, and triple crochets
- Basic crochet shaping and decreases
- Assembly involving glue and sewing
Materials
- Dark brown yarn (medium weight) for cake sponge and top
- Beige yarn for cake fillings
- Mint green yarn for top covering and decorative edge
- Crudo (off-white) yarn for candle
- Orange and yellow yarn for flame
- 2.5 mm crochet hook
- Polyester stuffing
- Pipe cleaner for candle core
- Recycled tuna can (washed and dry)
- Fabric glue or strong craft glue
- Yarn needle
- Scissors
Measurements / Sizing
- Final pincushion approximately 10 cm diameter and 7 cm height (excluding candle)
- Tuna can base diameter around 8.5 cm (standard size)
- Candle approximately 3 cm tall; flame about 2 cm tall
Gauge and Stitch Pattern
- Gauge is flexible; tension should be tight enough to prevent gaps but soft enough for comfortable pincushioning.
- Approximate gauge: 22 single crochet stitches and 24 rounds for 10 cm with 2.5 mm hook.
- The pattern uses mostly single crochet in rounds with sequences of increments and loop-only stitches to shape and texture.
Stitch Abbreviations
| Abbreviation | Meaning |
|---|---|
| ch | Chain |
| sc | Single crochet |
| inc | Increase (2 sc in one stitch) |
| dec | Decrease (crochet 2 stitches together) |
| sl st | Slip stitch |
| hdc | Half double crochet |
| dc | Double crochet |
| tr | Triple crochet |
| MR | Magic ring |
| FLO | Front Loop Only |
| BLO | Back Loop Only |
Special Stitches
- Front Loop Only (FLO) and Back Loop Only (BLO): Creating texture and definition by crocheting around only part of the stitch loop.
- Decorative Edge: Combination of single, half-double, double, and triple crochet stitches worked into successive stitches to form a scalloped effect on the mint green top.
- Magic Ring (MR): Initiation for perfectly closed rounds.
The Crochet Pattern
1. Base (Cake Sponge - Dark Brown)
Round 1:
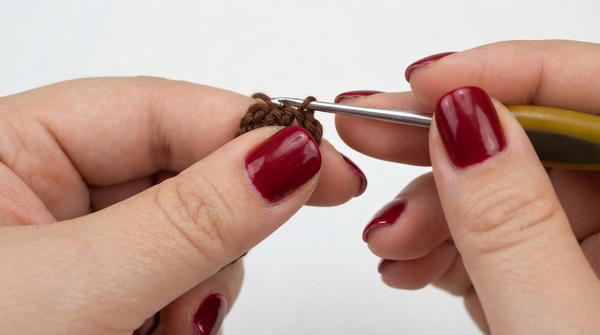
- Work a magic ring and crochet 6 single crochet (sc) stitches inside.
Round 2:
- Increase: 2 sc into every stitch around for 12 sc total.
Round 3:
- Sequence: 1 sc, 1 inc; repeat around (18 sc total).
Round 4:
- Sequence: 2 sc, 1 inc; repeat around (24 sc total).
Round 5:
- Sequence: 3 sc, 1 inc; repeat around (30 sc total).
Round 6:
- Sequence: 4 sc, 1 inc; repeat around (36 sc total).
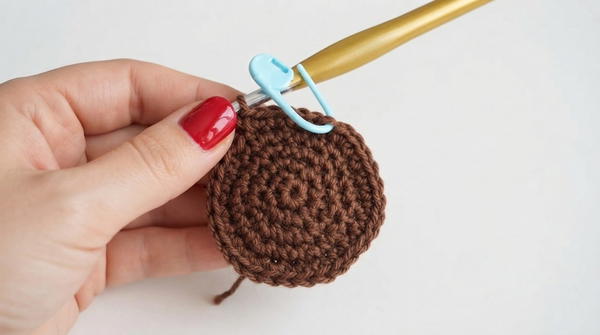
Round 7:
- Sequence: 5 sc, 1 inc; repeat around (42 sc total).
Round 8:
- Sequence: 6 sc, 1 inc; repeat around (48 sc total).
Round 9:
- Sequence: 7 sc, 1 inc; repeat around (54 sc total).
Round 10:
- Sequence: 8 sc, 1 inc; repeat around (60 sc total).
Round 12:
- Sequence: 10 sc, 1 inc; repeat around (66 sc total).
Round 13:
- 1 sc in each stitch evenly (66 sc).
Round 14 (BLO):
- 1 sc in back loop only in each stitch to create a defined edge.
Rounds 15 to 19:
- 1 sc in full stitch each round (66 sc per round) to build the height of the base.
2. Cake Fillings (Beige)
Rounds 20-21:
- Join beige yarn to the last stitch.
- Crochet 2 rounds of 1 sc in each stitch round to mimic cake filling layers. (66 sc per round)
3. Cake Top (Dark Brown)
Rounds 22-26:
- Rejoin dark brown yarn.
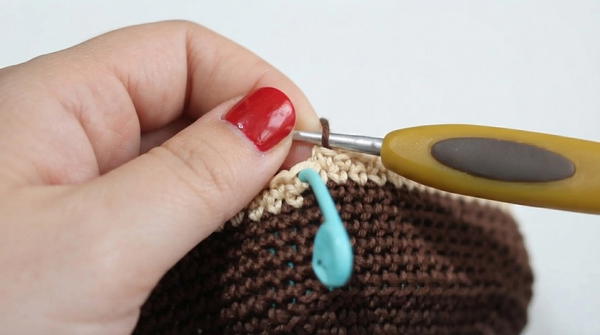
- Crochet 5 rounds of 1 sc per stitch to replicate additional sponge layers. (66 sc per round)
- Fasten off.
4. Top Covering (Mint Green)
Rounds 1-13:
- Repeat base pattern up to round 12:
- Increasing rounds up to sequence 10 sc, 1 increase (66 sc total).
Round 14 (FLO):
- 1 sc in front loop only in each stitch (66 sc).
Round 15 (BLO):
- 1 sc using back loop only around (66 sc).
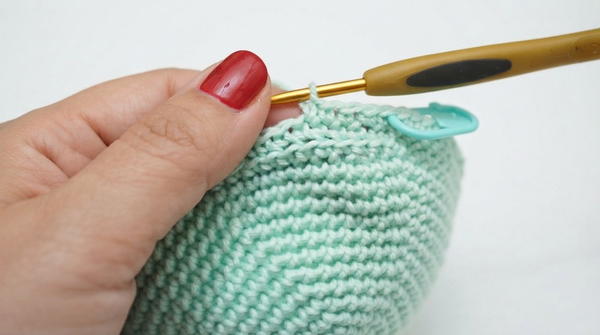
Rounds 16-17:
- 1 sc in the full stitch around (66 sc per round).
Final Pattern Round (Decorative Edge):
- Work the following repeat around:
- 1 sc, 1 half-double crochet (hdc), 1 double crochet (dc), 1 triple crochet (tr), 1 dc, 1 hdc, 1 sc.
- Repeat this scalloped sequence around to form an intricate edging.
5. The Candle & Flame
Candle (Crudo Yarn):
- Magic ring with 8 sc inside.
- Round 2: Work 1 round in back loop only (BLO).
- Rounds 3 to 8: Work 1 sc per stitch.
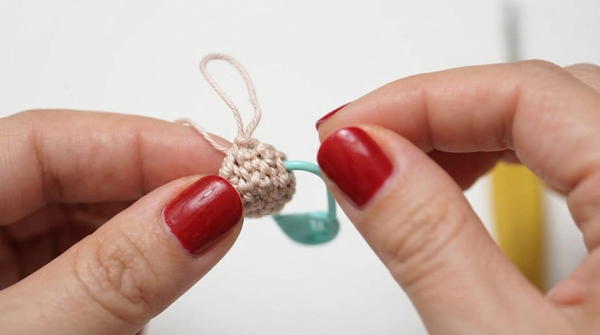
- Close with 4 decreases to taper the candle top.
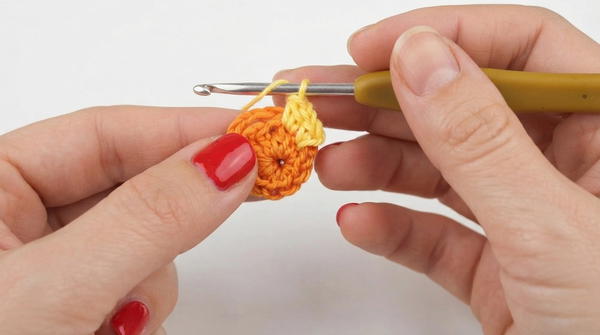
Flame (Orange/Yellow Yarn):
- Magic ring: 1 sc, 1 hdc, 1 dc, 1 tr, 1 dc, 1 hdc, 4 sc to fill the ring.
- Add yellow yarn for outer flame border with strategic increases to shape a flame form.
Assembly & Finished Size
- Glue Base: Securely glue the dark brown cake sponge base onto the top rim of the cleaned tuna can to create a firm foundation. Allow drying for stability.
- Support Structure: Fold a pipe cleaner into three tightly twisted strands to form a strong, flexible core for the candle. Insert this into the base center for structural reinforcement.
- Attach Layers: Sew the mint green top covering onto the cake base using loops from both parts, ensuring even tension.
- Stuffing: Add polyester fiberfill inside the crocheted layers to achieve desirable firmness and cushioning.
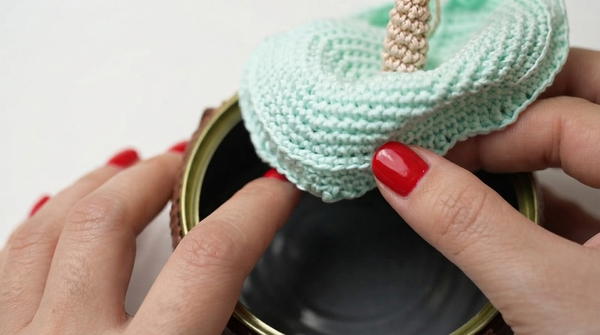
- Candle Placement: Sew or glue the candle firmly into the center, supported by the pipe cleaner core. Attach the flame securely atop the candle for a finished look.
The completed pincushion retains the charm of a layered cake with a firm, reusable tuna can base, measuring approximately 10 cm in diameter and 7 cm in height not including the candle.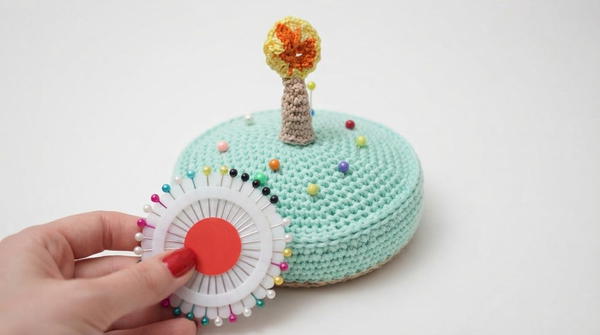
Conclusion
This eco-conscious cake-shaped pincushion perfectly combines recycling with creativity, turning a humble tuna can into an eye-catching, functional crochet accessory. The pattern offers an engaging challenge by incorporating textured stitches, loop-specific rounds, and decorative edging to mimic the layers and details of a real cake. Adding a sturdy pipe cleaner-backed candle and vibrant flame accents complete this whimsical project.
Ideal for intermediate crocheters looking to hone shaping techniques and assembly skills while crafting a delightful object, this pincushion will brighten any sewing space or gift basket. Enjoy bringing this miniature dessert to life stitch by stitch.