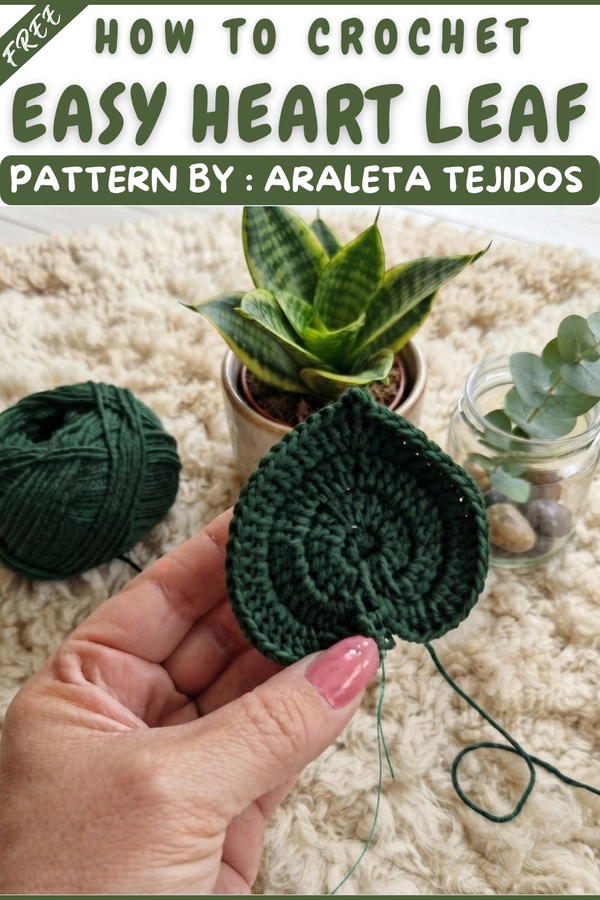
Give every corner a lovely touch with this Free Crochet Heart leaf Pattern featuring sweet heart shaped leaves for cozy decor all year round.
Leaves are all around us, but some are extra special — like heart-shaped ones. The Free Crochet Heart Leaf Pattern brings this lovely shape into your hands in a fun and easy way. This charming design comes from a creative mind shared on the Araleta tejidos YouTube channel, where the maker shows step-by-step how to bring this pretty piece to life.
The finished heart leaf looks delicate and sweet. Its soft, curved edges form a clear heart shape that feels warm and friendly. You can make it in many colors — bright reds, soft pinks, or even fresh greens — each one adding its own charm. The texture is smooth yet a little bumpy, giving the leaf a neat appearance that stands out. Because of its size and shape, it fits perfectly on bags, hats, or even as a small decoration in your home.
How to Crochet Heart Leaf - Step-by-Step Pattern
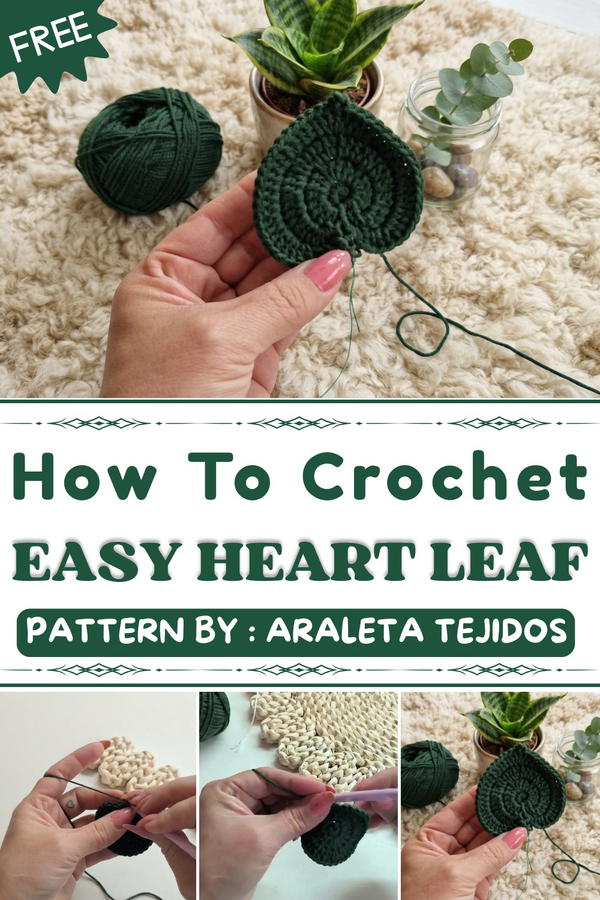
This heart leaf is perfect for sharing happiness. People use it for making gifts extra special, like decorating cards or wrapping a present. It’s also great for adding a handmade touch to clothes or scarves. Many love it because it is simple yet eye-catching, adding a little joy wherever it goes.
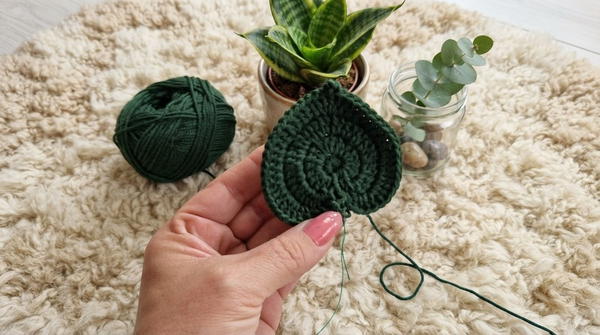
This Free Crochet Heart Leaf Pattern is more than just a crochet—it's a lovely way to show care and creativity. Whether you want to collect small crochet designs or want a sweet symbol to brighten your day, this heart leaf is a wonderful choice.
Heart-Shaped Leaf Crochet Pattern for Sunflower – Beginner Friendly Guide
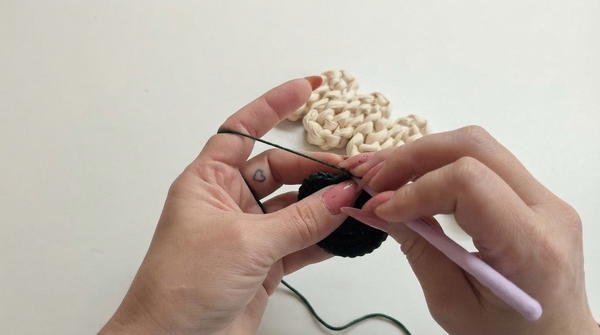
This pattern shows you how to crochet a heart-shaped leaf perfect for decorating a sunflower project. The leaf is worked in rounds with different crochet stitches, including increases to shape the leaf, and a picot edge for a pretty finish. The wire is inserted for structure, which you wrap with yarn.
This step-by-step beginner-friendly guide explains each round clearly and highlights the important stitches to help you easily follow along.
Pattern Highlights
- Start with a magic ring to create a tight center base.
- Use single crochet (sc), half double crochet (hdc), double crochet (dc), and triple crochet (tr) stitches.
- Incorporate triple increases (3 stitches in 1 stitch) to form leaf curves.
- Work symmetrical sides by mirroring stitches.
- Add a picot stitch to decorate the leaf edge.
- Insert wire around the edge for shaping and durability.
- Leave a yarn tail to wrap the wire and finish the stem.
Supplies Needed
- Yarn (green or any leaf color you prefer)
- Crochet hook suitable for yarn (typically 3.5 mm – 4 mm)
- Thin floral wire
- Scissors
- Yarn needle
Stitch Abbreviations
| Abbreviation | Meaning |
|---|---|
| ch | Chain |
| sc | Single Crochet |
| hdc | Half Double Crochet |
| dc | Double Crochet |
| tr | Triple Crochet (treble crochet) |
| sl st | Slip Stitch |
Special Stitches
- Magic Ring (MR): A loop you pull tight to start crocheting in rounds without a hole.
- Triple Increase: Work 3 triple crochet (tr) stitches into one stitch to increase width dramatically.
- Picot Stitch: Chain 2 and make a slip stitch into the first chain to form a little decorative bump.
Step-by-Step Crochet Pattern
Phase 1: Foundation (Start your leaf)
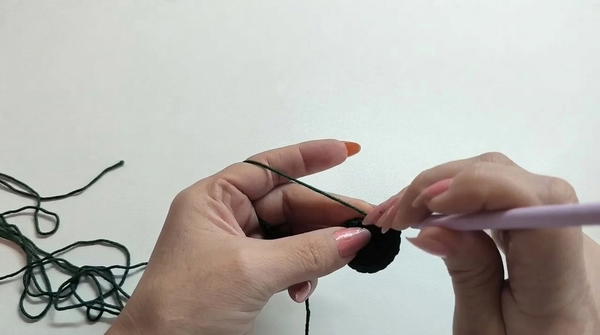
- Create a Magic Ring (MR).
- Crochet 7 single crochet (7 sc) stitches into the ring.
- Pull the ring tight to close the center hole.
- Join with a slip stitch (sl st) to the first sc to finish the round.
Phase 2: First Round (Shape the leaf base)
- Chain 1 to begin.
- Into the first stitch, work a triple increase: crochet 3 triple crochet stitches (3 tr) into the same stitch. This makes the leaf lobes.
- Then work 2 double crochet increases (2 dc inc): in two successive stitches, make 2 double crochets (2 dc) into each stitch.
- At the middle stitch of the round, work another triple increase, this time with 3 double crochet (3 dc) stitches in one stitch.
- Now, mirror the previous stitches on the other side to create the exactly symmetrical half of the leaf:
- 2 double crochet increases (2 dc inc)
- 3 triple crochets in one stitch (3 tr)
- End this round with a chain 1, followed by a slip stitch (sl st) in the middle stitch to close.
Phase 3: Second Round (Add height and texture)
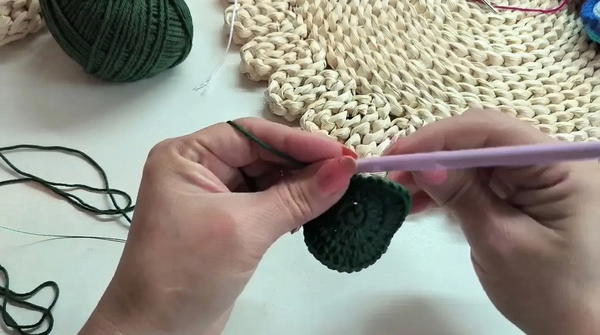
- Chain 2 to start this round (raises the height).
- In the first stitch, work:
- 1 single crochet (sc)
- 1 half-double crochet (hdc) immediately after in the same stitch.
- In the next stitch, work a triple increase of double crochets: crochet 3 double crochets (3 dc) in the same stitch.
- Then, work 6 double crochet increases: in six stitches, work 2 double crochet (2 dc) stitches in each.
- At the middle point of the leaf, work another triple increase of double crochets (3 dc inc).
- Now, mirror the earlier stitches on the other side for symmetry:
- 6 double crochet increases
- Triple increase of double crochets
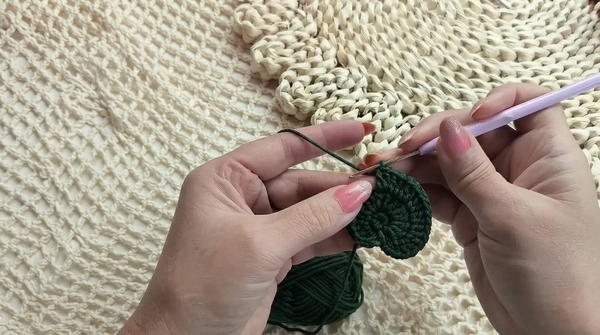
- Finish with a chain 1 and a slip stitch (sl st) in the middle stitch.
Phase 4: Final Round and Wire Insertion (Edge shaping and finishing)
- Place wire around the edge of your leaf before beginning this round so it gets crocheted in place.
- Chain 2 to start.
- In the first stitch, work:
- 1 single crochet (sc)
- 1 half-double crochet (hdc) in the same stitch.
- Work 5 double crochet increases (5 dc inc) by crocheting 2 double crochets into each of the next 5 stitches.
- Crochet 11 double crochet (dc) stitches next, straight without increases, reaching the center.
- At the middle stitch: work 2 double crochet (2 dc) stitches into the same stitch (increase).
- Create a picot stitch:
- Chain 2
- Slip stitch back into the first of those 2 chains
- Then, crochet 2 double crochet (2 dc) stitches into the same stitch as the picot.
- Continue to mirror the stitches on the remaining side, repeating:
- 11 double crochets
- 5 double crochet increases
- Single crochet and half-double crochet in the last stitch.
- Close the round with a chain 1 and slip stitch (sl st) in the middle stitch.
- Leave a long yarn tail for wrapping the wire stem.
Assembly & Final Touch
- Gently bend and shape the wire to give your leaf a natural curve.
- Use the long yarn tail left at the end to wrap tightly around the wire, securing the wire to the crochet body and forming a sturdy stem.
- Your beautiful heart-shaped leaf is now ready to be attached to your sunflower or used as a decorative detail.
Summary of Key Techniques
- Magic ring: start for tight-centered projects.
- Triple crochet increase: major shaping at lobes and tip.
- Mirroring: always crochet the same stitches on opposite sides for balance.
- Picot stitch: tiny decorative edge points.
- Wire insertion: adds shape and stability.
Tips for Beginners
- Count your stitches carefully to maintain the shape.
- Keep your tension consistent, especially around increases.
- Use stitch markers if needed to mark middle stitches or round starts.
- Take your time to handle the wire carefully and slowly crochet over it.
- Practice the picot stitch on a small swatch to get comfortable before adding it to your leaf.